Icy Hibiscus Pineapple Pops Recipe
 Save
Save
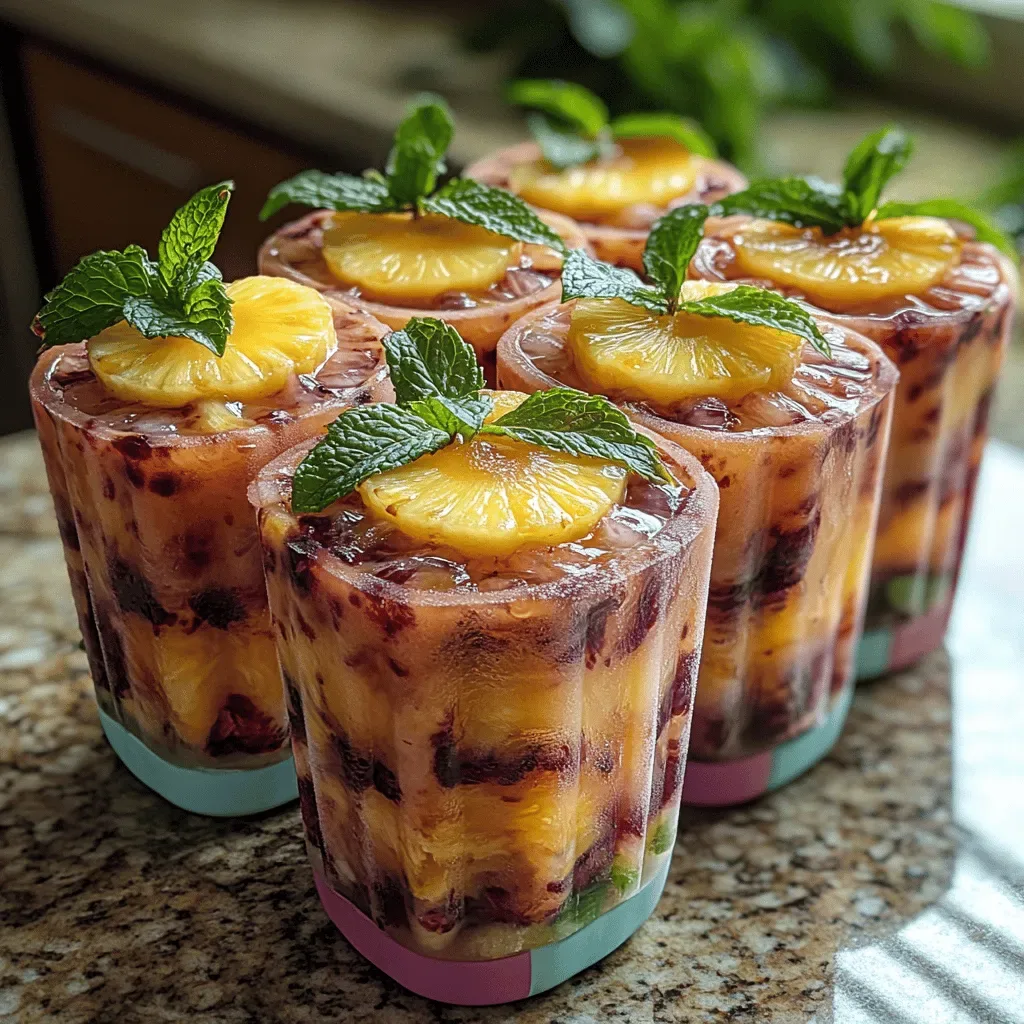
Imagine a sunny morning on your balcony, a glass of fresh juice in hand, and a handful of icy, ruby‑red pops that melt on the tongue with tropical bliss. That’s the experience Icy Hibiscus Pineapple Pops deliver—an effortless burst of summer that feels both festive and comforting.
What makes this recipe truly special is the marriage of tart hibiscus tea with sweet, sun‑kissed pineapple, balanced by a whisper of lime and a hint of natural sweetener. The result is a pop that’s bright, refreshing, and just the right amount of sweet‑tart.
Anyone who loves a light, palate‑cleansing treat will adore these pops—whether you’re hosting a brunch, feeding a crowd of kids, or simply craving a cool snack on a warm weekend. They’re perfect for breakfast tables, brunch buffets, or as a playful after‑lunch palate cleanser.
The process is straightforward: brew a concentrated hibiscus infusion, blend it with pineapple purée, sweeten to taste, pour into molds, and freeze. In under an hour you’ll have a vibrant, icy treat ready to impress.
Why You'll Love This Recipe
Vibrant Color & Flavor: The deep magenta of hibiscus paired with golden pineapple creates a visual pop that’s as exciting to look at as it is to taste.
Simple Prep, No‑Bake: All you need is a blender, a saucepan, and popsicle molds—no oven or heavy equipment required, making it ideal for busy mornings.
Health‑Boosting Ingredients: Hibiscus is rich in antioxidants, pineapple supplies vitamin C and bromelain, and the natural sweetener keeps added sugars low.
Customizable Sweetness: Adjust the honey or agave to suit your taste, or swap for a sugar‑free alternative for a guilt‑free treat.
Tips & Tricks
Perfecting the Recipe
Cool the Hibiscus Tea Completely. Warm tea can melt the frozen base as you pour, leading to uneven pops. Let it chill in the fridge for at least 30 minutes.
Use Fresh Pineapple. Fresh fruit gives a brighter flavor and smoother texture than canned, which can introduce unwanted preservatives.
Don’t Over‑Blend. Blend just until smooth; over‑mixing can incorporate too much air, resulting in a slightly icy, less creamy mouthfeel.
Leave Space for Expansion. The mixture expands as it freezes—leaving a small gap prevents cracking of the mold.
Flavor Enhancements
Add a splash of coconut milk for a creamy tropical twist, or stir in a few finely chopped fresh mint leaves for herbaceous brightness. A pinch of ground ginger adds subtle warmth without overpowering the hibiscus.
Common Mistakes to Avoid
Skipping the cooling step for the hibiscus tea can cause the mixture to become soupy, leading to soft pops. Also, avoid using too much honey; excessive sweetness masks the delicate tartness of hibiscus.
Pro Tips
Layer Flavors. Pour half the mixture, freeze for 30 minutes, then add a swirl of mango purée before completing the fill for a marbled effect.
Use Silicone Molds. They release the pops effortlessly and are dishwasher‑safe, saving time on cleanup.
Store with a Popsicle Stick. Insert a sturdy wooden stick before freezing; it prevents breakage when removing the pop.
Quick Release Trick. Run the mold’s exterior under warm water for 5 seconds; the pop slides out cleanly while the interior stays frozen.
Variations
Ingredient Swaps
Replace pineapple with mango for a sweeter base, or swap hibiscus for rose petals for a floral twist. For a deeper color, add a few drops of beet juice. If you prefer less sugar, use stevia or monk fruit sweetener instead of honey.
Dietary Adjustments
To keep the recipe vegan, substitute honey with agave nectar or maple syrup. For a low‑calorie version, reduce the sweetener to 1 tablespoon and add a splash of sparkling water before freezing. All ingredients are naturally gluten‑free.
Serving Suggestions
Serve the pops alongside a light citrus salad, or pair with a bowl of fresh berries for a brunch spread. They also make a playful garnish for sparkling mocktails, adding color and flavor without extra effort.
Storage Info
Leftover Storage
Once unmolded, place the pops in an airtight container lined with parchment paper to prevent sticking. Store in the freezer for up to 3 weeks. If you need to keep them longer, wrap each pop individually in plastic wrap before bagging.
Reheating Instructions
These pops are meant to stay icy, but if you prefer a softer texture, let them sit at room temperature for 5–7 minutes before serving. For a quick melt‑down, place them in a bowl of warm water for 30 seconds—just enough to soften the exterior while keeping the core frozen.
Frequently Asked Questions
Can I make these pops ahead of time for a party?
What if I don’t have hibiscus flowers?
How can I make the pops extra creamy?
This Icy Hibiscus Pineapple Pops recipe blends vibrant color, refreshing flavor, and effortless preparation into a brunch‑worthy treat. You’ve learned the exact steps, storage tips, and creative variations to keep things interesting. Feel free to experiment with fruit swaps, sweeteners, or a splash of coconut for extra creaminess—your imagination is the only limit. Serve them chilled, enjoy the burst of tropical sunshine, and share the joy with family and friends.
Icy Hibiscus Pineapple Pops Recipe
Delicious Icy Hibiscus Pineapple Pops Recipe
Ingredients
Main Ingredients
- 2 cups fresh pineapple chunks
- 1/2 cup dried hibiscus flowers
Liquid Base
- 2 cups water (for hibiscus tea)
- 1 tablespoon fresh lime juice
Sweetener & Seasoning
- 2–3 tablespoons honey (or agave syrup)
- Pinch of sea salt
Instructions
Molding & Freezing
- Prep the molds. Arrange wooden or silicone popsicle sticks in your molds, ensuring they sit upright. Lightly spray the interior with a neutral‑oil spray to aid release after freezing.
- Fill the molds. Using a ladle or a small measuring cup, pour the hibiscus‑pineapple mixture into each cavity, leaving about 1/4 inch at the top for expansion. Tap the molds gently on the counter to release trapped air.
- Freeze. Place the filled molds on a level tray and transfer to the freezer. Freeze for at least 4 hours, or until the pops are solid throughout. For best texture, avoid frequent door openings during this time.
- Unmold. To release, run the outside of each mold under warm water for 5–10 seconds. Gently wiggle the stick; the pop should slide out cleanly, retaining its vibrant color.
- Serve. Arrange the pops on a chilled platter and enjoy immediately, or store in an airtight container for later indulgence. A quick squeeze of fresh lime just before serving adds an extra burst of brightness.
Similar Recipes
 Desserts
Blueberry Bliss Cream Cheese Danish Recipe
Delicious Blueberry Bliss Cream Cheese Danish Recipe
 Desserts
Samoa Cheesecake Recipe: A Tropical Delight
Delicious Samoa Cheesecake Recipe: A Tropical Delight
 Desserts
Frozen Yogurt Mocha Swirl Slices: A Delicious and Guilt-Free Dessert
Delicious Frozen Yogurt Mocha Swirl Slices: A Delicious and Guilt-Free Dessert
 Desserts
Deliciously Decadent Chocolate Dipped Banana Bliss Pops
Delicious Deliciously Decadent Chocolate Dipped Banana Bliss Pops
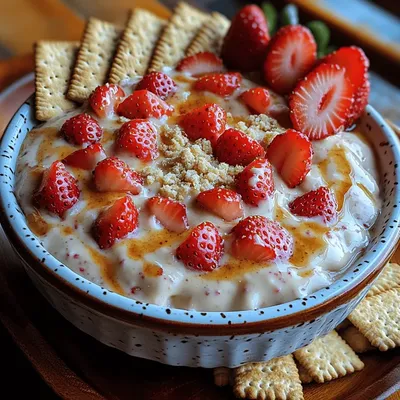 Desserts
Sweet Strawberry Bliss Dip Recipe
Delicious Sweet Strawberry Bliss Dip Recipe
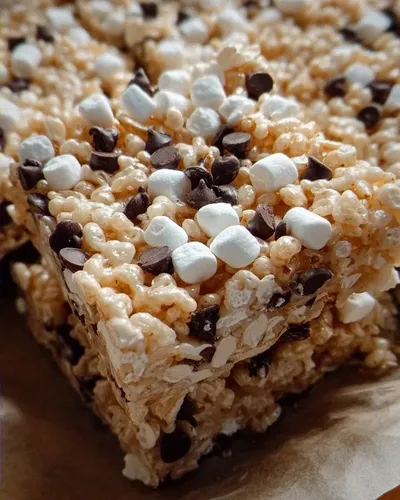 Desserts
Chocolate Chip Rice Krispies
Learn how to make delicious Chocolate Chip Rice Krispies. Easy recipe with step-by-step instructions.
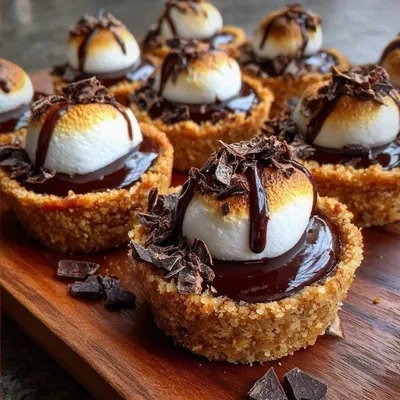 Desserts
Mini S’mores Tarts with Ganache
Learn how to make delicious Mini S’mores Tarts with Ganache. Easy recipe with step-by-step instructions.
 Desserts
Bake Irresistible Halloween Chocolate Chip Cookies for Spooky Fun
Learn how to make delicious Bake Irresistible Halloween Chocolate Chip Cookies for Spooky Fun. Easy recipe…

Susan
I cook these recipes at home before they ever land here — simple ingredients, clear steps.