Magnolia Bakery-Style Banana Pudding: A Timeless Delight
 Save
Save
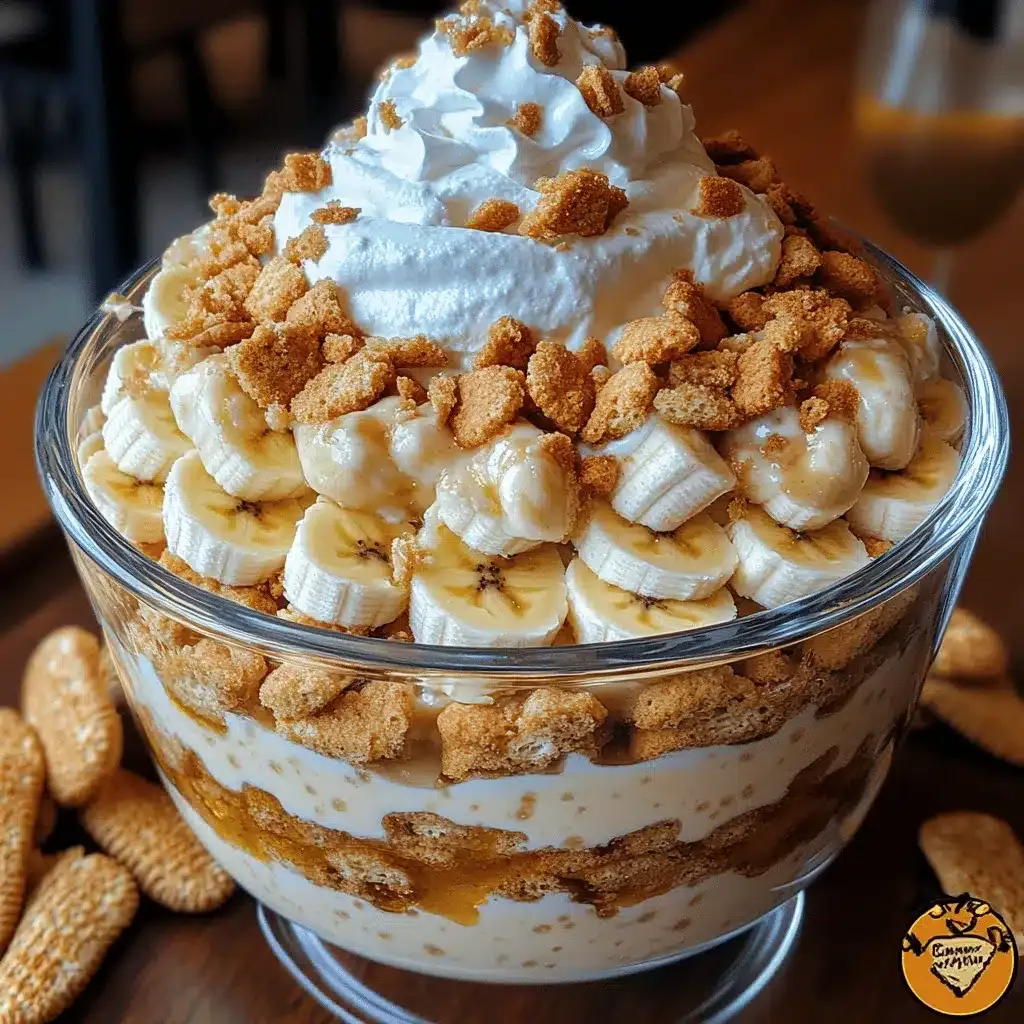
There’s something undeniably nostalgic about a bowl of silky banana pudding topped with fluffy whipped cream and buttery vanilla wafers—just like the iconic treat from Magnolia Bakery. This homemade version captures that classic New‑York charm while staying entirely approachable for a weekend brunch or a cozy family breakfast.
What sets this recipe apart is the balance between a velvety custard made from scratch and the sweet, ripe bananas that melt into each layer. A whisper of vanilla and a dash of sea salt elevate the flavor, while the crisp wafers add a satisfying crunch that softens just enough to meld with the cream.
Banana pudding lovers of all ages will adore this dish, whether you’re serving it to sleepy kids on a lazy Saturday or impressing guests at a brunch gathering. It’s also a perfect make‑ahead dessert for holidays, potlucks, or any occasion that calls for comfort food with a touch of elegance.
The process is straightforward: prepare a smooth custard, whip a light frosting, layer everything with bananas and wafers, then chill until set. In under an hour you’ll have a timeless delight that looks as good as it tastes.
Why You'll Love This Recipe
True Bakery Flavor: The custard uses real egg yolks and vanilla bean, delivering the same rich, creamy texture that made Magnolia’s original a cult favorite.
Simple Ingredients: All items are pantry staples—no fancy equipment or hard‑to‑find products, making it accessible for cooks of any skill level.
Make‑Ahead Friendly: Once assembled, the pudding only gets better after a few hours in the fridge, allowing you to prepare it ahead of time.
Versatile Presentation: Serve it in individual glasses for a polished brunch or in a large trifle bowl for a family‑style dessert.
Tips & Tricks
Perfecting the Recipe
Use fully ripe bananas. Over‑ripe bananas are sweeter and mash more easily, ensuring each bite is naturally fragrant and creamy.
Chill the custard completely. A cold custard thickens the whipped topping when layered, preventing a watery final product.
Press plastic wrap onto the custard. This stops a skin from forming, keeping the texture silky for the best mouthfeel.
Flavor Enhancements
For a subtle twist, stir a pinch of ground cinnamon or a splash of dark rum into the custard before it sets. A drizzle of caramel sauce over the final whipped topping adds a luxurious caramel note without overpowering the classic flavor profile.
Common Mistakes to Avoid
Avoid cooking the custard over high heat; it can curdle and create a grainy texture. Also, never skip the chilling step—without adequate time for the wafers to absorb the custard, the pudding will remain overly crunchy rather than melt‑in‑your‑mouth.
Pro Tips
Freeze‑chill the mixing bowl. A frosty bowl helps the heavy cream whip faster and achieve stiffer peaks for a more stable topping.
Use a hand‑held immersion blender. When blending the custard, an immersion blender creates a perfectly smooth texture without over‑mixing.
Layer in glassware. Clear glasses showcase the beautiful strata of custard, wafers, and bananas, making the dish as visually appealing as it is tasty.
Variations
Ingredient Swaps
Swap the classic vanilla wafers for chocolate graham crackers to add a cocoa depth, or use gluten‑free vanilla cookies for a wheat‑free version. For a tropical spin, replace half the bananas with sliced mango or pineapple, which pairs beautifully with the vanilla custard.
Dietary Adjustments
To make the pudding dairy‑free, substitute whole milk and heavy cream with full‑fat coconut milk and coconut cream; use a plant‑based whipped topping or chill a can of coconut cream and whip it. For a lower‑sugar version, reduce the granulated sugar by one‑third and add a touch of maple syrup or a sugar‑free sweetener.
Serving Suggestions
Serve the pudding in individual mason jars for a portable brunch treat, or present it in a large trifle bowl alongside fresh berries for added color. A side of buttery shortbread cookies or a drizzle of espresso‑infused chocolate sauce elevates the dessert for a special occasion.
Storage Info
Leftover Storage
Transfer any leftovers to an airtight container and refrigerate promptly. The pudding stays fresh for 3‑4 days, with the custard and whipped cream maintaining their texture. For longer storage, freeze portions in sealed containers for up to 2 months; thaw overnight in the fridge before serving.
Reheating Instructions
Reheat gently in a 300°F oven for 10‑12 minutes, covered with foil to prevent the top from drying out. If using a microwave, heat individual servings on medium power for 30‑45 seconds, adding a splash of milk and stirring lightly to restore creaminess.
Frequently Asked Questions
Can I make this banana pudding a day ahead?
What if I don’t have vanilla wafers?
How can I keep the whipped topping from weeping?
This Magnolia Bakery‑style banana pudding brings the beloved New‑York classic right into your kitchen with straightforward steps and pantry‑friendly ingredients. By mastering the custard, whipped topping, and layering technique, you’ll achieve that iconic soft‑chewy‑and‑creamy texture every time. Feel free to experiment with flavor swaps or dietary tweaks—cooking is all about making a recipe your own. Serve it chilled, savor each spoonful, and enjoy a timeless delight that never fails to impress.
Magnolia Bakery-Style Banana Pudding: A Timeless Delight
Delicious Magnolia Bakery-Style Banana Pudding: A Timeless Delight
Ingredients
Main Ingredients
- 4 large ripe bananas, sliced
- 1 ½ cups whole milk
- ½ cup heavy cream
Pudding Base
- 4 large egg yolks
- ⅔ cup granulated sugar
- 1 ½ teaspoons pure vanilla extract (or seeds from 1 vanilla bean)
- ¼ teaspoon fine sea salt
Whipped Topping
- 1 ½ cups heavy cream, chilled
- 2 tablespoons confectioners’ sugar
- ½ teaspoon pure vanilla extract
Seasonings & Garnish
- 1 ½ cups vanilla wafers (about 30‑35 wafers)
- Extra banana slices, for garnish (optional)
Instructions
Cooking the Custard
- Temper the eggs. Slowly pour about ¼ cup of the hot milk mixture into the egg yolk bowl while whisking constantly. This gentle rise in temperature prevents curdling and creates a smooth liaison.
- Combine and thicken. Return the tempered egg mixture to the saucepan. Cook, stirring with a silicone spatula, for 5–7 minutes. The custard is ready when it coats the back of the spoon and reaches roughly 170°F (77°C).
- Strain and chill. Pass the custard through a fine‑mesh sieve into a shallow bowl to eliminate any cooked egg bits. Press a piece of plastic wrap directly onto the surface, then refrigerate for at least 30 minutes until cold.
Assembling the Pudding
- Layer the first wafers. Spread a thin layer of chilled custard in the bottom of a 9‑inch glass trifle dish or individual serving glasses. Sprinkle a generous handful of vanilla wafers over the custard, allowing them to begin soaking.
- Add bananas. Arrange a single layer of sliced bananas on top of the wafers. The fruit’s natural moisture will meld with the custard, creating a creamy core.
- Repeat layers. Continue with another custard layer, more wafers, and another banana layer. Finish with a final custard coating that reaches the top of the dish.
- Top with whipped cream. Spoon or pipe the whipped topping over the surface, spreading it evenly. Garnish with a few extra banana slices and a handful of crushed wafers for added texture.
- Chill to set. Cover the assembled pudding with plastic wrap and refrigerate for at least 2 hours, preferably overnight. This resting period lets the wafers fully absorb the custard, resulting in the classic soft‑yet‑slightly‑chewy texture.
Similar Recipes
 Desserts
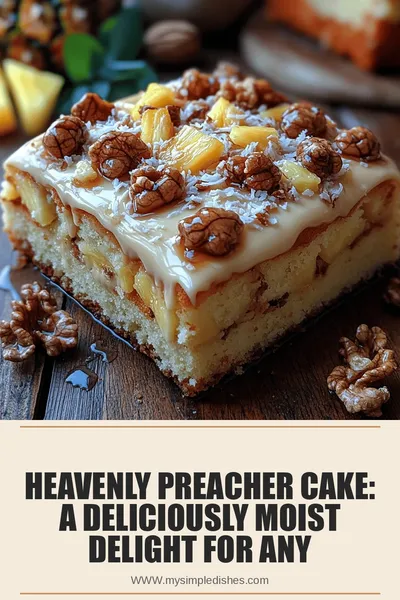
Heavenly Preacher Cake: A Deliciously Moist Delight for Any Occasion
Delicious Heavenly Preacher Cake: A Deliciously Moist Delight for Any Occasion
 Desserts
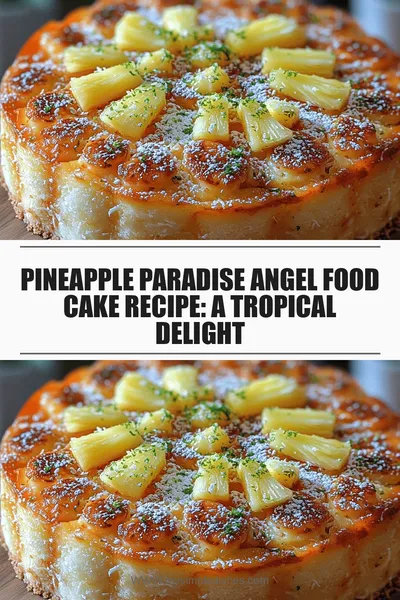
Pineapple Paradise Angel Food Cake Recipe: A Tropical Delight
Delicious Pineapple Paradise Angel Food Cake Recipe: A Tropical Delight
 Desserts
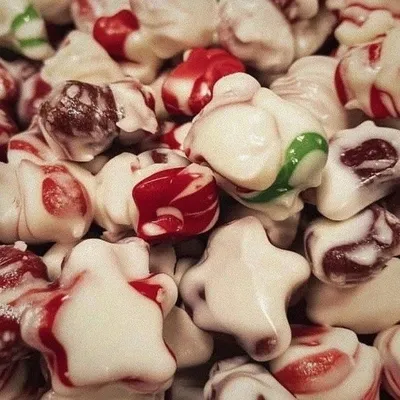
Christmas Candy
Learn how to make delicious Christmas Candy. Easy recipe with step-by-step instructions.
 Desserts
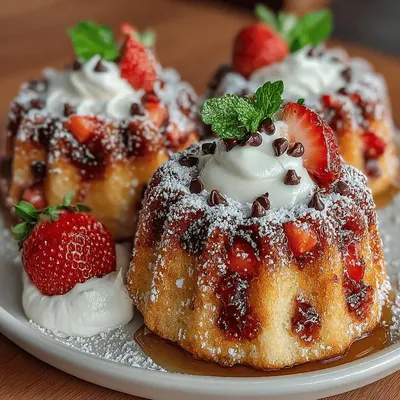
Frozen Yogurt Strawberry Muffin Rings
Delicious Frozen Yogurt Strawberry Muffin Rings
 Desserts
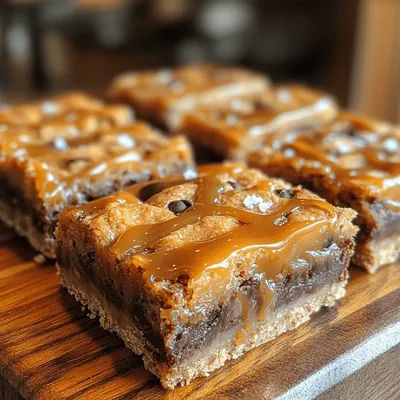
Sweet & Salty Caramel Chocolate Chip Bars
Delicious Sweet & Salty Caramel Chocolate Chip Bars
 Desserts
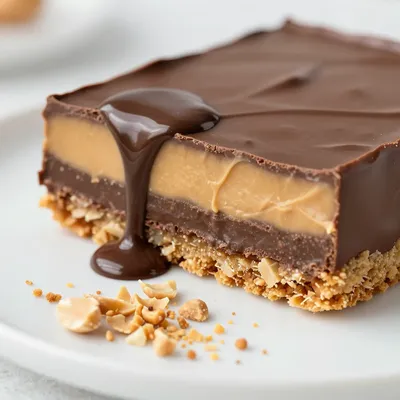
No-Bake Chocolate Peanut Butter Bars with Graham Cracker Crust
Learn how to make delicious No-Bake Chocolate Peanut Butter Bars with Graham Cracker Crust. Easy recipe…
 Desserts
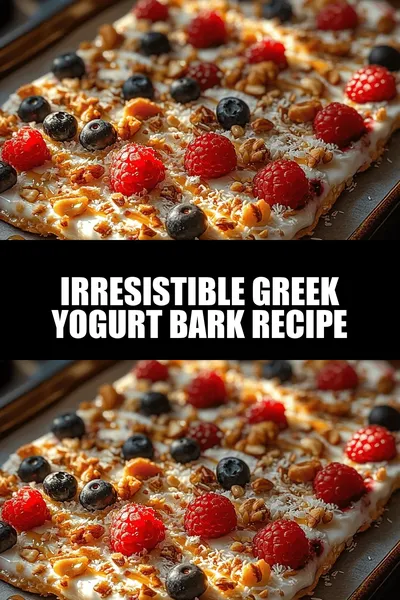
Irresistible Greek Yogurt Bark Recipe
Delicious Irresistible Greek Yogurt Bark Recipe
 Desserts
Ultra-Moist Classic Banana Bread Recipe You Can’t Resist
Learn how to make delicious Ultra-Moist Classic Banana Bread Recipe You Can't Resist. Easy recipe with…

Susan
I cook these recipes at home before they ever land here — simple ingredients, clear steps.