Mini Chicken Parm Pita Triangles Recipe
 Save
Save
Imagine biting into a warm, golden‑crusted pita that cradles tender chicken, melted mozzarella, and a tangy marinara—all in one perfectly sized triangle. Mini Chicken Parm Pita Triangles turn a classic Italian‑American favorite into a handheld brunch hero that’s both fun and satisfying.
What sets this recipe apart is the marriage of crisp pita pockets with the gooey, cheesy goodness of traditional chicken parm, all balanced by a bright lemon‑herb drizzle that lifts every bite.
Breakfast lovers, brunch crowds, and even picky eaters will adore these bite‑size wonders. They shine at weekend brunches, casual family breakfasts, or as a make‑ahead snack for busy mornings.
The process is straightforward: pan‑sear seasoned chicken strips, coat them in a quick marinara‑cheese blend, nestle them inside toasted pita triangles, and finish with a flash bake. In under an hour you’ll have a dish that looks as impressive as it tastes.
Why You'll Love This Recipe
Hand‑Held Comfort: Each triangle delivers the classic comfort of chicken parm in a portable form, perfect for brunch tables where guests mingle and eat with ease.
Speedy Prep: With minimal chopping and a single skillet, you can have a restaurant‑quality dish on the table in under 45 minutes, even on a weekday morning.
Flavor Layers: The crispy pita, juicy chicken, tangy sauce, and melty cheese create distinct textures and flavors that keep every bite interesting.
Customizable Canvas: Swap herbs, cheeses, or even the protein to match dietary preferences or seasonal produce, making the recipe endlessly adaptable.
Tips & Tricks
Perfecting the Recipe
Room‑Temperature Chicken: Let the strips sit out for 10‑15 minutes before cooking. Even temperature ensures a uniform sear and prevents a raw center.
Pat Dry Before Searing: Removing surface moisture creates a crisp crust and avoids steaming the meat.
Use a Heavy Skillet: Cast iron or stainless steel retains heat better, giving a deeper, caramelized flavor.
Don’t Over‑Bake: The final oven step is only to crisp the pita; watch closely to keep the cheese from drying out.
Flavor Enhancements
Add a splash of aged balsamic reduction just before serving for a sweet‑tangy contrast. A pinch of smoked paprika in the sauce gives a subtle smoky depth, while a handful of toasted pine nuts adds a delightful crunch.
Common Mistakes to Avoid
Avoid moving the chicken before it develops a crust; premature stirring releases juices and prevents browning. Also, skip using pre‑shredded mozzarella with anti‑clumping agents—it can produce a rubbery texture.
Pro Tips
Fresh Herbs Over Dried: Fresh basil and parsley retain bright aromatics that dried herbs cannot match, especially when added at the end.
Thermometer Check: Aim for an internal chicken temperature of 165°F (74°C). This guarantees safety without overcooking.
Toast the Pita First: Lightly toast pita halves for 2 minutes before assembling; this prevents sogginess once the sauce is added.
Reserve Extra Sauce: Keep a small cup of sauce on the side for drizzling; it keeps the triangles moist and adds flavor at the table.
Variations
Ingredient Swaps
Swap chicken for thinly sliced turkey breast or even grilled halloumi for a vegetarian twist. Replace mozzarella with provolone or smoked gouda for a richer flavor profile. If you prefer a sweeter note, stir a teaspoon of honey into the marinara.
Dietary Adjustments
Use gluten‑free pita or large lettuce leaves as a low‑carb wrapper. For dairy‑free diners, substitute dairy‑free mozzarella and nutritional yeast for the Parmesan. Keto lovers can replace honey with a low‑carb sweetener and serve the triangles over cauliflower rice.
Serving Suggestions
Pair the triangles with a bright arugula‑lemon salad, roasted sweet‑potato wedges, or a simple quinoa pilaf. A side of tzatziki adds a cool, creamy contrast, while a glass of crisp Prosecco elevates the brunch experience.
Storage Info
Leftover Storage
Allow the triangles to cool completely, then place them in an airtight container. Refrigerate for up to 3 days. For longer keeping, wrap each triangle in plastic wrap, then foil, and freeze for up to 3 months. This method preserves texture and prevents freezer burn.
Reheating Instructions
Reheat in a preheated 350°F (175°C) oven, covered with foil, for 12‑15 minutes until heated through; uncover for the last 3 minutes to restore crispness. For a quick microwave fix, heat on medium power for 1‑2 minutes, adding a splash of sauce to keep the pita from drying.
Frequently Asked Questions
Can I make this recipe in advance?
Can I use frozen chicken for this dish?
What side dishes work best with Mini Chicken Parm Pita Triangles?
This Mini Chicken Parm Pita Triangles recipe delivers the classic comfort of chicken parm in a portable, brunch‑ready format. With clear steps, storage guidance, and plenty of room for personalization, you have everything you need to make it a repeat favorite. Feel free to swap herbs, cheeses, or even the protein to match your pantry and palate. Gather your loved ones, plate the triangles, and enjoy a deliciously satisfying start to the day!
Mini Chicken Parm Pita Triangles Recipe
Delicious Mini Chicken Parm Pita Triangles Recipe
Ingredients
Main Ingredients
- 2 large whole‑wheat pita breads
- 1 ½ lb boneless, skinless chicken breast, cut into thin strips
- 1 cup shredded mozzarella cheese
- ¼ cup grated Parmesan cheese
Sauce & Marinade
- 1 cup canned crushed tomatoes (no‑salt added)
- 2 cloves garlic, minced
- 1 tablespoon olive oil
- 1 teaspoon dried oregano
- ½ teaspoon red‑pepper flakes (optional)
Seasonings & Garnish
- Salt and freshly ground black pepper, to taste
- 1 tablespoon fresh lemon juice
- 2 tablespoons chopped fresh basil
Instructions
Cooking Process
- Heat the Skillet. Place a large non‑stick skillet over medium‑high heat for 3 minutes. Add a drizzle of olive oil and wait until it shimmers. A properly heated pan creates a golden crust that locks in juices.
- Sear the Chicken. Add the seasoned strips in a single layer, being careful not to crowd them. Cook 3‑4 minutes without moving, then flip and sear the other side another 3‑4 minutes. The exterior should be lightly browned while the interior stays pink.
- Deglaze & Build Sauce. Reduce heat to medium, pour the tomato‑garlic mixture into the pan, and stir, scraping up browned bits (fond). Simmer 5 minutes, allowing the sauce to thicken and coat the chicken.
- Incorporate the Cheeses. Sprinkle shredded mozzarella and grated Parmesan over the chicken and sauce. Cover the skillet for 2 minutes, letting the cheeses melt into a glossy, stretchy layer.
- Assemble the Pita Triangles. While the cheese melts, preheat the oven to 375°F (190°C). Cut each pita into quarters, forming triangles. Place the warm chicken‑cheese mixture onto each triangle, drizzle with lemon juice, and top with fresh basil.
- Final Bake. Arrange the stuffed triangles on a baking sheet and bake 6‑8 minutes, just until the pita edges crisp and the cheese fully bubbles. This short bake melds flavors and adds a satisfying crunch.
Similar Recipes
 Dinner
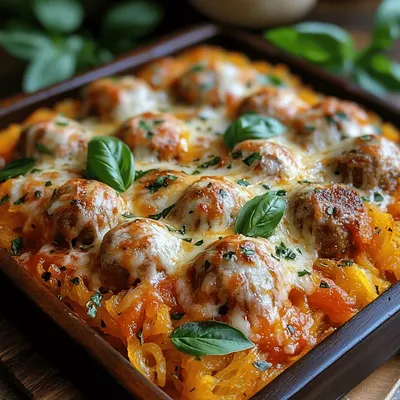
Spaghetti Squash and Meatball Bake: A Hearty and Healthy Delight
Delicious Spaghetti Squash and Meatball Bake: A Hearty and Healthy Delight
 Dinner
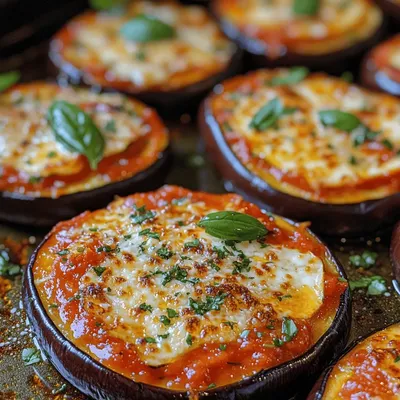
Mini Air Fryer Eggplant Pizzas
Delicious Mini Air Fryer Eggplant Pizzas
 Dinner
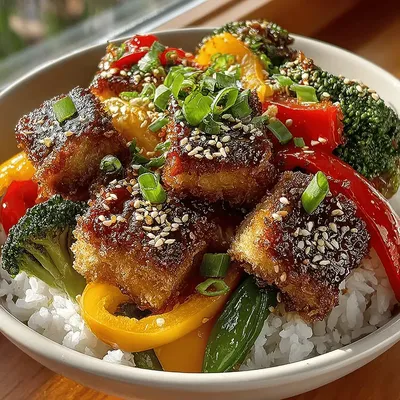
Vibrant Tofu Veggie Stir-Fry
Delicious Vibrant Tofu Veggie Stir-Fry
 Dinner
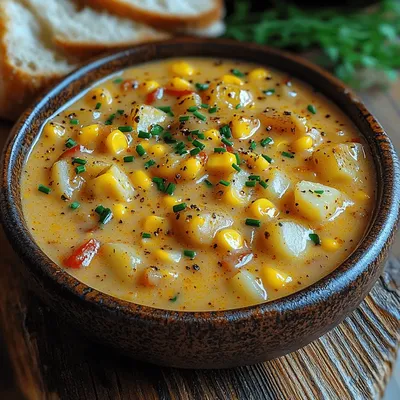
Sweet Summer Bliss: Creamy Corn Chowder
Delicious Sweet Summer Bliss: Creamy Corn Chowder
 Dinner
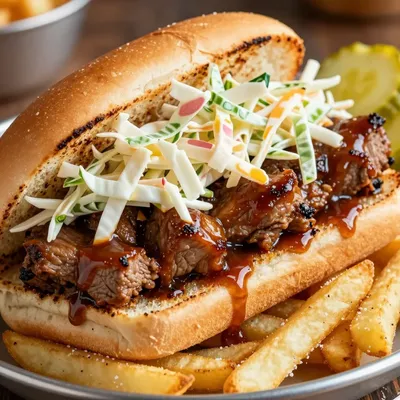
Game Day Slow Cooker Pulled Pork for Playoff Wins
Learn how to make delicious Game Day Slow Cooker Pulled Pork for Playoff Wins. Easy recipe…
 Dinner
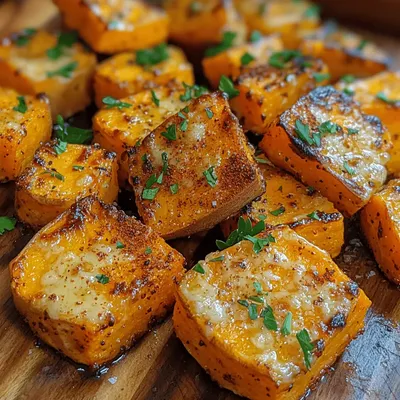
Crunchy Air Fryer Parmesan Sweet Potatoes: A Delightful Recipe for Every Occasion
Delicious Crunchy Air Fryer Parmesan Sweet Potatoes: A Delightful Recipe for Every Occasion
 Dinner
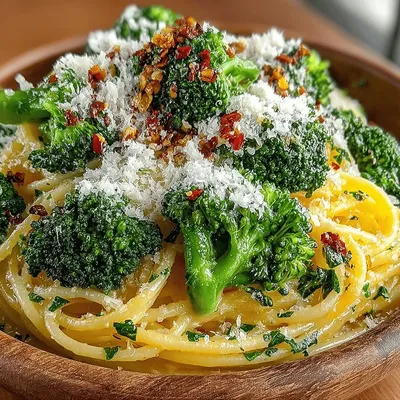
Garlicky Herb Delight Pasta with Broccoli
Delicious Garlicky Herb Delight Pasta with Broccoli
 Dinner
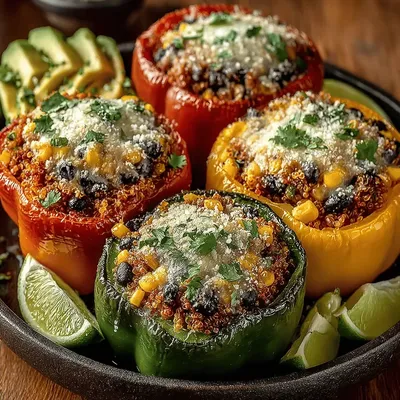
Savory Quinoa and Black Bean Stuffed Peppers
Delicious Savory Quinoa and Black Bean Stuffed Peppers

Susan
I cook these recipes at home before they ever land here — simple ingredients, clear steps.