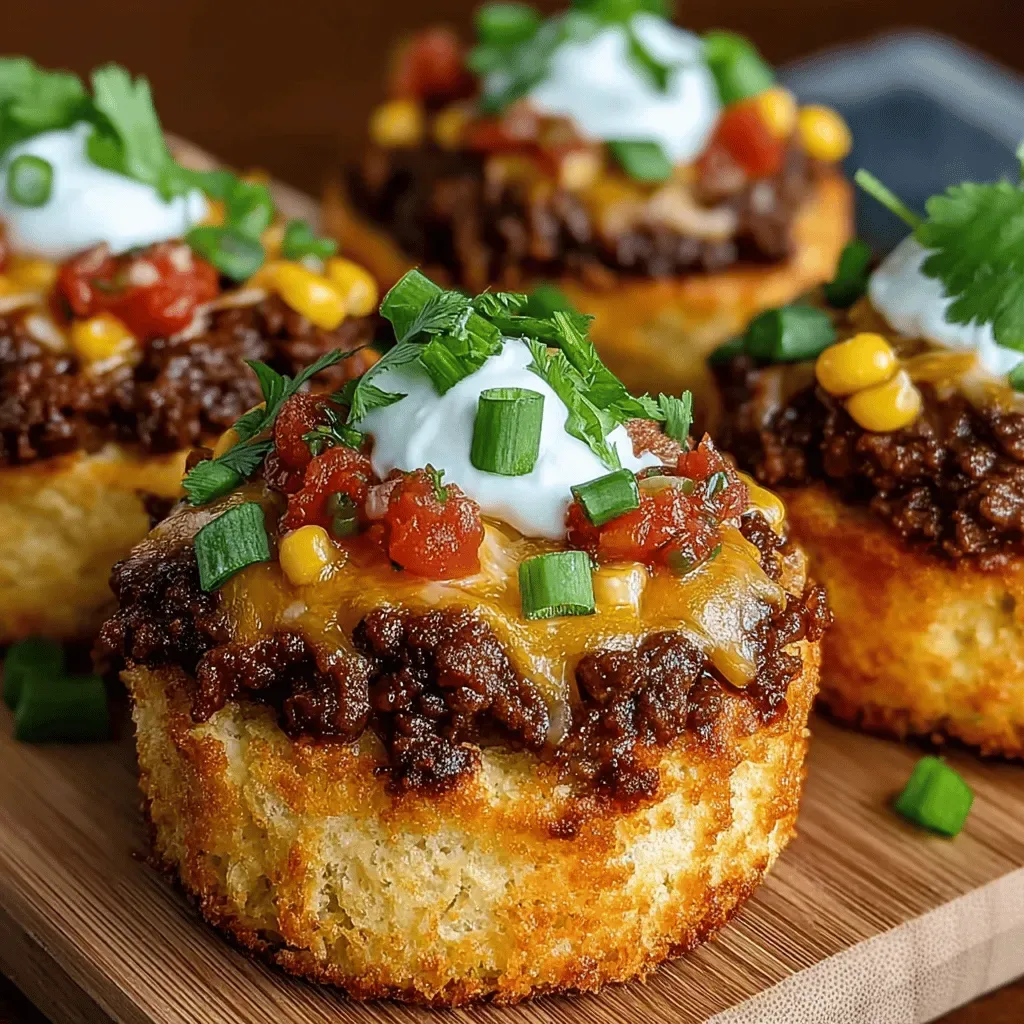
Mini Taco Lasagna Biscuit Cups: A Flavorful Fusion
 Save
Save
Imagine the comforting hug of a classic breakfast biscuit merged with the bold, zesty flavors of a taco and the cheesy layers of lasagna—all baked into bite‑size cups. Mini Taco Lasagna Biscuit Cups deliver that surprise in every forkful, making brunch feel like a playful culinary adventure.
What sets this dish apart is the clever stacking of seasoned taco meat, ricotta‑style cheese blend, and a crumble of buttery biscuit dough that rises into a golden, fluffy cup. The result is a handheld casserole that’s both crunchy on the outside and luxuriously creamy inside.
This recipe is perfect for busy families, brunch gatherings, or anyone who loves a handheld twist on comfort food. Serve it at weekend brunch, a festive brunch‑buffet, or even as a portable breakfast on a lazy Sunday morning.
Preparation starts with a quick sauté of taco‑seasoned ground beef, followed by assembling layers inside a muffin tin lined with biscuit dough. A brief bake at 375°F transforms the raw dough into puffed, golden cups, ready to be topped with fresh cilantro and a drizzle of salsa.
Why You'll Love This Recipe
Bold Flavor Fusion: The marriage of taco spices, creamy ricotta, and buttery biscuit creates a taste explosion that’s both familiar and exciting, keeping every bite interesting.
Hand‑Held Convenience: Individual cups mean no fighting over the serving spoon—each guest gets a perfectly portioned, mess‑free bite that’s easy to eat standing up.
Speedy Assembly: With just a few pantry staples and a muffin tin, you can go from raw ingredients to baked cups in under half an hour, ideal for busy mornings.
Customizable Layers: Swap cheeses, add extra veggies, or sprinkle jalapeños for heat—each cup invites personal tweaks without breaking the core structure.
Tips & Tricks
Perfecting the Recipe
Cold Butter is Key: Keep butter chilled until it meets the flour. Cold pockets melt during baking, creating flaky layers in the biscuit cup.
Don’t Over‑Mix Dough: Mix just until ingredients combine; over‑working develops gluten, resulting in a dense, tough biscuit.
Even Filling Distribution: Use a tablespoon for each component to keep the cups balanced and prevent overflow during baking.
Pre‑heat the Oven: A fully heated oven ensures the biscuit rises quickly, giving you that coveted puffed rim.
Flavor Enhancements
Add a dash of smoked paprika to the taco meat for deeper smokiness, or stir in a tablespoon of cream cheese with the ricotta for extra silkiness. A squeeze of fresh lime over the finished cups brightens the palate and balances the richness.
Common Mistakes to Avoid
Avoid letting the biscuit dough sit too long before baking; it can become slack and won’t rise properly. Also, don’t overload the cups with filling—excess moisture can make the biscuit soggy rather than crisp.
Pro Tips
Use a Ice‑Water Bath: If you’re in a hurry, dip the mixing bowl in an ice‑water bath while cutting butter to keep it chilled.
Check Doneness with a Toothpick: Insert a toothpick into the biscuit rim; it should come out clean and dry when the cup is fully baked.
Garnish at the Last Minute: Add cilantro and salsa right after baking to preserve their fresh texture and vivid color.
Make Ahead Portions: Assemble the cups up to the baking step, cover tightly, and refrigerate for up to 12 hours before popping them in the oven.
Variations
Ingredient Swaps
Swap ground beef for shredded chicken, chorizo, or crumbled tempeh for a vegetarian twist. Replace the Mexican blend cheese with pepper jack for extra heat, or use a dairy‑free cheese blend for a vegan version. Even the biscuit dough can be made with almond flour for a gluten‑free alternative.
Dietary Adjustments
For gluten‑free diners, use a certified gluten‑free flour blend and ensure the taco seasoning contains no wheat. To keep it low‑carb, substitute the biscuit dough with a cauliflower‑based crust and use a sugar‑free salsa. Vegan eaters can replace the meat with seasoned lentils and use coconut‑based ricotta.
Serving Suggestions
Serve these cups alongside a simple avocado‑lime crema, a side of fresh fruit, or a bright citrus salad. For a brunch buffet, pair them with scrambled eggs, roasted potatoes, and a pitcher of chilled hibiscus tea for a cohesive Mexican‑American spread.
Storage Info
Leftover Storage
Allow any leftovers to cool to room temperature, then transfer the cups to an airtight container. Store in the refrigerator for up to 3 days. For longer preservation, wrap each cup individually in plastic wrap and freeze in a freezer‑safe bag for up to 2 months.
Reheating Instructions
Reheat refrigerated cups in a pre‑heated 350°F oven for 10‑12 minutes, covered with foil to prevent drying. For frozen cups, bake at 375°F for 18‑20 minutes, removing the foil halfway through. A quick microwave (30‑seconds on medium) works in a pinch, but the oven retains the biscuit’s crispness.
Frequently Asked Questions
Can I make these cups ahead of time?
What if I don’t have a muffin tin?
Can I substitute the biscuit dough with a different crust?
This Mini Taco Lasagna Biscuit Cup recipe blends familiar breakfast comfort with bold Mexican flair, delivering a handheld masterpiece that’s as fun to eat as it is flavorful. The step‑by‑step guide, storage tips, and creative variations ensure you can adapt it to any palate or dietary need. Feel free to experiment with cheeses, proteins, or toppings—cooking is your canvas. Serve warm, enjoy the burst of textures, and watch your brunch guests reach for seconds!
Mini Taco Lasagna Biscuit Cups: A Flavorful Fusion
Delicious Mini Taco Lasagna Biscuit Cups: A Flavorful Fusion
Ingredients
Biscuit Base
- 1 cup all‑purpose flour
- 2 teaspoons baking powder
- ½ teaspoon salt
- 4 tablespoons cold unsalted butter, cubed
- ⅓ cup whole milk
Taco Filling
- ½ pound ground beef (or turkey)
- 1 tablespoon taco seasoning (store‑bought or homemade)
- ¼ cup diced onion
- ¼ cup canned diced tomatoes, drained
Cheese & Finishing Touches
- ½ cup ricotta cheese
- ½ cup shredded Mexican blend cheese
- 2 tablespoons chopped fresh cilantro
- 2 tablespoons salsa (mild or medium)
Instructions
Assembling the Cups
- Line the Muffin Tin. Lightly grease a 12‑cup muffin tin. Place a generous spoonful of biscuit dough into each cup, pressing gently to cover the bottom and sides. The dough should be about ¼‑inch thick; it will puff up as it bakes.
- Add the Taco Layer. Spoon a tablespoon of the seasoned beef into each biscuit cup, spreading it evenly. This layer forms the hearty “meat” core of your mini lasagna.
- Cheese & Ricotta. Drop a teaspoon of ½ cup ricotta cheese over the meat, then sprinkle ½ cup shredded Mexican blend cheese on top. The ricotta adds creaminess while the shredded cheese creates a golden crust.
- Final Touch. Sprinkle 2 tablespoons chopped fresh cilantro across all cups and drizzle each with a thin line of 2 tablespoons salsa. This adds a pop of color and fresh flavor.
Similar Recipes
 Dinner
Caprese Chicken Skewers with a Balsamic Glaze: A Flavorful Italian Delight
Delicious Caprese Chicken Skewers with a Balsamic Glaze: A Flavorful Italian Delight
 Dinner
Sweet Chili Chicken Stir Fry
Delicious Sweet Chili Chicken Stir Fry
 Dinner
Cajun Salmon Rice Bowls: A Flavorful Journey to the South
Delicious Cajun Salmon Rice Bowls: A Flavorful Journey to the South
 Dinner
slow cooker turkey stew with garlic potatoes and carrots for warm meals
Learn how to make delicious slow cooker turkey stew with garlic potatoes and carrots for warm…
 Dinner
35-Minuten cremiges Beef Stroganoff mit Eiernudeln – unwiderstehlich!
Learn how to make delicious 35-Minuten cremiges Beef Stroganoff mit Eiernudeln – unwiderstehlich!. Easy recipe with…
 Dinner
warm spinach and carrot soup with garlic for comforting winter suppers
Learn how to make delicious warm spinach and carrot soup with garlic for comforting winter suppers.…
 Dinner
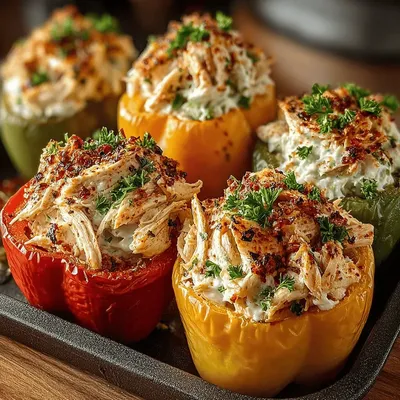
Colorful Chicken Salad Stuffed Peppers
Delicious Colorful Chicken Salad Stuffed Peppers
 Dinner
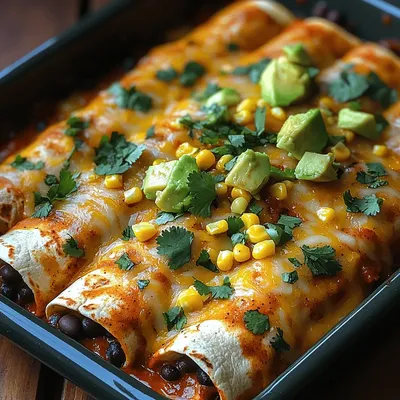
Spicy Black Bean Bliss Enchiladas: A Flavorful Vegetarian Delight
Delicious Spicy Black Bean Bliss Enchiladas: A Flavorful Vegetarian Delight

Susan
I cook these recipes at home before they ever land here — simple ingredients, clear steps.