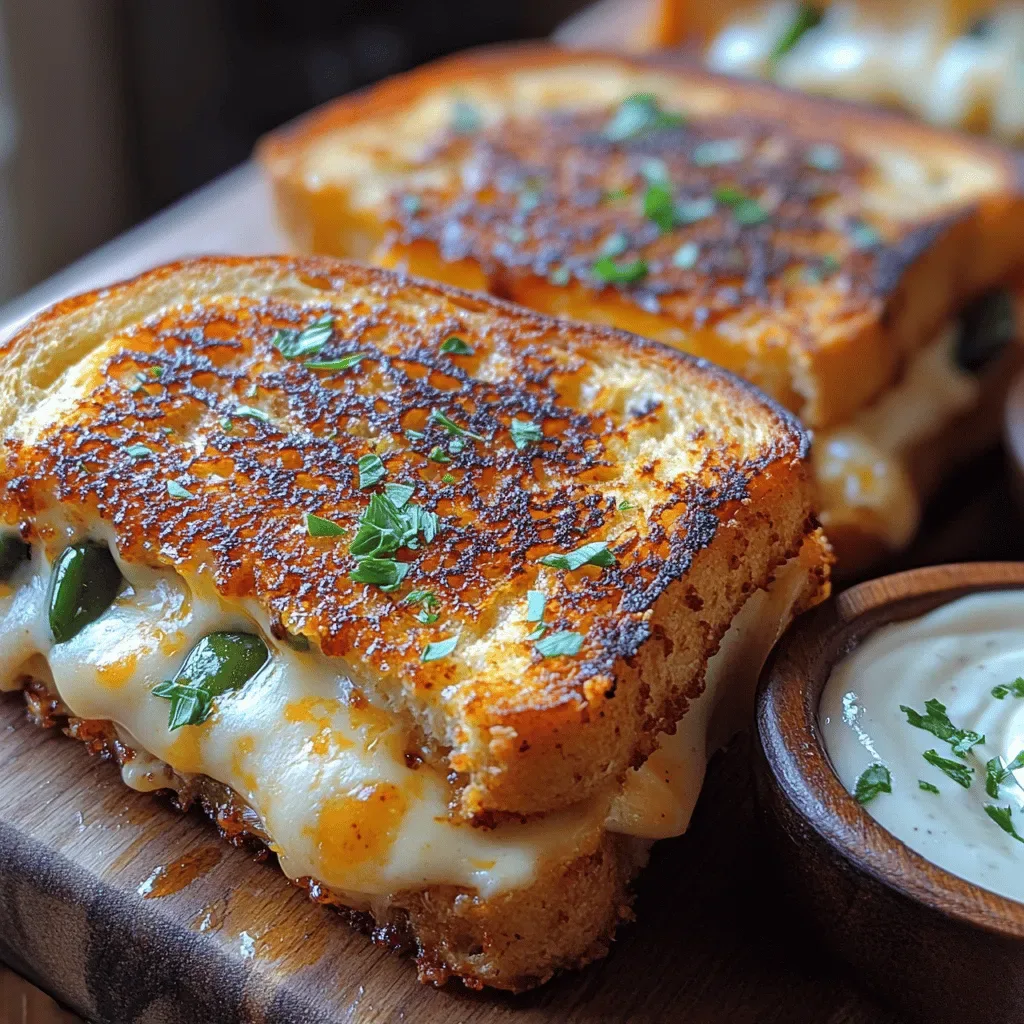
Spicy Jalapeño Popper Grilled Cheese: A Comfort Food with a Fiery Twist
 Save
Save
Imagine the classic comfort of a grilled cheese, but with a surprise burst of heat, creaminess, and a hint of tang. That’s exactly what the Spicy Jalapeño Popper Grilled Cheese delivers—a nostalgic sandwich upgraded with bold flavors that make every bite unforgettable.
What sets this sandwich apart is the marriage of melty cheddar, fiery jalapeños, and a smooth, cheesy popper filling that oozes out when the bread is sliced. A drizzle of garlic‑infused butter adds a fragrant crunch, while a dash of smoked paprika gives a subtle smokiness that lingers on the palate.
This dish is perfect for brunch lovers, lazy weekend breakfasts, or anyone craving a hearty snack with a kick. Kids who love cheese and adults who enjoy a little spice will both be reaching for seconds.
From assembling the layers to achieving that perfect golden crust, the process is straightforward: butter the bread, spread the popper mixture, grill until bubbly, and finish with a quick flip for an extra‑crisp edge. Ready to fire up the pan? Let’s dive in.
Why You'll Love This Recipe
Fiery Comfort: The jalapeño heat is balanced by creamy cheese, giving you comfort food with an exciting twist that awakens the taste buds.
Quick & Easy: All components can be prepped in under ten minutes, making it ideal for busy mornings or impromptu brunches.
Customizable Layers: Swap cheeses, adjust spice level, or add extra veggies—your sandwich, your rules.
Family‑Friendly Fun: Kids love the melty cheese pull, while adults appreciate the subtle heat, creating a crowd‑pleasing dish for all ages.
Tips & Tricks
Perfecting the Recipe
Even Butter Layer: Spread butter to the very edges of the bread; this creates a uniform crust and prevents soggy spots.
Control the Heat: Start at medium, then drop to medium‑low if the bread darkens before the cheese melts. This balances crispness with melt.
Use a Press: A heavy skillet or a grill press adds even pressure, helping the cheese pull together and the filling stay inside.
Season the Filling: Add a pinch of sea salt to the popper mixture; it brightens the jalapeño heat and deepens the cheese flavor.
Flavor Enhancements
Stir a splash of lime juice into the popper filling for a zesty lift, or incorporate a teaspoon of chipotle in adobo for smoky heat. A thin layer of caramelized onions adds sweetness that balances the spice beautifully.
Common Mistakes to Avoid
Never use cold butter; it won’t spread evenly and can cause uneven browning. Also, avoid over‑filling the sandwich—excess filling leaks out, making the bread soggy and the pan messy.
Pro Tips
Pre‑Grate Cheese: Grating cheese ahead of time ensures quick melting and a consistent texture throughout the sandwich.
Use a Cast‑Iron Skillet: It retains heat exceptionally well, giving you a uniformly toasted exterior.
Cover Mid‑Cook: A quick lid cover for 30 seconds helps the interior melt without over‑browning the crust.
Rest Before Cutting: A brief rest lets the cheese set, preventing a messy spill when you slice.
Variations
Ingredient Swaps
Swap sourdough for rye or whole‑grain for extra nuttiness. Use pepper jack instead of cheddar for a built‑in heat boost. Replace jalapeños with pickled banana peppers for a milder tang, or add a spoonful of roasted red pepper puree for smoky sweetness.
Dietary Adjustments
For gluten‑free diners, choose certified gluten‑free bread or large lettuce leaves as a wrap. Vegan versions work with plant‑based butter, dairy‑free cheese shreds, and a tofu‑based “cream cheese.” Keep the spice level in check by omitting jalapeños or using a milder pepper.
Serving Suggestions
Pair the sandwich with a simple arugula salad tossed in lemon vinaigrette, or serve alongside sweet potato hash for a hearty brunch plate. A side of fresh fruit balances the heat, while a dollop of sour cream offers cool contrast.
Storage Info
Leftover Storage
Allow any leftovers to cool to room temperature, then wrap each sandwich tightly in parchment and place in an airtight container. Refrigerate for up to 3 days. For longer keep, freeze individually wrapped portions for up to 2 months; this prevents freezer burn and preserves flavor.
Reheating Instructions
Reheat frozen sandwiches in a preheated 350°F oven for 12‑15 minutes, uncovered, until the crust regains its crunch and the cheese is bubbly. For refrigerated leftovers, a 5‑minute skillet reheat on medium heat works well—press gently to restore crispness without drying the interior.
Frequently Asked Questions
Can I make this recipe ahead of time?
How spicy is this sandwich, and can I adjust the heat?
What sides pair best with this grilled cheese?
Can I use a panini press instead of a skillet?
This Spicy Jalapeño Popper Grilled Cheese delivers the cozy comfort of a classic sandwich while turning up the flavor dial with creamy heat and smoky notes. We’ve covered everything—from ingredient selection and precise cooking steps to storage, variations, and troubleshooting—so you can master it with confidence. Feel free to experiment with cheeses, breads, or extra toppings; the recipe is a flexible canvas for your culinary imagination. Enjoy the perfect blend of comfort and spice at your next brunch or lazy weekend morning!
Spicy Jalapeño Popper Grilled Cheese: A Comfort Food with a Fiery Twist
Delicious Spicy Jalapeño Popper Grilled Cheese: A Comfort Food with a Fiery Twist
Ingredients
Bread & Butter
- 8 slices sourdough bread (about 1 mm thick)
- 3 Tbsp unsalted butter, softened
- 1 tsp garlic powder
Cheese & Filling
- 1 cup sharp cheddar, grated
- 4 oz cream cheese, softened
- 2 jalapeños, seeded & finely diced
- ¼ cup shredded mozzarella
Seasonings & Extras
- ½ tsp smoked paprika
- ¼ tsp freshly ground black pepper
- Pinch of sea salt (optional)
Instructions
Cook the Grilled Cheese
- Preheat the Skillet. Place a large non‑stick skillet over medium heat and let it warm for 2‑3 minutes. A properly heated pan prevents the bread from soaking up excess butter and ensures an even golden crust.
- Grill the First Side. Add two assembled sandwiches to the pan, buttered side down. Cook for 3‑4 minutes, watching for a deep amber color. Resist the urge to move them; a still‑hot surface creates the signature crunch.
- Flip Carefully. Using a wide spatula, gently turn each sandwich. Cook the second side for another 3‑4 minutes, pressing lightly with the spatula to encourage even melting.
- Check for Melt. Lift a corner; the cheese should be fully melted and the jalapeño popper filling bubbling. If the bread browns too quickly, lower the heat to medium‑low and cover the pan for 1 minute to finish the melt without burning.
- Rest & Slice. Transfer the sandwiches to a cutting board and let them rest for 2 minutes. This short rest lets the cheese set just enough to avoid a messy spill when sliced. Cut diagonally for classic presentation.
Similar Recipes
 Appetizers
Fresh Caprese Stuffed Portobellos: A Symphony of Flavors and Freshness
Delicious Fresh Caprese Stuffed Portobellos: A Symphony of Flavors and Freshness
 Appetizers
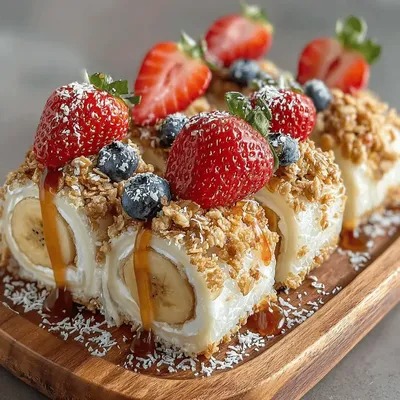
Peanut Butter Banana Sushi Rolls: A Delicious and Fun Recipe
Delicious Peanut Butter Banana Sushi Rolls: A Delicious and Fun Recipe
 Appetizers
Zesty Lemon Garlic Roasted Chickpeas: A Healthy Snack Reimagined
Delicious Zesty Lemon Garlic Roasted Chickpeas: A Healthy Snack Reimagined
 Appetizers
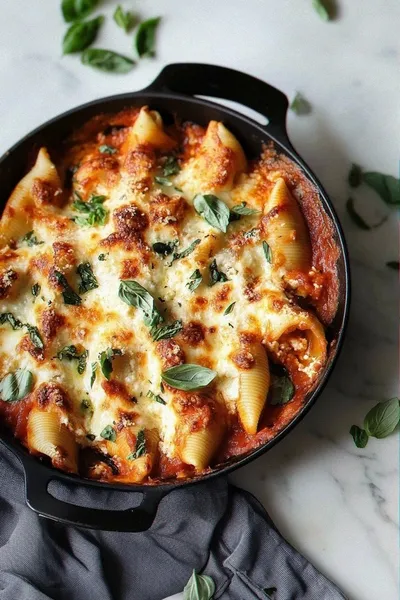
Spinach and Rillcotta Stuffed Shes
Learn how to make delicious Spinach and Rillcotta Stuffed Shes. Easy recipe with step-by-step instructions.
 Appetizers
Tropical Tango Mango Avocado Salsa Recipe
Delicious Tropical Tango Mango Avocado Salsa Recipe
 Appetizers
Chilled Mediterranean Tuna Pasta Salad Recipe
Delicious Chilled Mediterranean Tuna Pasta Salad Recipe
 Appetizers
Golden Crispy Salmon Cakes with Zesty Lemon-Dill Delight
Learn how to make delicious Golden Crispy Salmon Cakes with Zesty Lemon-Dill Delight. Easy recipe with…
 Appetizers
Mini Jalapeño Popper Flatbreads
Delicious Mini Jalapeño Popper Flatbreads

Susan
I cook these recipes at home before they ever land here — simple ingredients, clear steps.