Zesty Delight Mini Lemon Cheesecakes
 Save
Save
Imagine a bite‑sized burst of sunshine on your brunch table – that’s the promise of Zesty Delight Mini Lemon Cheesecakes. Each tiny tart boasts a buttery graham‑cracker crust, a silky lemon‑infused filling, and a whisper of whipped topping that makes every forkful feel like a celebration.
What sets this recipe apart is the balance between tangy lemon zest and sweet cream cheese, enhanced by a subtle hint of vanilla. The mini size means you can serve a stack on a platter, letting guests pick their perfect portion without the mess of cutting a large cake.
This dish is a hit for early‑morning gatherings, lazy weekend brunches, or even a sophisticated tea‑time treat. Kids love the bright flavor, while adults appreciate the elegant presentation.
The process is straightforward: crush the crust, blend a light filling, pour into ramekins, and bake just until the edges are set. A quick chill, a dollop of whipped cream, and you’re ready to wow the crowd.
Why You'll Love This Recipe
Bright Citrus Punch: Fresh lemon zest and juice give each bite a lively, refreshing tang that cuts through the richness of the cream cheese, creating a perfectly balanced flavor.
Mini‑Size Convenience: Individual ramekins mean no cutting, no mess, and effortless serving—ideal for buffet‑style brunches or for guests who love portion control.
Simple Prep, Elegant Result: With just a handful of pantry staples and a few minutes of mixing, you’ll produce a dessert that looks as impressive as it tastes.
Versatile Pairings: These cheesecakes pair beautifully with fresh berries, a drizzle of honey, or a dusting of powdered sugar, letting you customize the final look.
Tips & Tricks
Perfecting the Recipe
Room‑temperature dairy. Soften cream cheese and bring eggs to room temperature before mixing. This prevents a grainy texture and ensures a smooth, homogenous batter.
Don’t over‑bake. The center should still jiggle slightly when you tap the ramekin. Over‑baking creates cracks and a dry mouthfeel.
Use a water bath. The bain‑marie supplies even, gentle heat, which is the secret to a crack‑free surface.
Chill thoroughly. A minimum of 2 hours in the fridge firms the filling, making it easier to unmold and serve.
Flavor Enhancements
Add a teaspoon of finely grated orange zest for a citrus duet, or swirl in a tablespoon of raspberry puree just before chilling for a subtle fruit ribbon. A drizzle of honey on the finished topping adds a delicate floral sweetness that pairs beautifully with lemon.
Common Mistakes to Avoid
Avoid using cold butter for the crust; it won’t bind properly and the base may crumble. Also, resist the urge to over‑mix the filling once the eggs are added—excessive beating can incorporate too much air, leading to a puffy, uneven texture.
Pro Tips
Grate zest finely. Use a micro‑plane to release essential oils without bitter white pith, maximizing lemon aroma.
Invest in a kitchen scale. Precise measurements, especially for the crust, guarantee consistency batch after batch.
Serve on a chilled plate. A cold surface keeps the cheesecake firm longer, especially during warm brunch gatherings.
Use silicone ramekins. They release effortlessly after chilling, reducing the risk of breaking the delicate crust.
Variations
Ingredient Swaps
Replace graham crackers with vanilla wafers for a sweeter crust, or use almond flour mixed with melted coconut oil for a gluten‑free base. For a dairy‑free version, swap cream cheese with a firm tofu‑based cream cheese alternative and use coconut cream in the topping.
Dietary Adjustments
To keep the recipe keto‑friendly, substitute the granulated sugar with erythritol or a monk‑fruit blend. Use a low‑carb sweetener in the whipped‑cream topping as well. For a low‑sugar option, halve the sugar in the crust and filling, relying on the natural tartness of extra lemon zest for flavor.
Serving Suggestions
Plate the mini cheesecakes on a decorative tray with fresh berries, a drizzle of passion‑fruit coulis, or a scattering of toasted coconut flakes. Pair with a sparkling citrus mocktail or a chilled glass of Prosecco for an elegant brunch presentation.
Storage Info
Leftover Storage
Allow any leftovers to come to room temperature, then cover each ramekin tightly with plastic wrap or place them in an airtight container. Store in the refrigerator for up to 4 days. For longer keeping, freeze the cheesecakes (without whipped topping) in a single layer, then transfer to a freezer‑safe bag for up to 2 months.
Reheating Instructions
To enjoy chilled leftovers, simply serve them cold. If you prefer a warm dessert, preheat the oven to 300°F (150°C), uncover the ramekins, and heat for 8‑10 minutes until the topping softens. Avoid microwaving, as it can cause the filling to become grainy.
Frequently Asked Questions
Can I make these mini cheesecakes a day ahead?
What if I don’t have a water bath?
Can I substitute lime for lemon?
How do I prevent cracks on the surface?
This Zesty Delight Mini Lemon Cheesecake recipe blends bright citrus with creamy indulgence, all in a convenient bite‑size format perfect for brunch tables. By following the step‑by‑step guide, using the tips provided, and experimenting with the suggested variations, you’ll create a crowd‑pleasing treat that feels both elegant and effortless. Feel free to add your own twists—perhaps a berry swirl or a dash of spice—and enjoy every sunny spoonful.
Zesty Delight Mini Lemon Cheesecakes
Delicious Zesty Delight Mini Lemon Cheesecakes
Ingredients
Crust
- 1 cup (≈100 g) graham cracker crumbs
- 2 tablespoons granulated sugar
- 3 tablespoons unsalted butter, melted
Filling
- 16 oz (450 g) cream cheese, softened
- ½ cup (100 g) granulated sugar
- 2 large eggs, room temperature
- ¼ cup (60 ml) freshly squeezed lemon juice
- 1 tablespoon lemon zest (about 1 large lemon)
- 1 teaspoon vanilla extract
Topping (Optional)
- ½ cup heavy cream
- 1 tablespoon powdered sugar
- Extra lemon zest for garnish
Instructions
Forming the Base
- Distribute crumbs. Evenly spoon the crumb mixture into twelve 4‑oz ramekins, pressing firmly with the back of a spoon or the bottom of a glass. A compact base prevents the filling from sinking.
- Bake the crust. Place the ramekins on a baking sheet and bake for 7‑8 minutes, or until the edges turn a light golden brown. This short bake sets the crust without drying it out.
- Cool while you mix. Remove the crusts from the oven and let them cool on a wire rack while you prepare the lemon filling.
Baking the Mini Cheesecakes
- Fill the ramekins. Spoon the lemon filling over each pre‑baked crust, smoothing the tops with a spatula. Fill to within ¼ inch of the rim; the filling will rise slightly.
- Water bath. Place the baking sheet with ramekins inside a larger pan filled with hot water that reaches halfway up the sides of the ramekins. This gentle, moist heat prevents cracks.
- Bake. Slide the water bath into the oven and bake for 18‑20 minutes, or until the edges are set and the centers still wobble gently when the ramekin is shaken.
- Cool & chill. Remove the cheesecakes from the water bath and let them sit at room temperature for 30 minutes. Then refrigerate for at least 2 hours, preferably overnight, to allow the filling to firm up.
Similar Recipes
 Desserts
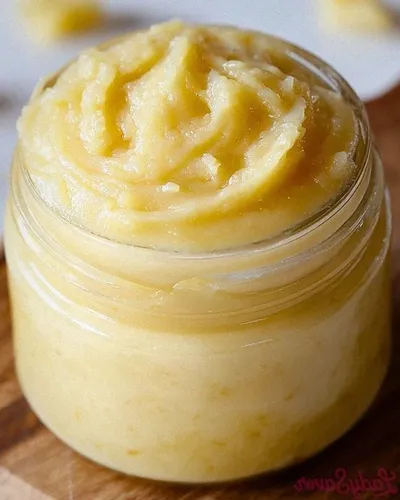
Monkey Butter
Learn how to make delicious Monkey Butter. Easy recipe with step-by-step instructions.
 Desserts
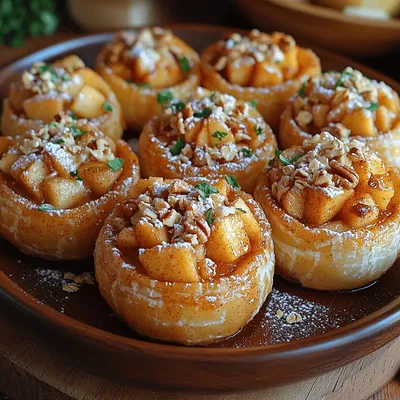
Sweet Cinnamon Apple Bites
Delicious Sweet Cinnamon Apple Bites
 Desserts
Sweet Maple Glazed Donut Holes: A Delicious Treat to Savor
Delicious Sweet Maple Glazed Donut Holes: A Delicious Treat to Savor
 Desserts
Frozen Banana Caramel Yogurt Cups
Delicious Frozen Banana Caramel Yogurt Cups
 Desserts
Frozen Banana Cinnamon Swirl Pops: Your Guide to Perfecting the Treat
Delicious Frozen Banana Cinnamon Swirl Pops: Your Guide to Perfecting the Treat
 Desserts
Pecan Pie Dump Cake: A Delicious Twist on a Classic Dessert
Delicious Pecan Pie Dump Cake: A Delicious Twist on a Classic Dessert
 Desserts
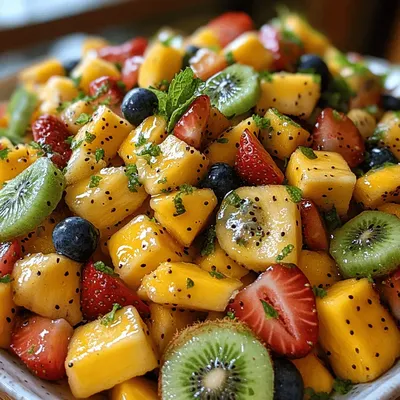
Tropical Fruit Melange with Honey Lime Bliss: A Refreshing Delight
Delicious Tropical Fruit Melange with Honey Lime Bliss: A Refreshing Delight
 Desserts
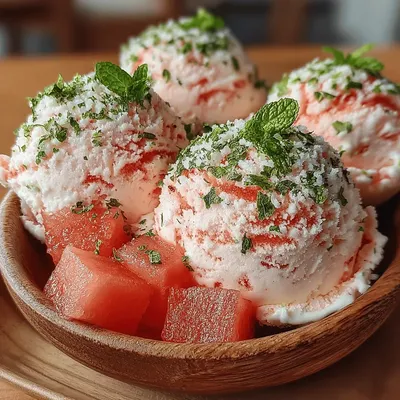
Grilled Watermelon Ice Cream Recipe
Delicious Grilled Watermelon Ice Cream Recipe

Susan
I cook these recipes at home before they ever land here — simple ingredients, clear steps.