Zesty Lemon Garlic Roasted Chickpeas: A Healthy Snack Reimagined
 Save
Save
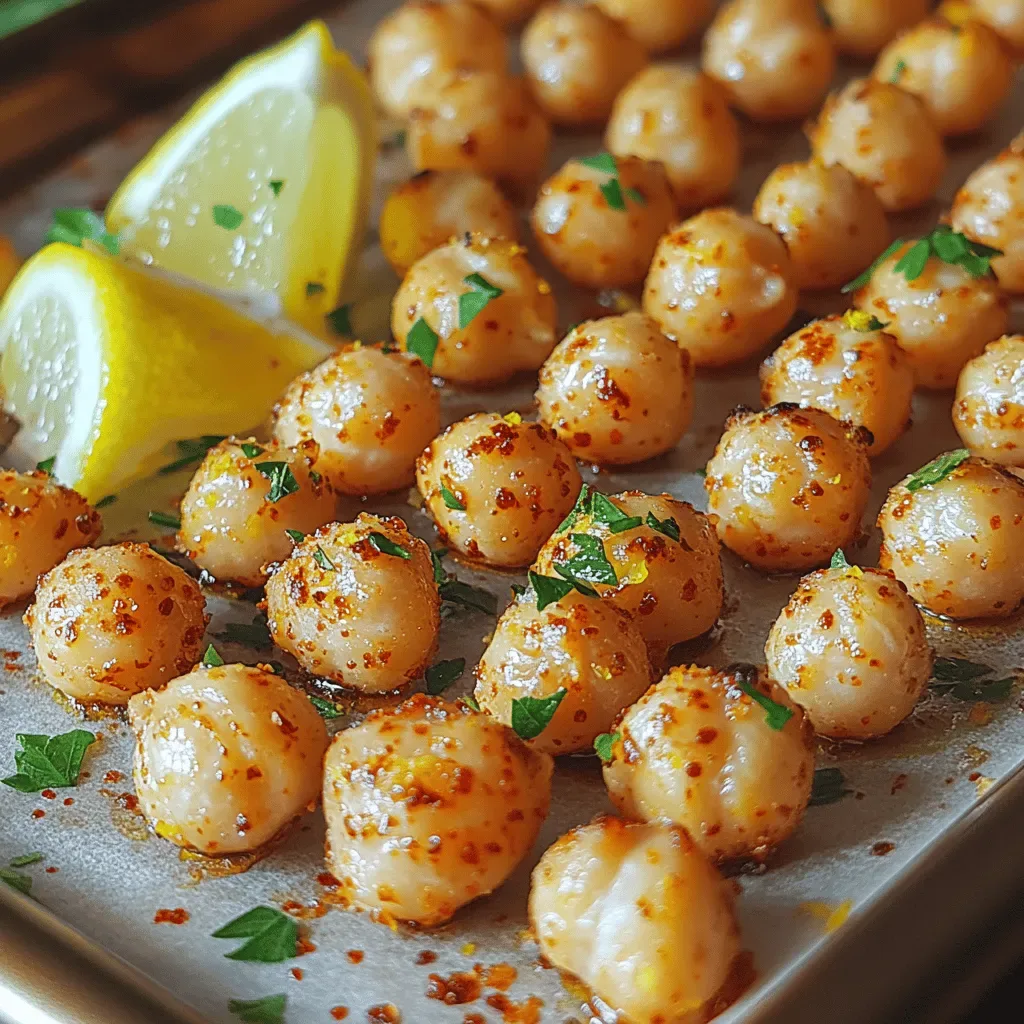
Craving a snack that feels indulgent yet keeps you on track with your health goals? Meet the Zesty Lemon Garlic Roasted Chickpeas: a crunchy, bright‑flavored bite that transforms a pantry staple into a brunch‑worthy treat. This recipe takes humble chickpeas, tosses them in a lemon‑garlic‑olive oil glaze, and roasts them to a perfect, golden crisp.
What sets this snack apart is the balance of tangy citrus, aromatic garlic, and a hint of smoked paprika that creates layers of flavor without any heavy sauces or excess oil.
Busy parents, brunch‑hosting friends, and anyone looking for a protein‑packed snack will love it. Serve it at a weekend brunch table, as a midday pick‑me‑up, or alongside avocado toast for a satisfying start to the day.
The process is straightforward: soak, season, and roast. In just half an hour you’ll have a batch of chickpeas that stay crunchy even after cooling, making them perfect for prep‑ahead snacking.
Why You'll Love This Recipe
Bright Zest: Fresh lemon juice cuts through the earthiness of chickpeas, delivering a lively, palate‑cleansing bite that feels lighter than typical roasted snacks.
Protein‑Rich Power: Each cup of chickpeas supplies over 15 grams of plant‑based protein and fiber, keeping you satisfied and supporting steady energy through the morning.
Simple Prep: With only a handful of pantry staples and a single roasting step, this snack fits into even the busiest brunch‑prep schedule.
Versatile Crunch: The chickpeas stay crisp for days, making them ideal for on‑the‑go snacks, salad toppers, or a crunchy side at your brunch spread.
Tips & Tricks
Perfecting the Recipe
Dry Thoroughly. Pat the chickpeas completely dry before adding oil; any remaining water will steam the beans and prevent crispness.
Use High Heat. 425°F guarantees the Maillard reaction that gives the beans their golden crunch without drying them out.
Flavor Enhancements
Add a pinch of red‑pepper flakes to the glaze for subtle heat, or drizzle a teaspoon of honey after roasting for a sweet‑savory contrast. Fresh herbs like cilantro or dill can replace parsley for a different aromatic profile.
Common Mistakes to Avoid
Skipping the drying step leads to soggy chickpeas, and overcrowding the baking sheet causes steaming rather than roasting. Also, resist the urge to over‑season; the lemon will intensify saltiness if added in excess.
Pro Tips
Batch‑Roast. Roast a full 15‑ounce can at once; the leftovers store well and stay crunchy for days, making them perfect for grab‑and‑go snacks.
Finish with a Squeeze. A final drizzle of fresh lemon juice right before serving brightens the flavor and revives the zestiness.
Use a Wire Rack. Placing the chickpeas on a wire rack set over a baking sheet allows air to circulate, promoting even browning.
Season While Hot. Salt and herbs cling best to warm beans, so add any final seasoning immediately after they exit the oven.
Variations
Ingredient Swaps
Substitute canned chickpeas with cooked lentils or black beans for a different texture. Swap the lemon for lime or orange zest to explore new citrus notes. For a smoky twist, replace smoked paprika with chipotle powder or add a dash of liquid smoke to the glaze.
Dietary Adjustments
This snack is naturally vegan and gluten‑free. If you need a low‑sodium version, reduce the sea salt and finish with a sprinkle of nutritional yeast for umami. For a keto‑friendly spin, omit the baking soda and increase the olive oil proportion slightly.
Serving Suggestions
Pair the roasted chickpeas with a creamy avocado toast, sprinkle over a quinoa breakfast bowl, or serve alongside Greek yogurt and fresh fruit for a balanced brunch plate. They also make a crunchy topping for soups and salads.
Storage Info
Leftover Storage
Allow the chickpeas to cool completely, then transfer them to an airtight container. Store in the refrigerator for up to 4 days. For longer keeping, portion into freezer‑safe bags, squeeze out excess air, and freeze for up to 3 months. The crispness may soften after refrigeration, but a quick re‑roast restores it.
Reheating Instructions
Preheat your oven to 350°F (175°C), spread the chilled chickpeas on a baking sheet, and heat for 8‑10 minutes, stirring halfway. This revives the crunch without drying them out. In a pinch, microwave on high for 30‑seconds, then finish under a broiler for 2 minutes to regain crispness.
Frequently Asked Questions
Can I make this snack ahead of time?
What if I only have dried chickpeas?
Can I add other spices?
This Zesty Lemon Garlic Roasted Chickpeas recipe delivers a bright, crunchy snack that’s perfect for brunch tables or quick morning bites. We’ve covered every step—from selecting the right chickpeas to mastering the roast—plus storage tips, variations, and answers to common questions. Feel free to tweak the herbs, spices, or citrus to suit your palate; the core technique stays the same. Enjoy the burst of flavor and the confidence that comes from a snack that’s both nutritious and irresistibly tasty!
Zesty Lemon Garlic Roasted Chickpeas: A Healthy Snack Reimagined
Delicious Zesty Lemon Garlic Roasted Chickpeas: A Healthy Snack Reimagined
Ingredients
Chickpeas
- 2 (15‑ounce) cans chickpeas, drained and rinsed
- 1 tablespoon baking soda (optional, for extra crispness)
Marinade & Coating
- 2 tablespoons extra‑virgin olive oil
- 1 large lemon, zest and juice
- 3 cloves garlic, minced
Seasonings
- ½ teaspoon smoked paprika
- ¼ teaspoon ground cumin
- ½ teaspoon sea salt (adjust to taste)
- ¼ teaspoon freshly ground black pepper
Garnish (Optional)
- Fresh parsley, chopped – for color
- Extra lemon zest – for an extra pop
Instructions
Seasoning & Marinating
- Make the glaze. In a medium bowl combine 2 tablespoons olive oil, the zest and juice of one lemon, 3 cloves minced garlic, ½ teaspoon smoked paprika, ¼ teaspoon cumin, ½ teaspoon sea salt, and ¼ teaspoon black pepper. Whisk until emulsified; the lemon juice will help the oil coat each chickpea uniformly.
- Coat the chickpeas. Transfer the dried chickpeas to a large mixing bowl. Pour the glaze over them and toss gently, ensuring every bean is glossy and evenly seasoned. Let the mixture rest for 5 minutes; this short marination allows the flavors to penetrate the outer layer.
Roasting
- Preheat the oven. Set your oven to 425°F (220°C). A high temperature is crucial for achieving a crunchy exterior while keeping the interior tender.
- Spread evenly. Line a baking sheet with parchment paper. Spread the chickpeas in a single layer, making sure they’re not stacked. Overcrowding creates steam, which softens the beans instead of crisping them.
- Roast and stir. Roast for 20‑25 minutes, shaking the pan or stirring the beans every 8 minutes. You’ll notice them turning golden and starting to pop. The visual cue is a deep amber color and a fragrant, toasted aroma.
- Finish and cool. Once crisp, remove the pan from the oven. Sprinkle optional fresh parsley and an extra pinch of lemon zest while still warm. Transfer to a cooling rack; the residual heat will finish the crisping process without over‑drying.
Similar Recipes
 Appetizers
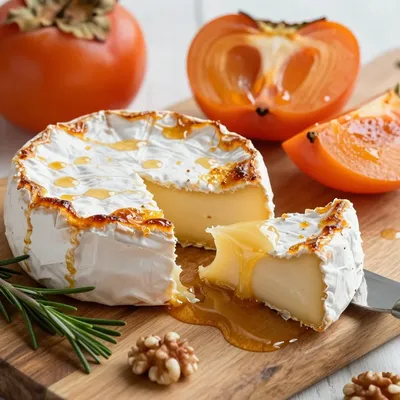
baked brie with persimmons and honey for festive holiday appetizers
Learn how to make delicious baked brie with persimmons and honey for festive holiday appetizers. Easy…
 Appetizers
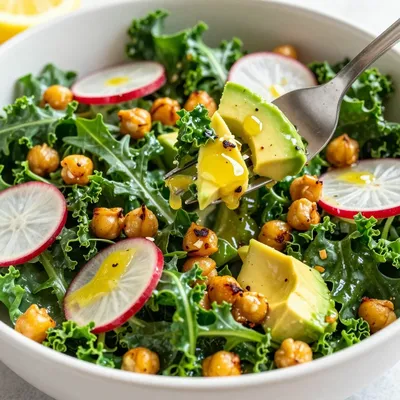
New Year Detox Salad with Pantry Chickpeas and Lemon
Learn how to make delicious New Year Detox Salad with Pantry Chickpeas and Lemon. Easy recipe…
 Appetizers
Egg bites with cottage cheese
Learn how to make delicious Egg bites with cottage cheese. Easy recipe with step-by-step instructions.
 Appetizers
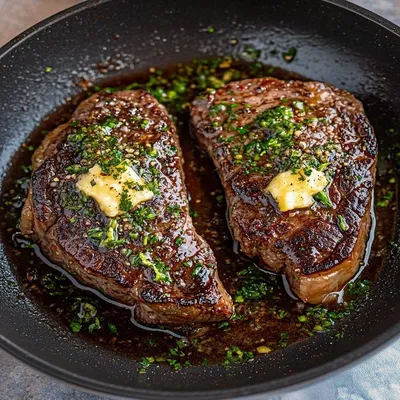
Perfect Pan Seared Steak with Garlic Butter Recipe
Learn how to make delicious Perfect Pan Seared Steak with Garlic Butter Recipe. Easy recipe with…
 Appetizers
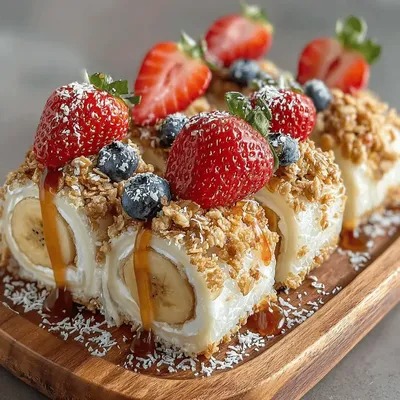
Peanut Butter Banana Sushi Rolls: A Delicious and Fun Recipe
Delicious Peanut Butter Banana Sushi Rolls: A Delicious and Fun Recipe
 Appetizers
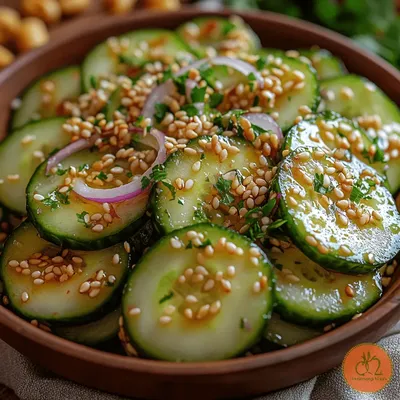
Crunchy Sesame Cucumber Salad
Delicious Crunchy Sesame Cucumber Salad
 Appetizers
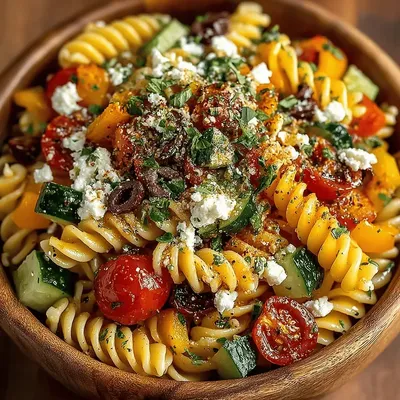
Colorful Back-to-School Pasta Salad: A Nutritious and Versatile Recipe
Delicious Colorful Back-to-School Pasta Salad: A Nutritious and Versatile Recipe
 Appetizers
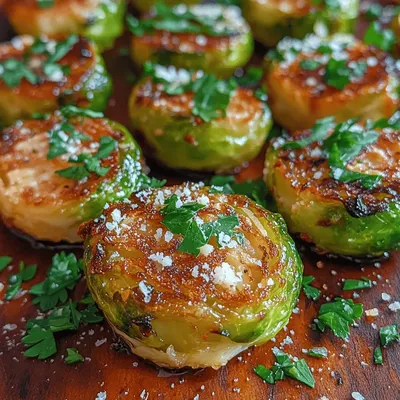
Crispy Balsamic Brussels Sprouts Delight: A Flavorful Vegetable Recipe
Delicious Crispy Balsamic Brussels Sprouts Delight: A Flavorful Vegetable Recipe

Susan
I cook these recipes at home before they ever land here — simple ingredients, clear steps.