Crispy Sweet Chili Chicken Wraps
 Save
Save
Imagine biting into a warm, golden‑crisp tortilla that holds tender chicken drenched in a glossy sweet‑chili glaze, all brightened by fresh veggies and a hint of lime. That’s the magic of Crispy Sweet Chili Chicken Wraps—an easy‑to‑make breakfast‑brunch staple that feels indulgent without the fuss.
What sets this wrap apart is the contrast between the crunchy coating on the chicken and the silky, slightly spicy sauce that clings to every bite. The sauce balances honeyed sweetness with a gentle kick of chili, while the vegetables add crunch and a burst of color.
Busy parents, brunch‑loving friends, or anyone craving a handheld meal that’s both satisfying and vibrant will adore this dish. It works perfectly for a relaxed weekend brunch, a quick weekday breakfast on the go, or even a casual lunch.
The process is straightforward: marinate the chicken, pan‑sear it to achieve crispness, toss it in a quick sweet‑chili glaze, then assemble the wraps with crisp slaw and a drizzle of lime‑yogurt sauce. In under an hour you’ll have a crowd‑pleasing plate that looks as good as it tastes.
Why You'll Love This Recipe
Bold Sweet‑Spicy Flavor: The honey‑chili glaze delivers a perfect balance of sweetness and heat that awakens the palate without overwhelming it.
Hand‑Held Convenience: Wrapped in a soft tortilla, the dish is easy to eat standing up, making it ideal for brunch buffets or on‑the‑go mornings.
Texture Play: Crispy chicken, crunchy slaw, and creamy sauce create a satisfying mouthfeel that keeps you reaching for another bite.
Family‑Friendly Prep: Minimal chopping and a single‑pan cooking method mean less mess and more time spent enjoying the meal together.
Tips & Tricks
Perfecting the Recipe
Pat the Chicken Dry. Before searing, blot the strips with paper towels. Less surface moisture means a better, crisper crust.
Use a Heavy‑Bottom Skillet. Cast iron or stainless steel distributes heat evenly, preventing hot spots that can burn the glaze.
Don’t Overcrowd the Pan. Cook in batches if necessary; crowding creates steam, which softens the coating instead of crisping it.
Rest Before Slicing. Let the chicken rest 3‑4 minutes after searing; this redistributes juices and keeps the meat moist.
Flavor Enhancements
Add a teaspoon of freshly grated ginger to the glaze for an aromatic lift, or finish with a sprinkle of toasted sesame seeds for nutty depth. A dash of lime zest in the yogurt drizzle brightens the entire bite, while a few thin slices of jalapeño add a controlled burst of heat for spice lovers.
Common Mistakes to Avoid
Skipping the short marination leaves the chicken bland, and over‑cooking the glaze can turn it bitter. Also, avoid using low‑heat settings when searing; the chicken needs a hot surface to develop that signature crisp crust. Finally, don’t over‑fill the tortilla—excess filling makes rolling difficult and can cause tearing.
Pro Tips
Make a Double Glaze. Reserve half of the sauce before cooking, then brush it onto the chicken during the final minute for extra shine and flavor.
Use a Meat Thermometer. Checking for 165°F ensures safety without overcooking, preserving juiciness.
Warm the Tortillas Properly. A quick steam over a pot of simmering water makes them supple, preventing cracks when rolling.
Prep All Fillings First. Having slaw, cilantro, and sauce ready before the chicken finishes ensures a seamless assembly.
Variations
Ingredient Swaps
Swap the chicken for thinly sliced pork tenderloin, shrimp, or firm tofu for a vegetarian twist. Replace the red cabbage with purple kale or thinly sliced radishes for a different crunch. If you prefer a fruitier glaze, substitute part of the honey with pineapple juice or mango puree, which adds tropical sweetness without losing the chili kick.
Dietary Adjustments
For a gluten‑free version, use corn or rice tortillas and ensure the soy sauce is certified gluten‑free. To keep it dairy‑free, replace the Greek yogurt drizzle with a coconut‑milk based sauce seasoned with lime and a pinch of salt. Keto diners can swap honey for a low‑carb sweetener such as erythritol and choose low‑carb tortillas made from almond flour.
Serving Suggestions
Pair the wraps with a side of jasmine rice or a light quinoa salad tossed in citrus vinaigrette. A simple cucumber‑mint water or freshly squeezed orange juice complements the sweet‑spicy profile. For a brunch spread, add a fruit platter and a pot of hot tea to balance the heat and add freshness.
Storage Info
Leftover Storage
Allow the chicken and sauce to cool to room temperature (no more than 2 hours), then transfer them to an airtight container. Store in the refrigerator for up to 3 days. If you anticipate a longer gap, portion the chicken and sauce into freezer‑safe bags, label, and freeze for up to 3 months. Keep the tortillas separate to avoid sogginess.
Reheating Instructions
Reheat the chicken in a 350°F (175°C) oven for 10‑12 minutes, covered with foil to retain moisture. For a quicker method, microwave on medium power for 1‑2 minutes, stirring halfway, and add a splash of water or extra glaze to revive the sauce. Warm tortillas briefly on a dry skillet before assembling fresh wraps.
Frequently Asked Questions
Can I make this recipe ahead of time?
Can I use frozen chicken breasts for this dish?
What side dishes pair best with these wraps?
How can I make the wraps spicier without overwhelming the sweetness?
This Crispy Sweet Chili Chicken Wrap brings together bold flavors, satisfying textures, and a handheld convenience that makes brunch feel special. By following the detailed steps, using the suggested tips, and experimenting with the variations, you’ll create a dish that’s both comforting and exciting. Feel free to tweak the heat, swap proteins, or add your favorite veggies—cooking is your playground. Enjoy the bright, crunchy, and sweet‑spicy experience with every bite!
Crispy Sweet Chili Chicken Wraps
Delicious Crispy Sweet Chili Chicken Wraps
Ingredients
Main Ingredients
- 2 large chicken breasts, sliced into thin strips
- 4 large flour tortillas (10‑inch)
- 1 cup shredded red cabbage
- ½ cup julienned carrots
- ¼ cup fresh cilantro leaves, chopped
Sauce / Marinade
- 3 tablespoons honey
- 2 tablespoons soy sauce (low‑sodium)
- 1 tablespoon rice vinegar
- 1 teaspoon sriracha (adjust for heat)
- 1 clove garlic, minced
Seasonings & Garnish
- ½ teaspoon smoked paprika
- Salt and freshly ground black pepper, to taste
- 1 tablespoon olive oil (for searing)
- Juice of ½ lime
- ¼ cup plain Greek yogurt (for drizzle)
Instructions
Creating the Crispy Coating
- Season the Chicken. Sprinkle the marinated strips with smoked paprika, salt, and black pepper. Toss gently—this adds depth and helps form a light crust when seared.
- Heat the Pan. Place a large skillet over medium‑high heat and add olive oil. When the oil shimmers (about 2 minutes), it’s hot enough to sear without sticking.
- Sear the Strips. Arrange the chicken in a single layer, being careful not to crowd the pan. Cook for 3‑4 minutes without moving, allowing a golden crust to develop. Flip and cook another 3‑4 minutes until the interior reaches 165°F (74°C). The quick sear locks in juices and creates that coveted crispness.
- Glaze the Chicken. Reduce the heat to medium and pour the remaining marinade into the pan. Stir, scraping up any browned bits (fond) for extra flavor. Let the sauce simmer for 2‑3 minutes, coating the chicken in a glossy, slightly thickened glaze.
Similar Recipes
 Dinner
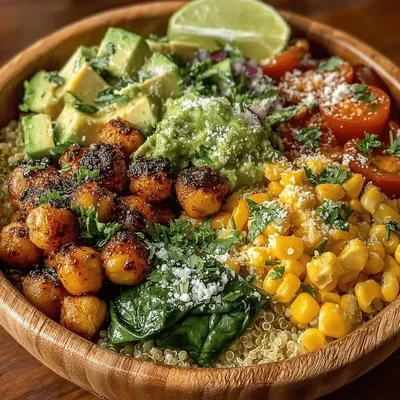
Spicy Roasted Chickpea Avocado Bowls: A Delicious and Nutritious Meal
Delicious Spicy Roasted Chickpea Avocado Bowls: A Delicious and Nutritious Meal
 Dinner
NFL Playoff Honey Mustard Chicken Tenders for Kids
Learn how to make delicious NFL Playoff Honey Mustard Chicken Tenders for Kids. Easy recipe with…
 Dinner
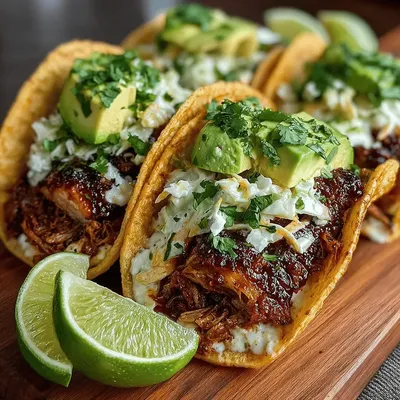
Sweet & Smoky Pulled BBQ Chicken Wraps
Delicious Sweet & Smoky Pulled BBQ Chicken Wraps
 Dinner
meal prep friendly roasted carrot and parsnip medley with rosemary
Learn how to make delicious meal prep friendly roasted carrot and parsnip medley with rosemary. Easy…
 Dinner
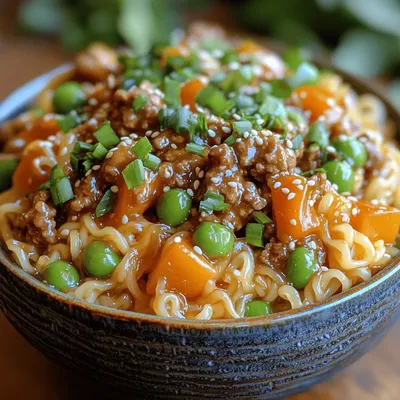
Creating Culinary Harmony: A Guide to Mongolian Beef Noodle Bliss
Delicious Creating Culinary Harmony: A Guide to Mongolian Beef Noodle Bliss
 Dinner
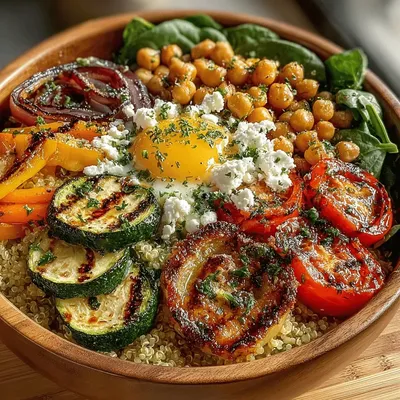
Mediterranean Quinoa Bowl with Roasted Veggies
Delicious Mediterranean Quinoa Bowl with Roasted Veggies
 Dinner
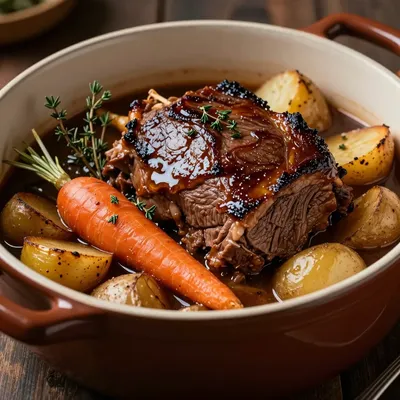
rustic beef pot roast with root vegetables for winter dinners
Learn how to make delicious rustic beef pot roast with root vegetables for winter dinners. Easy…
 Dinner
Divine Garlic Butter Shrimp Scampi Recipe
Delicious Divine Garlic Butter Shrimp Scampi Recipe

Susan
I cook these recipes at home before they ever land here — simple ingredients, clear steps.