Crunchy Sesame Chicken Wraps: The Complete Guide
 Save
Save
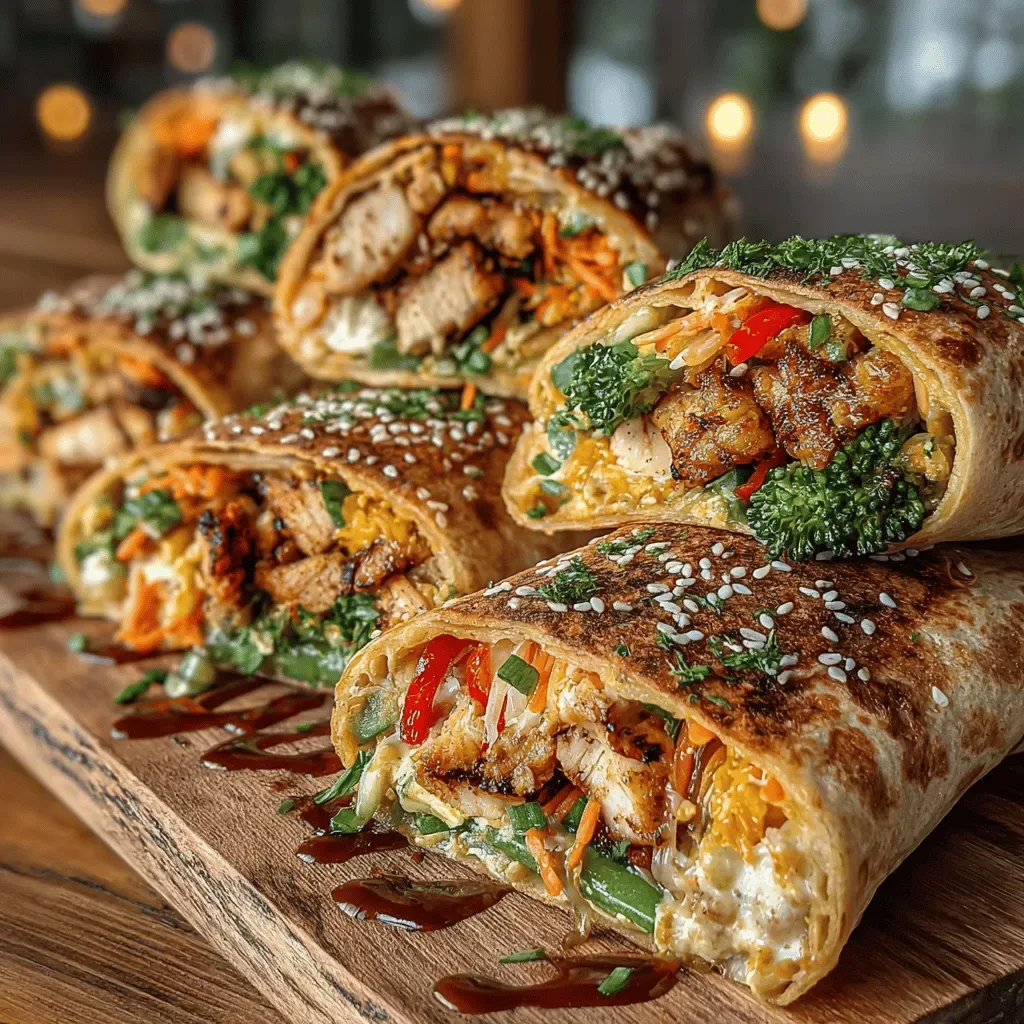
Imagine biting into a warm, golden‑crusted chicken strip that crackles with every chew, then wrapping it in a soft, buttery tortilla speckled with fresh veggies and a silky sesame glaze. That’s the magic of Crunchy Sesame Chicken Wraps—an elevated breakfast that feels like a weekend brunch treat yet is quick enough for a weekday rush.
What sets this recipe apart is the double‑layer of crunch: a light coating of panko and toasted sesame seeds creates a satisfying snap, while a glossy honey‑soy glaze adds a sweet‑savory depth you won’t find in ordinary chicken wraps.
This dish is perfect for families who love handheld meals, brunch‑enthusiasts seeking a protein‑packed start, and anyone craving a handheld dish that feels both comforting and sophisticated.
The process is straightforward: coat the chicken, fry to golden perfection, toss in a quick sesame‑honey sauce, then assemble with crisp lettuce, shredded carrots, and a drizzle of extra sauce inside a warm tortilla. Ready in under 45 minutes, it’s a crowd‑pleaser every time.
Why You'll Love This Recipe
Crunch Factor: A panko‑sesame coating delivers a satisfyingly crisp bite that stays crunchy even after being tossed in sauce, keeping every mouthful exciting.
Balanced Sweet‑Savory: Honey, soy, and rice‑vinegar blend into a glaze that brightens the chicken without overwhelming the fresh vegetables.
Hand‑Held Convenience: Wrapped in a soft tortilla, the dish is easy to eat on the go, making it ideal for busy mornings or lazy brunches.
Customizable Freshness: Add your favorite crunchy veggies or swap the tortilla for a low‑carb wrap to suit any palate or dietary need.
Tips & Tricks
Perfecting the Recipe
Dry the Chicken. Patting the strips dry before coating prevents steam, which can make the coating soggy instead of crisp.
Use Fresh Panko. Fresh panko stays airy and light; stale breadcrumbs absorb too much oil and lose crunch.
Rest the Coated Chicken. Let the coated strips sit for 5 minutes before frying; this helps the coating adhere during cooking.
Flavor Enhancements
Add a splash of fresh lime juice to the glaze right before serving for bright acidity. Sprinkle a pinch of crushed red‑pepper flakes into the sauce for subtle heat, and finish each wrap with a drizzle of toasted sesame oil for an extra nutty aroma.
Common Mistakes to Avoid
Avoid covering the chicken in sauce before frying; the moisture will prevent the crust from crisping. Also, don’t over‑cook the glaze—once it reaches a syrupy consistency it will harden and crack on the chicken.
Pro Tips
Use a Cast‑Iron Skillet. Its even heat retention yields a uniform golden crust and reduces hot spots.
Season the Flour Tortilla. Lightly brush each tortilla with a touch of sesame oil before warming; this adds flavor and prevents sogginess.
Keep a Bowl of Ice Water. If you need to re‑heat a wrap, briefly dip it in ice water before microwaving to retain moisture without losing crunch.
Variations
Ingredient Swaps
Swap chicken for thinly sliced pork tenderloin, shrimp, or firm tofu for a vegetarian twist. Replace the cabbage with thinly sliced radish or pickled daikon for a tangier bite. For a sweeter glaze, substitute honey with maple syrup or agave nectar.
Dietary Adjustments
Use gluten‑free panko and tamari instead of soy sauce for a gluten‑free version. Choose low‑carb almond flour tortillas or lettuce leaves for a keto‑friendly wrap. To make it dairy‑free, simply omit any butter and stick with the oil‑based cooking methods listed.
Serving Suggestions
Pair the wraps with a side of jasmine rice or quinoa to soak up extra glaze. A light miso‑dressed cucumber salad adds a refreshing contrast. For brunch, serve alongside a citrus‑infused fruit salad and a glass of sparkling ginger‑lemon tea.
Storage Info
Leftover Storage
Allow the wraps to cool to room temperature, then separate the chicken from the tortilla to keep each component crisp. Store the chicken strips in an airtight container in the refrigerator for up to 3 days. Keep tortillas wrapped in a clean kitchen towel, also in the fridge, to prevent drying out.
Reheating Instructions
Reheat chicken strips in a preheated 350°F oven for 8‑10 minutes, uncovered, to restore crunch. Warm tortillas in a dry skillet for 15 seconds per side. Assemble fresh vegetables and drizzle with a quick splash of leftover sauce before serving.
Frequently Asked Questions
Can I make this recipe ahead of time?
Can I use frozen chicken for this dish?
What sides pair best with these wraps?
How can I make the wraps gluten‑free?
This guide walks you through every detail—from selecting the perfect crunch‑creating coating to mastering a glossy sesame glaze—so you can serve unforgettable Crunchy Sesame Chicken Wraps any time of day. The recipe is flexible, allowing swaps and dietary tweaks while staying true to its bright, crunchy character. Get creative with veggies, sauces, or wraps, and make each bite your own. Enjoy the satisfying crunch and burst of flavor in every hand‑held bite!
Crunchy Sesame Chicken Wraps: The Complete Guide
Delicious Crunchy Sesame Chicken Wraps: The Complete Guide
Ingredients
Main Ingredients
- 2 large boneless, skinless chicken breasts (about 1 lb)
- 1 cup panko breadcrumbs
- 2 tablespoons toasted sesame seeds
- 2 large eggs, lightly beaten
- 4 soft flour tortillas (10‑inch)
Vegetable Fillings
- 1 cup shredded red cabbage
- ½ cup julienned carrots
- ½ cup thinly sliced cucumber
- 1 cup baby spinach leaves
Sesame Sauce / Marinade
- ¼ cup low‑sodium soy sauce
- 2 tablespoons honey
- 1 tablespoon rice vinegar
- 1 teaspoon toasted sesame oil
- 1 clove garlic, minced
- ¼ cup water (to thin)
Seasonings & Cooking Fats
- ½ teaspoon freshly ground black pepper
- ½ teaspoon sea salt
- 2 tablespoons vegetable oil (for frying)
Instructions
Frying the Chicken
- Heat the Oil. Warm the vegetable oil in a large skillet over medium‑high heat for about 2 minutes. When a breadcrumb sizzles upon contact, the oil is ready (≈ 350°F). This temperature ensures rapid browning without soaking the coating.
- Fry in Batches. Add a single layer of coated chicken strips, being careful not to crowd the pan. Cook for 2‑3 minutes per side, or until golden brown and crisp. Overcrowding drops the pan temperature and leads to soggy coating.
- Drain. Transfer the fried strips to a paper‑towel‑lined plate to absorb excess oil. Keep the finished strips warm in a low oven (200°F) while you finish the sauce.
Similar Recipes
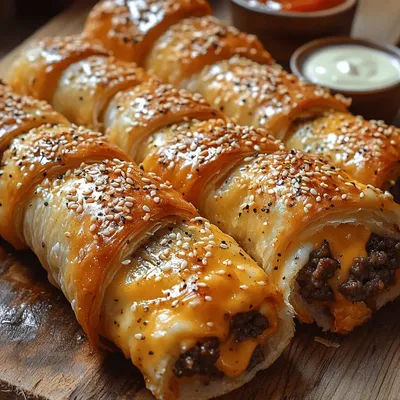 Appetizers
Crunchy Air-Fried Cheeseburger Sticks
Delicious Crunchy Air-Fried Cheeseburger Sticks
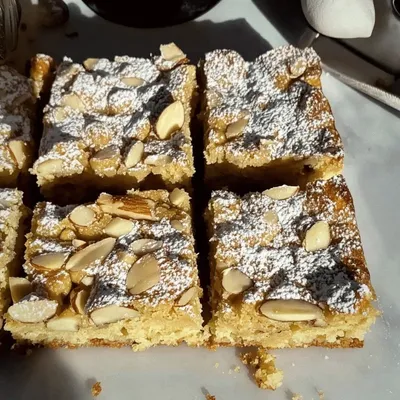 Appetizers
Almond Croissant Cookie Bars: Irresistibly Buttery Delight
Learn how to make delicious Almond Croissant Cookie Bars: Irresistibly Buttery Delight. Easy recipe with step-by-step…
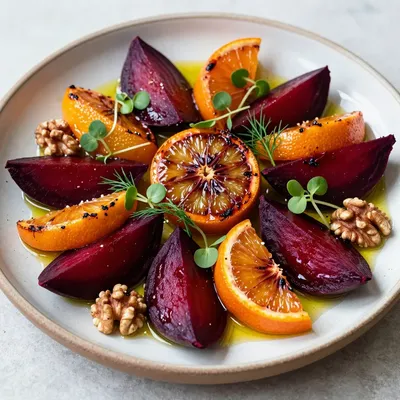 Appetizers
warm roasted citrus and beet salad with garlic for healthy winter meals
Learn how to make delicious warm roasted citrus and beet salad with garlic for healthy winter…
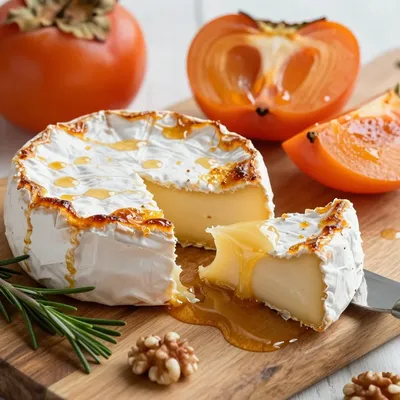 Appetizers
baked brie with persimmons and honey for festive holiday appetizers
Learn how to make delicious baked brie with persimmons and honey for festive holiday appetizers. Easy…
 Appetizers
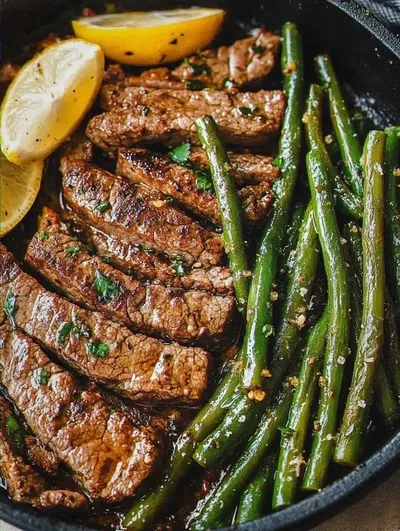
Garlic Butter Steak and Lemon Green Beans Skillet: An Incredible Ultimate Recipe
Learn how to make delicious Garlic Butter Steak and Lemon Green Beans Skillet: An Incredible Ultimate…
 Appetizers
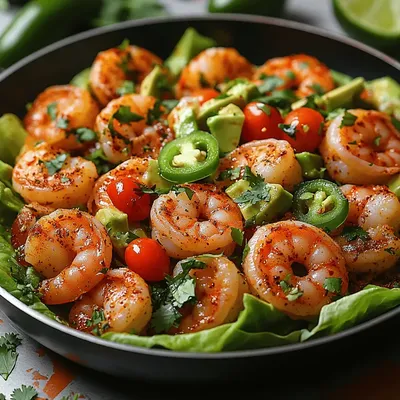
Zesty Shrimp & Avocado Lettuce Wraps: A Flavorful and Healthy Delight
Delicious Zesty Shrimp & Avocado Lettuce Wraps: A Flavorful and Healthy Delight
 Appetizers
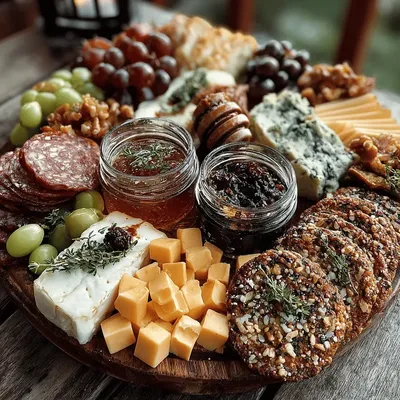
Charcuterie Delight Board
Delicious Charcuterie Delight Board
 Appetizers
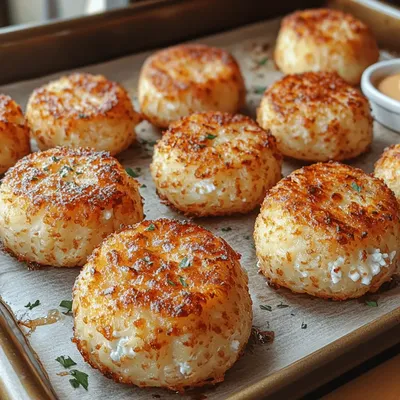
Cheesy Crunch Cottage Cheese Tots Recipe
Delicious Cheesy Crunch Cottage Cheese Tots Recipe

Susan
I cook these recipes at home before they ever land here — simple ingredients, clear steps.