Delicious Soft Chocolate Caramels : A Sweet Treat for Every Occasion
 Save
Save
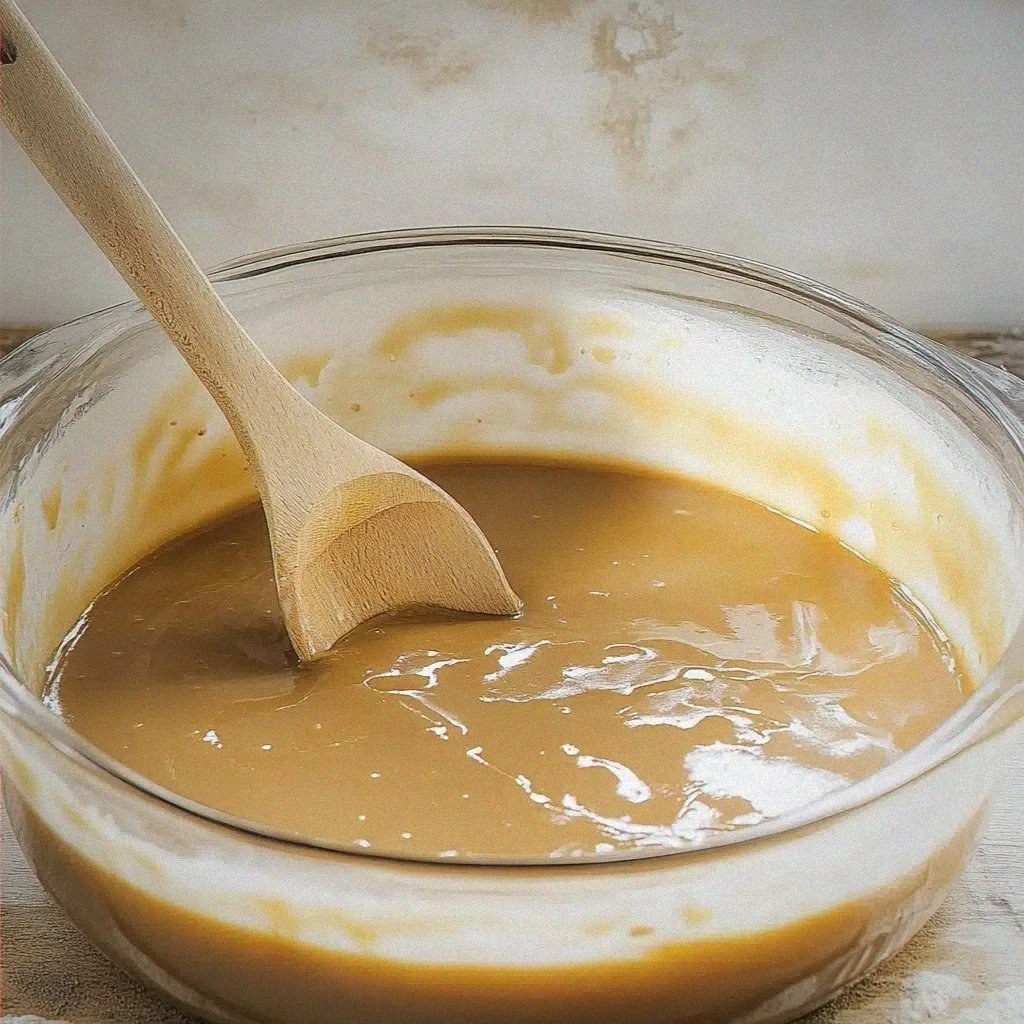
It was a crisp autumn afternoon, the kind where the wind whispers through the golden leaves and the kitchen smells like a promise of comfort. I was standing at my old wooden counter, the copper pot humming softly as I melted butter and sugar, and the moment I lifted the lid, a cloud of fragrant steam hit me like a warm hug. The aroma of caramelized brown sugar mingled with the deep, velvety scent of dark chocolate, instantly transporting me back to my grandmother’s kitchen where these very caramels were the star of every holiday gathering. Have you ever wondered why a simple candy can become the centerpiece of a memory?
I remember the first time I tried to recreate those soft, melt‑in‑your‑mouth caramels on my own. The first batch turned out a little too firm, the second a bit too runny, but each attempt taught me something new about temperature, timing, and that elusive “just‑right” texture. The secret, I discovered, isn’t hidden in a fancy gadget but in the careful balance of heat and the love you stir into the mixture. And that’s exactly what makes this recipe stand out: it’s forgiving enough for beginners yet sophisticated enough to impress seasoned sweet‑tooths.
Imagine pulling a square of caramel from the pan, the glossy surface catching the light, and then taking a bite that releases a wave of buttery softness followed by a rich chocolate kiss. The contrast between the silky caramel interior and the thin, crackly chocolate shell is a textural dance that makes your taste buds do a happy jig. But wait—there’s a secret trick in step 4 that will guarantee that perfect crack without any bitterness. Trust me, you’ll want to bookmark that part.
Now, you might be thinking, “I don’t have a professional kitchen, can I really pull this off?” Absolutely! All you need are a few pantry staples, a reliable candy thermometer, and a pinch of patience. The process is straightforward, yet each moment is an invitation to engage your senses—listen for the gentle hiss of the caramel, watch the color deepen, and feel the smoothness of the chocolate as it coats the warm squares. Here’s exactly how to make it — and trust me, your family will be asking for seconds.
🌟 Why This Recipe Works
- Flavor Depth: The combination of butter, brown sugar, and heavy cream creates a caramel base that is both buttery and slightly caramelized, while the dark chocolate adds a bittersweet counterpoint that elevates the overall taste profile.
- Texture Harmony: By controlling the temperature to the soft‑ball stage, the interior stays tender and chewy, and a quick dip in melted chocolate forms a thin, crackly shell that provides a satisfying snap.
- Ease of Execution: The steps use everyday kitchen tools—no fancy molds or special equipment—so even a home cook can achieve professional results with confidence.
- Time Efficiency: While the caramel needs careful watching, the total hands‑on time is under 45 minutes, making it perfect for a weekend treat or an impromptu dessert for guests.
- Versatility: Once you master the basic technique, you can easily adapt the recipe to include sea salt, espresso, or even a splash of bourbon for a grown‑up twist.
- Crowd‑Pleasing Factor: The glossy chocolate coating and the soft caramel interior appeal to both kids and adults, ensuring that everyone at the table leaves with a smile.
🥗 Ingredients Breakdown
The Foundation
The core of any great caramel is a harmonious trio: heavy cream, unsalted butter, and dark brown sugar. Heavy cream contributes richness and prevents the caramel from becoming grainy, while butter adds a silky mouthfeel and a buttery aroma that is instantly recognizable. Dark brown sugar, with its molasses undertones, deepens the flavor and gives the caramel its characteristic amber hue. If you’re looking for a dairy‑free version, substitute coconut cream and a plant‑based butter, but expect a slightly different texture.
Aromatics & Spices
A splash of pure vanilla extract is the secret whisper that rounds out the sweetness, adding a warm, fragrant backdrop that complements both caramel and chocolate. A pinch of sea salt is optional but highly recommended; it creates a delightful contrast that makes the sweet flavors pop. For those who love a hint of spice, a dash of ground cinnamon or cardamom can transform the caramels into a cozy, winter‑time treat.
The Secret Weapons
Dark chocolate (70% cacao) is the star of the coating. Its bitterness balances the caramel’s sweetness, while its glossy finish gives the candies an elegant look. Choose a high‑quality chocolate bar and melt it gently over a double boiler to avoid scorching. Golden syrup can be added in a pinch to improve the flow of the chocolate, ensuring an even coat without clumping.
Finishing Touches
A final dusting of flaky sea salt or crushed toasted nuts adds a crunchy texture that surprises the palate. If you’re feeling adventurous, drizzle a thin line of white chocolate for a marbled effect. The possibilities are endless, and each addition can turn a simple caramel into a personalized masterpiece.
With your ingredients prepped and ready, let's get cooking. Here's where the fun really begins…
🍳 Step-by-Step Instructions
🔐 Expert Tips for Perfect Results
The Taste Test Trick
Before you commit to the full batch, spoon a tiny amount of the hot caramel onto a cold plate and let it set for a minute. This mini‑test lets you gauge the firmness without risking the entire pot. I once skipped this step and ended up with caramels that were too soft for cutting—trust me, a quick taste test saves you a lot of frustration.
Why Resting Time Matters More Than You Think
Allowing the caramel to rest for a few minutes after reaching the soft‑ball stage lets the sugar crystals settle, resulting in a smoother texture. Skipping this pause can cause a grainy bite, especially if you’re using a lower‑grade brown sugar. The extra five minutes are a tiny investment for a silkier mouthfeel.
The Seasoning Secret Pros Won’t Tell You
A pinch of flaky sea salt on the chocolate coating does more than just add crunch; it amplifies the caramel’s sweetness through a phenomenon called “flavor contrast.” I once served these to a pastry chef friend, and he swore the salt was the hidden hero that made the caramel unforgettable.
Temperature Control Is Your Best Friend
Using a candy thermometer is non‑negotiable for consistency. Even a 5°F variance can shift the caramel from chewy to firm. If you don’t have a thermometer, the “cold water test” (dropping a small spoonful into ice water) can be a backup, but it’s less precise.
The Perfect Chocolate Temper
Temper the chocolate by heating it to 115°F (46°C), then cooling it to 80°F (27°C) before reheating slightly to 88°F (31°C). This process ensures a glossy finish and a satisfying snap. I’ve seen many home cooks skip tempering, resulting in a dull, soft coating that never quite sets.
🌈 Delicious Variations to Try
One of my favorite things about this recipe is how versatile it is. Here are some twists I've tried and loved:
Salty Caramel Espresso
Add a teaspoon of finely ground espresso to the caramel base before cooking. The coffee notes deepen the chocolate’s bitterness, creating a sophisticated flavor pairing that’s perfect for an after‑dinner treat.
Spiced Chai Caramels
Stir in a pinch of ground cinnamon, cardamom, and ginger into the caramel mixture. The warm spices evoke a cozy chai latte, and the chocolate coating balances the aromatic heat with its smooth richness.
Nutty Crunch Delight
Fold in toasted chopped pecans or hazelnuts into the caramel before it sets. The nuts add a delightful crunch that contrasts with the soft interior, and they also bring a buttery nuttiness that complements the chocolate.
White Chocolate Raspberry Swirl
Replace the dark chocolate coating with white chocolate and drizzle a thin line of raspberry coulis over each caramel before the coating sets. The tartness of raspberry cuts through the sweetness, offering a bright, fruity finish.
Bourbon‑Infused Caramel
Add a tablespoon of good-quality bourbon to the caramel after removing it from heat. The alcohol evaporates slightly, leaving behind a subtle smoky depth that pairs beautifully with the dark chocolate shell.
📦 Storage & Reheating Tips
Refrigerator Storage
Place the cooled caramels in an airtight container lined with parchment paper. They will stay soft and flavorful for up to 7 days. Keep them in a single layer to prevent the chocolate from sticking together.
Freezing Instructions
For longer keeping, freeze the caramels in a zip‑top bag with a layer of parchment between each piece. They freeze well for up to 3 months. Thaw them at room temperature for 30 minutes before serving to regain their buttery texture.
Reheating Methods
If the caramels have hardened too much, gently warm them in a low oven (250°F / 120°C) for 5‑7 minutes, or microwave for 10‑15 seconds. The trick to reheating without drying it out? Add a splash of heavy cream to the caramel before warming; it revives the silky mouthfeel instantly.
❓ Frequently Asked Questions
Can I use milk chocolate instead of dark chocolate?
What if I don’t have a candy thermometer?
Can I make these caramels gluten‑free?
How do I achieve a perfectly smooth chocolate coating?
Can I add a flavor extract other than vanilla?
Why are my caramels too hard after cooling?
Can I use a silicone mold instead of cutting the caramel?
How long will the chocolate coating stay crisp?
Recipe Card
In a separate heat‑proof bowl, melt 8 ounces (225 g) of dark chocolate over a double boiler, stirring until glossy and smooth. Add a splash of 1 tablespoon of golden syrup if the chocolate seems too thick; this will help it flow evenly over the caramels.
Using a fork or a small offset spatula, dip each caramel piece into the melted chocolate, allowing excess to drip back into the bowl. Place the coated caramels back onto the parchment sheet. The chocolate should form a thin, glossy shell that crackles softly when you bite into it.
While the chocolate is still tacky, sprinkle a pinch of flaky sea salt or toasted chopped nuts on top of each piece for added texture. Let the caramels set at room temperature for about 20‑30 minutes, or speed up the process by placing them in the refrigerator for 10 minutes.
Once fully set, transfer the caramels to an airtight container. They will stay soft and luscious for up to a week at room temperature, or longer if refrigerated. Go ahead, take a taste — you’ll know exactly when it’s right.
Similar Recipes
 Appetizers
Mini Chicken Fajita Taco Cones
Delicious Mini Chicken Fajita Taco Cones
 Appetizers
Crispy Chickpea Caesar Salad: A Modern Twist on a Classic Favorite
Delicious Crispy Chickpea Caesar Salad: A Modern Twist on a Classic Favorite
 Appetizers
Cheesy Veggie Quesadillas for Kids: A Delicious Recipe
Delicious Cheesy Veggie Quesadillas for Kids: A Delicious Recipe
 Appetizers
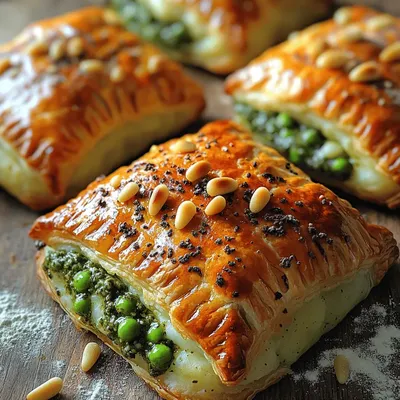
Pesto Pea Potato Pockets: A Deliciously Unique Recipe
Delicious Pesto Pea Potato Pockets: A Deliciously Unique Recipe
 Appetizers
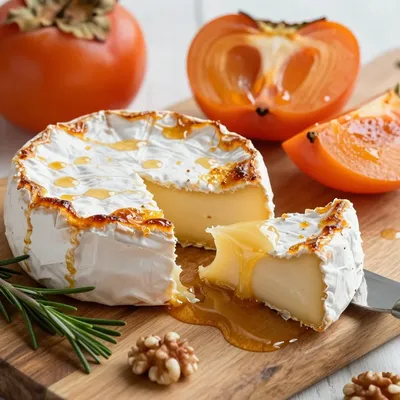
baked brie with persimmons and honey for festive holiday appetizers
Learn how to make delicious baked brie with persimmons and honey for festive holiday appetizers. Easy…
 Appetizers
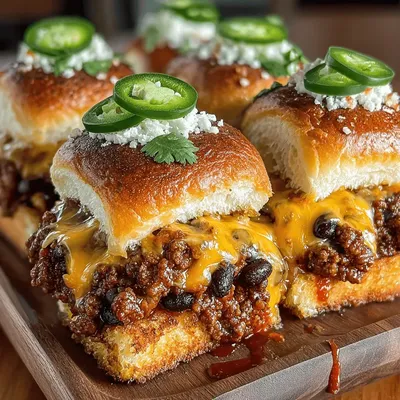
Chili Cheese Sliders Recipe: A Flavorful Delight
Delicious Chili Cheese Sliders Recipe: A Flavorful Delight
 Appetizers
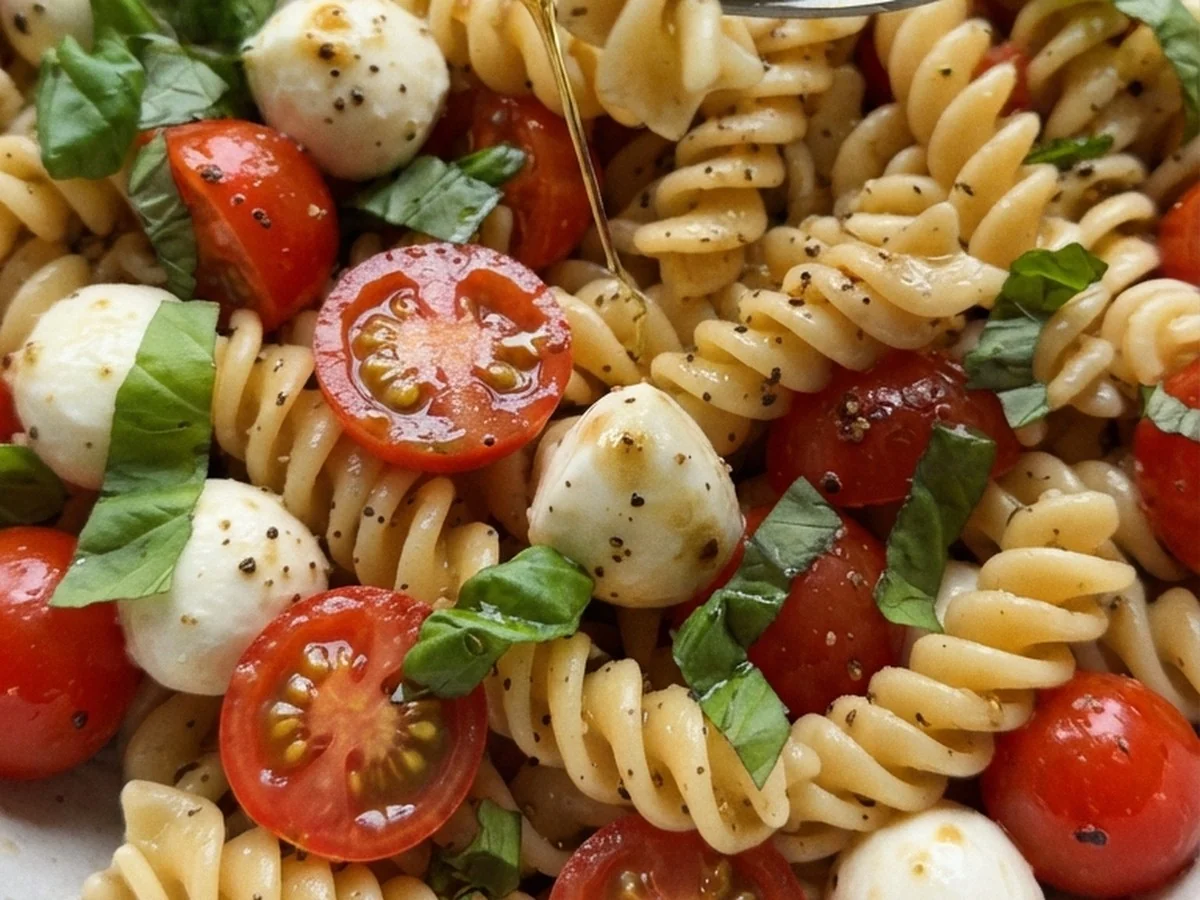
Fresh Caprese Pasta Salad Recipe
Bright fusilli tossed with mozzarella, sweet cherry tomatoes, and fragrant basil makes a breezy summer salad.
 Appetizers
Crispy Pimientos de Padrón Recipe Easy Homemade Snack with Sea Salt
Learn how to make delicious Crispy Pimientos de Padrón Recipe Easy Homemade Snack with Sea Salt.…

Susan
I cook these recipes at home before they ever land here — simple ingredients, clear steps.