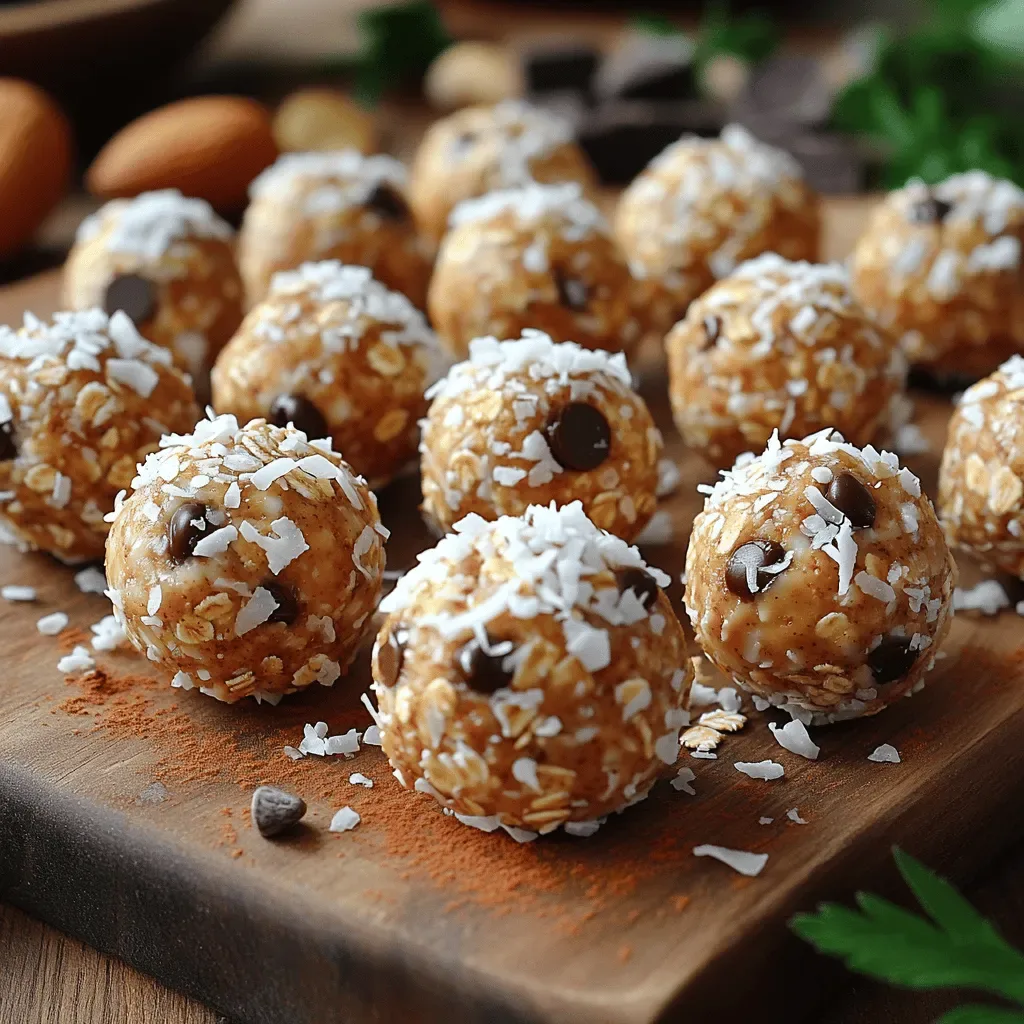
Energizing Oat & Nut Bliss Balls: A Deliciously Healthy Snack Recipe
 Save
Save
Imagine a bite-sized snack that fuels your morning, satisfies a mid‑day craving, and tastes indulgent without the guilt. Energizing Oat & Nut Bliss Balls deliver exactly that—an effortless, nutrient‑dense treat that feels like a dessert but works like a power‑up.
What makes these bliss balls special is the perfect marriage of chewy oats, creamy nut butter, and natural sweetness from dates, all rounded out with a hint of citrus and warm spices. No baking required, and each ball stays soft and flavorful for days.
Busy professionals, fitness enthusiasts, and families with picky eaters will love these bite‑sized power snacks. Serve them at breakfast buffets, brunch spreads, or as a quick on‑the‑go bite before a workout.
The process is straightforward: blend dry and wet ingredients, roll into balls, and chill. In under half an hour you’ll have a batch of glossy, energizing snacks ready to grab whenever hunger strikes.
Why You'll Love This Recipe
All‑Natural Energy Boost: Oats provide slow‑release carbs while almonds and peanut butter add protein and healthy fats, keeping you satisfied and focused for hours.
No‑Bake Convenience: With just a food processor and a fridge, you can whip up a batch in minutes—perfect for hectic mornings or last‑minute snack prep.
Customizable Flavors: The base is neutral enough to pair with cocoa, dried berries, or shredded coconut, allowing you to tailor each batch to your cravings.
Kid‑Friendly & Nutritious: Sweetened only with dates and a splash of maple, these balls taste like a treat while delivering fiber, vitamins, and minerals that kids love.
Tips & Tricks
Perfecting the Recipe
Soak Dates Properly. Soaking dates for at least 10 minutes softens them, making them blend into a smooth paste that binds without leaving gritty bits.
Room‑Temp Nut Butters. Warm nut butters slightly (no more than 30 °C) before mixing; this prevents clumps and yields a creamier texture.
Uniform Ball Size. Use a tablespoon measure to scoop dough; consistent sizing ensures even chilling and a polished look.
Chill Before Rolling. If the mixture feels too sticky, pop it in the fridge for 5 minutes; it becomes easier to shape without sticking to your hands.
Flavor Enhancements
Add a pinch of sea salt to the final dough for a subtle savory contrast. A splash of almond extract (½ teaspoon) deepens the nutty profile, while a drizzle of melted coconut oil over the chilled balls adds a glossy finish and extra healthy fats.
Common Mistakes to Avoid
Avoid over‑processing the oats; they should stay slightly coarse to give each bite texture. Also, don’t skip the chilling step—without it the balls may fall apart when handled, especially in warm kitchens.
Pro Tips
Batch Freeze. After chilling, freeze the balls on a tray, then transfer to a zip‑top bag. They’ll keep for up to 3 months and thaw quickly in the microwave.
Use a Food Processor. For the smoothest texture, blend the dates and wet ingredients in a food processor rather than a blender; it handles sticky mixtures better.
Toast Oats Lightly. If you prefer a nuttier flavor, toast the rolled oats in a dry skillet for 3‑4 minutes before mixing. Let them cool completely first.
Layer Flavors. Sprinkle a tiny pinch of cinnamon on each ball just before chilling; this creates a subtle flavor burst with every bite.
Variations
Ingredient Swaps
Replace almond butter with cashew or sunflower seed butter for a different nutty note. Swap dates for figs or raisins if you prefer a milder sweetness. For a chocolate twist, add 2 tablespoons cocoa powder to the dry mix and finish with a drizzle of melted dark chocolate.
Dietary Adjustments
To make the snack vegan, ensure the almond and peanut butters contain no added honey. For a low‑sugar version, reduce maple syrup and increase the date count slightly, or use a sugar‑free date substitute. Gluten‑free is inherent, as oats are naturally gluten‑free when certified.
Serving Suggestions
Pair the bliss balls with a Greek yogurt dip flavored with lemon zest for a protein‑rich brunch. They also travel well in lunchboxes, making them ideal for school snacks. For a festive brunch, arrange them on a platter alongside fresh berries and a drizzle of honey.
Storage Info
Leftover Storage
Transfer cooled bliss balls to an airtight container. Keep them in the refrigerator for up to 5 days; the chilled environment preserves the buttery texture and prevents the dates from drying out. For longer keeping, freeze in a single layer, then store in a zip‑top bag for up to 3 months.
Reheating Instructions
To enjoy a warm, melty version, microwave a single ball for 10‑15 seconds or place a handful in a pre‑heated 300°F oven for 5 minutes. Warmed balls release their aromas, making them feel like freshly baked treats while retaining their chewy interior.
Frequently Asked Questions
Can I make these bliss balls ahead of time?
What if I don’t have dates or prefer a different sweetener?
How can I make these gluten‑free if my oats aren’t certified?
This energizing oat & nut bliss ball recipe blends wholesome ingredients, effortless preparation, and endless customization into a snack that truly fuels your day. By following the detailed steps, storing correctly, and experimenting with the suggested variations, you’ll have a reliable, tasty source of sustained energy whenever you need it. Get creative, make it yours, and enjoy every bite of this nutritious delight!
Energizing Oat & Nut Bliss Balls: A Deliciously Healthy Snack Recipe
Delicious Energizing Oat & Nut Bliss Balls: A Deliciously Healthy Snack Recipe
Ingredients
Main Ingredients
- 1 ½ cups rolled oats
- ½ cup natural almond butter
- ⅓ cup creamy peanut butter
Sweetener & Binding
- ¾ cup pitted Medjool dates, soaked 10 min
- 2 tablespoons pure maple syrup
Flavor Boosters
- 1 teaspoon vanilla extract
- ½ teaspoon ground cinnamon
- Zest of 1 small orange
Optional Add‑Ins
- ¼ cup dark chocolate chips
- ¼ cup dried cranberries, chopped
Instructions
Combining All Components
- Mix Wet Into Dry. Pour the date paste over the oat‑nut butter mixture. Using a sturdy spoon or spatula, fold until the ingredients are fully incorporated and the dough feels slightly tacky but not overly wet.
- Adjust Consistency. If the mixture feels too dry, add a teaspoon of water or extra maple syrup. If it’s too sticky, sprinkle in a tablespoon of additional oats. The goal is a pliable dough that holds its shape when rolled.
- Fold in Optional Add‑Ins. Gently stir in chocolate chips or dried cranberries at this stage. This prevents the chips from melting and ensures even distribution of flavor throughout each bite.
- Shape the Balls. Scoop a heaping tablespoon of dough, roll between your palms, and form a smooth sphere about 1‑inch in diameter. The dough should not crack; if it does, lightly dampen your hands with water.
- Chill to Set. Place the formed balls on a parchment‑lined tray and refrigerate for at least 10 minutes. The chill firms the butter and helps the flavors meld, giving each ball a pleasant bite‑size firmness.
Similar Recipes
 Breakfast
Green Goddess Scrambled Eggs: A Delicious Breakfast Twist!
Learn how to make delicious Green Goddess Scrambled Eggs: A Delicious Breakfast Twist!. Easy recipe with…
 Breakfast
Apple Pie French Toast Roll-Ups: The Ultimate Breakfast Delight
Delicious Apple Pie French Toast Roll-Ups: The Ultimate Breakfast Delight
 Breakfast
savory mushroom and gruyere puff pastry tart for holiday brunch
Learn how to make delicious savory mushroom and gruyere puff pastry tart for holiday brunch. Easy…
 Breakfast
Fluffy Protein Power Pancakes: A Nutritious Breakfast Delight
Delicious Fluffy Protein Power Pancakes: A Nutritious Breakfast Delight
 Breakfast
Mini Breakfast Taco Casserole Bites
Delicious Mini Breakfast Taco Casserole Bites
 Breakfast
Nourishing Banana Split Breakfast Toast
Learn how to make delicious Nourishing Banana Split Breakfast Toast. Easy recipe with step-by-step instructions.
 Breakfast
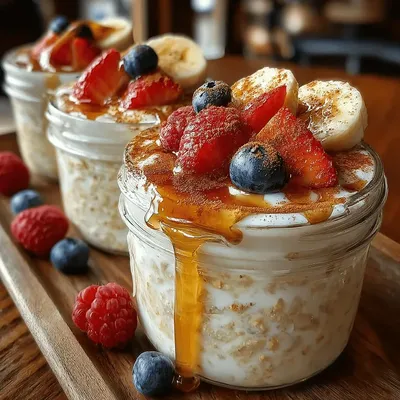
Maple Vanilla Overnight Protein Oats Recipe
Delicious Maple Vanilla Overnight Protein Oats Recipe
 Breakfast
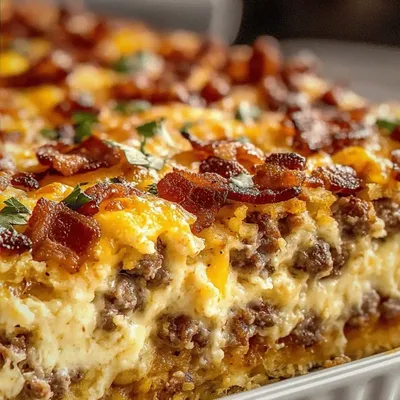
Crack Breakfast Casserole That’s Perfect for Weekend Mornings
Learn how to make delicious Crack Breakfast Casserole That’s Perfect for Weekend Mornings. Easy recipe with…

Susan
I cook these recipes at home before they ever land here — simple ingredients, clear steps.