Delectable Apple Molasses BBQ Ribs
 Save
Save
It was a crisp Saturday afternoon in early autumn, the kind of day when the leaves are turning amber and the air smells faintly of wood smoke. I was standing at my kitchen counter, a half‑full bottle of apple cider vinegar glistening in the sunlight that filtered through the window, while the scent of caramelized molasses drifted from a pot on the stove. The moment I lifted the lid, a cloud of sweet‑tart steam hit my face, and I could already picture the ribs sizzling later that evening, their surface glossy with a sticky glaze that would make any backyard barbecue jealous. That memory sparked the idea for this recipe, and I’ve been perfecting it ever since, tweaking the balance of sweet, tangy, and smoky until it felt just right.
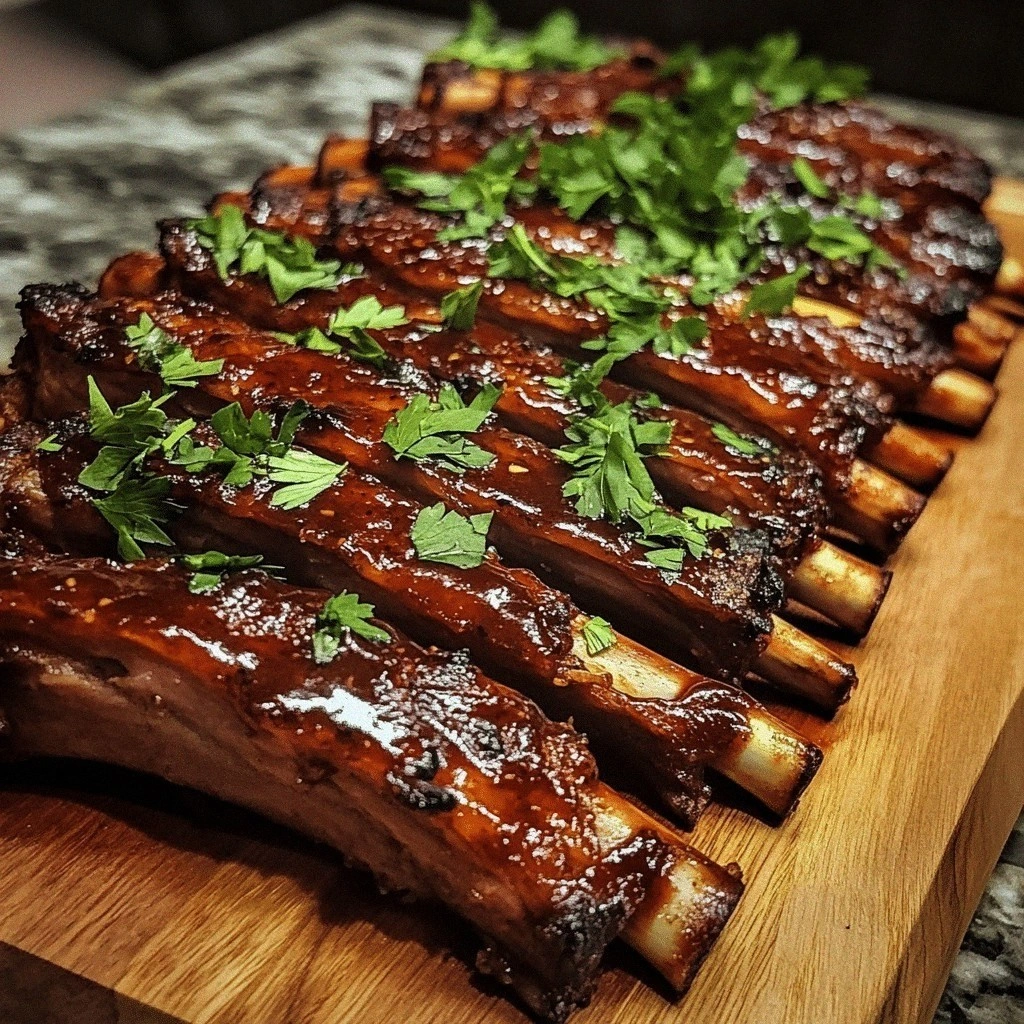
What makes these Apple Molasses BBQ Ribs stand out is the marriage of two seemingly opposite flavors: the bright, fruity bite of apple cider vinegar and the deep, almost earthy richness of molasses. When they meet on a slab of pork, they create layers of taste that unfold with every bite—first the caramel‑kissed crust, then the tender, juicy meat that practically falls off the bone, and finally a lingering hint of mustard that adds a subtle zing. Imagine the sound of the ribs cracking as you cut into them, the glossy glaze catching the light, and the aroma that fills the room, coaxing even the most reluctant eaters to the table.
But the real magic isn’t just in the ingredients; it’s in the method. I’ve learned that a low‑and‑slow approach, combined with a brief high‑heat finish, gives the ribs that perfect combination of melt‑in‑your‑mouth tenderness and a caramelized crust that sings with flavor. There’s a secret trick I’ll reveal in step 4 that takes the glaze from good to unforgettable—trust me, you’ll want to bookmark that part. And if you’ve ever wondered why restaurant ribs sometimes taste flat compared to a home‑cooked version, the answer lies in a few small details that I’ll spill throughout this guide.
Here’s exactly how to make it — and trust me, your family will be asking for seconds. Grab your favorite side dishes, set the table, and get ready to create a dish that feels both comforting and celebratory. The journey from raw rib rack to glossy masterpiece is about to begin, and every step is packed with tips, anecdotes, and little surprises that will keep you hooked until the very last bite.
🌟 Why This Recipe Works
- Flavor Depth: The combination of apple cider vinegar and molasses creates a sweet‑tart balance that penetrates the meat, ensuring every bite is layered and complex. The acidity cuts through the richness of the pork, while the molasses adds a deep caramel note that lingers on the palate.
- Texture Mastery: Slow cooking at a low temperature breaks down connective tissue, making the ribs tender without drying them out. A final high‑heat sear locks in moisture and forms a glossy, slightly crisp crust that adds a satisfying bite.
- Ease of Execution: Despite the impressive result, the recipe relies on simple steps and common pantry items, meaning you don’t need a professional smoker or exotic spices to achieve restaurant‑level flavor.
- Time Efficiency: With a total hands‑on time of just fifteen minutes and a cooking window of thirty minutes, this dish fits nicely into a weekend dinner plan without demanding an entire day of prep.
- Versatility: The glaze can be adjusted to suit different palates—add a pinch of cayenne for heat, or a splash of bourbon for a smoky twist. It also pairs beautifully with a range of sides, from coleslaw to roasted sweet potatoes.
- Nutrition Balance: While indulgent, the recipe uses a modest amount of sugar and incorporates apple cider vinegar, which is known for its potential digestive benefits. The protein-packed pork ribs also make the dish a satisfying main course.
- Crowd‑Pleaser Factor: The glossy, finger‑licking glaze and the aromatic steam that rises when the ribs hit the table are proven crowd magnets. Even picky eaters who usually shy away from “BBQ” will be drawn in by the sweet aroma.
🥗 Ingredients Breakdown
The Foundation: Pork Ribs
The star of the show is a three‑pound rack of pork ribs, either baby back or St. Louis style. Baby back ribs are leaner and cook a bit faster, while St. Louis ribs have a meatier, more uniform shape that holds the glaze beautifully. When selecting ribs, look for a pinkish‑red color with a thin layer of fat; that fat will melt during cooking, keeping the meat moist and adding flavor. If you can, ask your butcher to trim the membrane on the bone side—removing it allows the glaze to penetrate more evenly.
Aromatics & Acidity: Apple Cider Vinegar
Apple cider vinegar brings the bright, tangy spark that balances the deep sweetness of molasses. Its natural acidity helps break down the muscle fibers in the ribs, making them more tender while also preventing the glaze from becoming cloyingly sweet. Choose a raw, unfiltered variety if you can; the subtle apple notes add an extra dimension that bottled white vinegar simply can’t match. If you’re out of apple cider vinegar, a mix of white wine vinegar and a splash of apple juice works in a pinch.
The Secret Weapons: Molasses & Brown Sugar
Molasses is the dark, velvety heart of the glaze, delivering a robust, almost licorice‑like richness that deepens with heat. Paired with brown sugar, it creates a caramelized crust that glistens and cracks just enough to give that satisfying bite. When the glaze caramelizes, the sugars undergo the Maillard reaction, releasing aromatic compounds that fill your kitchen with a scent reminiscent of a holiday market. If you’re looking for a lighter version, you can substitute half of the molasses with maple syrup, but the flavor profile will shift toward a milder sweetness.
Finishing Touches: Dijon Mustard
Dijon mustard adds a subtle peppery depth that cuts through the sweetness, preventing the glaze from feeling one‑dimensional. Its emulsifying properties also help the glaze cling to the ribs, ensuring every curve is coated. For a more rustic flavor, you can swap it for whole‑grain mustard, which adds tiny bursts of mustard seed crunch. A tiny pinch of sea salt at the end of the glaze amplifies all the flavors, making each bite pop.
With your ingredients prepped and ready, let's get cooking. Here's where the fun really begins, and I’ll walk you through each stage so you can replicate that restaurant‑level glaze at home.
🍳 Step-by-Step Instructions
🔐 Expert Tips for Perfect Results
The Taste Test Trick
Before you commit the entire glaze to the ribs, dip a spoon into the sauce and let it cool for a few seconds. Taste it—if you feel the sweetness is dominating, add a splash more apple cider vinegar. This small adjustment ensures the final flavor is balanced and prevents any one note from overwhelming the others.
Why Resting Time Matters More Than You Think
Resting isn’t just about keeping the juices inside; it also allows the collagen in the ribs to re‑gel, giving that melt‑in‑your‑mouth texture. I once served ribs straight out of the oven and the meat felt a little “wet” on the palate; after a ten‑minute rest, the texture improved dramatically, and the glaze adhered better.
The Seasoning Secret Pros Won’t Tell You
A pinch of smoked sea salt added at the very end of the glaze adds a subtle, lingering smokiness that you can’t achieve with liquid smoke alone. It’s a secret I picked up from a pitmaster who swore by finishing salts to elevate any BBQ dish.
Managing Moisture for a Perfect Crust
If the ribs seem too wet after the low‑and‑slow phase, pat them gently with a paper towel before applying the glaze. Too much surface moisture can prevent the glaze from caramelizing properly, resulting in a soggy finish. I learned this the hard way when a batch turned out glossy but never developed that satisfying crust.
The Final Sear: Pan vs. Oven
While the oven’s high heat works wonders, finishing the ribs in a hot cast‑iron skillet with a drizzle of butter can add an extra layer of caramelization and a buttery aroma. Just be sure the skillet is preheated; otherwise, the glaze may stick and tear the meat.
🌈 Delicious Variations to Try
One of my favorite things about this recipe is how versatile it is. Here are some twists I’ve tried and loved:
Spicy Apple Heat
Add a teaspoon of chipotle powder to the glaze and a dash of hot sauce for a smoky‑spicy kick. The heat pairs beautifully with the sweetness of molasses, creating a flavor profile that’s perfect for those who love a little fire.
Maple‑Bourbon Bliss
Swap half of the molasses for pure maple syrup and stir in a tablespoon of bourbon. The maple adds a lighter sweetness, while the bourbon contributes a subtle oakiness that deepens the overall flavor.
Herb‑Infused Elegance
Stir in finely chopped fresh rosemary and thyme into the glaze just before the final high‑heat stage. The herbs infuse the meat with an aromatic freshness that cuts through the richness, making the dish feel lighter.
Asian‑Inspired Twist
Replace the Dijon mustard with a tablespoon of miso paste and add a splash of soy sauce to the glaze. This gives the ribs an umami‑rich, slightly salty edge that pairs well with steamed rice or Asian slaw.
Citrus‑Zest Brightness
Add the zest of one orange and a tablespoon of orange juice to the glaze for a bright, citrusy note. The citrus lifts the sweet‑tart balance and adds a fresh aroma that’s perfect for spring gatherings.
📦 Storage & Reheating Tips
Refrigerator Storage
Allow the ribs to cool completely, then place them in an airtight container. They’ll keep for up to four days in the fridge. For best texture, store the glaze separately and re‑apply a thin layer before reheating.
Freezing Instructions
Wrap the cooled ribs tightly in plastic wrap, then place them in a freezer‑safe bag. They’ll retain quality for up to three months. When you’re ready to enjoy them, thaw overnight in the refrigerator and follow the reheating method below.
Reheating Methods
The trick to reheating without drying out? A splash of apple cider vinegar or a drizzle of water, covered with foil, and warmed in a 300°F (150°C) oven for 15‑20 minutes. For a crispier finish, uncover the ribs for the last five minutes or finish them under a broiler for a minute or two.
❓ Frequently Asked Questions
Can I use pork shoulder instead of ribs?
Do I need to marinate the ribs before cooking?
Can I make this recipe on a grill?
What if I don’t have molasses?
How do I prevent the glaze from burning?
Can I add a smoky flavor without a smoker?
Is this recipe gluten‑free?
What side dishes pair best with these ribs?
When the ribs have achieved that perfect caramelized sheen, remove them from the oven and let them rest on a cutting board for about ten minutes. Resting allows the juices to redistribute and the glaze to settle, preventing it from sliding off when you slice. This pause also gives you a moment to admire the glossy finish and the aroma that now fills your kitchen—a sweet‑tart perfume that promises the first bite will be unforgettable.
Now, here's where it gets interesting: slice the ribs between the bones, making sure each piece retains a good amount of the glaze. As you cut, you’ll hear a faint crackle from the caramelized crust—a sound that tells you you’ve hit the sweet spot of texture. Arrange the slices on a serving platter, drizzle any remaining glaze from the pan over the top, and garnish with a few fresh thyme sprigs for a pop of color and herbaceous aroma.
Go ahead, take a taste — you’ll know exactly when it’s right. The meat should be buttery‑soft, the glaze glossy, and the balance of sweet, tangy, and peppery should dance across your palate.
And there you have it! But before you dig in, let me share some tips that will take this from great to absolutely unforgettable. From adjusting the glaze consistency to mastering the final sear, the next section will give you the insider knowledge you need to wow every guest at your table.
Similar Recipes
 Dinner
Creamy Chicken Taco Casserole Recipe
Delicious Creamy Chicken Taco Casserole Recipe
 Dinner
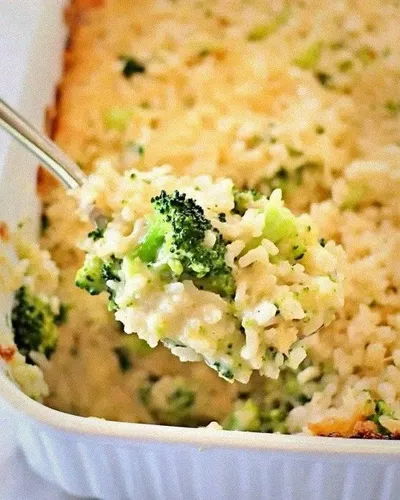
Broccoli and Rice Casserole is the ultimate comfort food!
Learn how to make delicious Broccoli and Rice Casserole is the ultimate comfort food!. Easy recipe…
 Dinner
onepot lemon chicken and cabbage soup for clean eating family meals
Whip up this zesty one-pot lemon chicken cabbage soup for a clean-eating family dinner—ready fast, tastes…
 Dinner
Turkey Ranch Chicken Bake
Discover how to make a mouth‑watering Turkey Ranch Chicken Bake with tender chicken, buttery ranch sauce,…
 Dinner
Quick Sourdough Pizza Dough: A Flavorful Journey into Homemade Pizza
Delicious Quick Sourdough Pizza Dough: A Flavorful Journey into Homemade Pizza
 Dinner
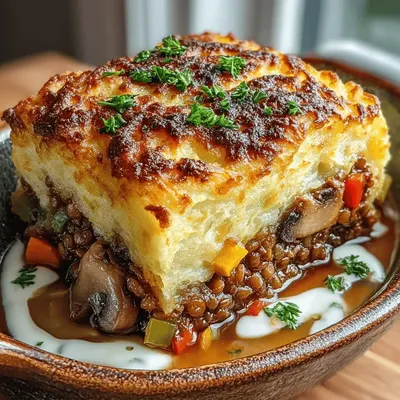
Savory Vegetable and Lentil Shepherd’s Pie Recipe
Delicious Savory Vegetable and Lentil Shepherd’s Pie Recipe
 Dinner
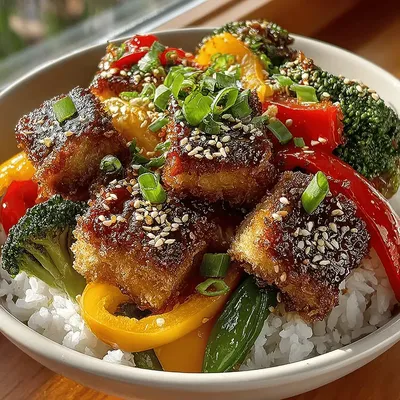
Vibrant Tofu Veggie Stir-Fry
Delicious Vibrant Tofu Veggie Stir-Fry
 Dinner
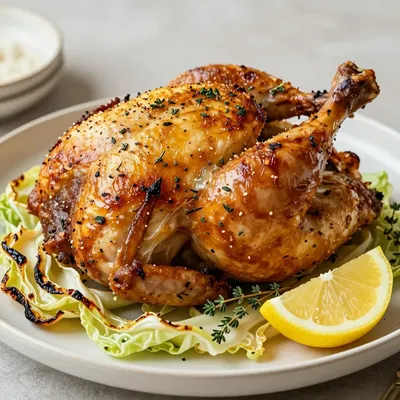
whole30 approved lemon and herb roasted chicken with winter cabbage
Learn how to make delicious whole30 approved lemon and herb roasted chicken with winter cabbage. Easy…

Susan
I cook these recipes at home before they ever land here — simple ingredients, clear steps.