Delightful Cookie Monster Cake Jars: A Whimsical Dessert Experience
 Save
Save
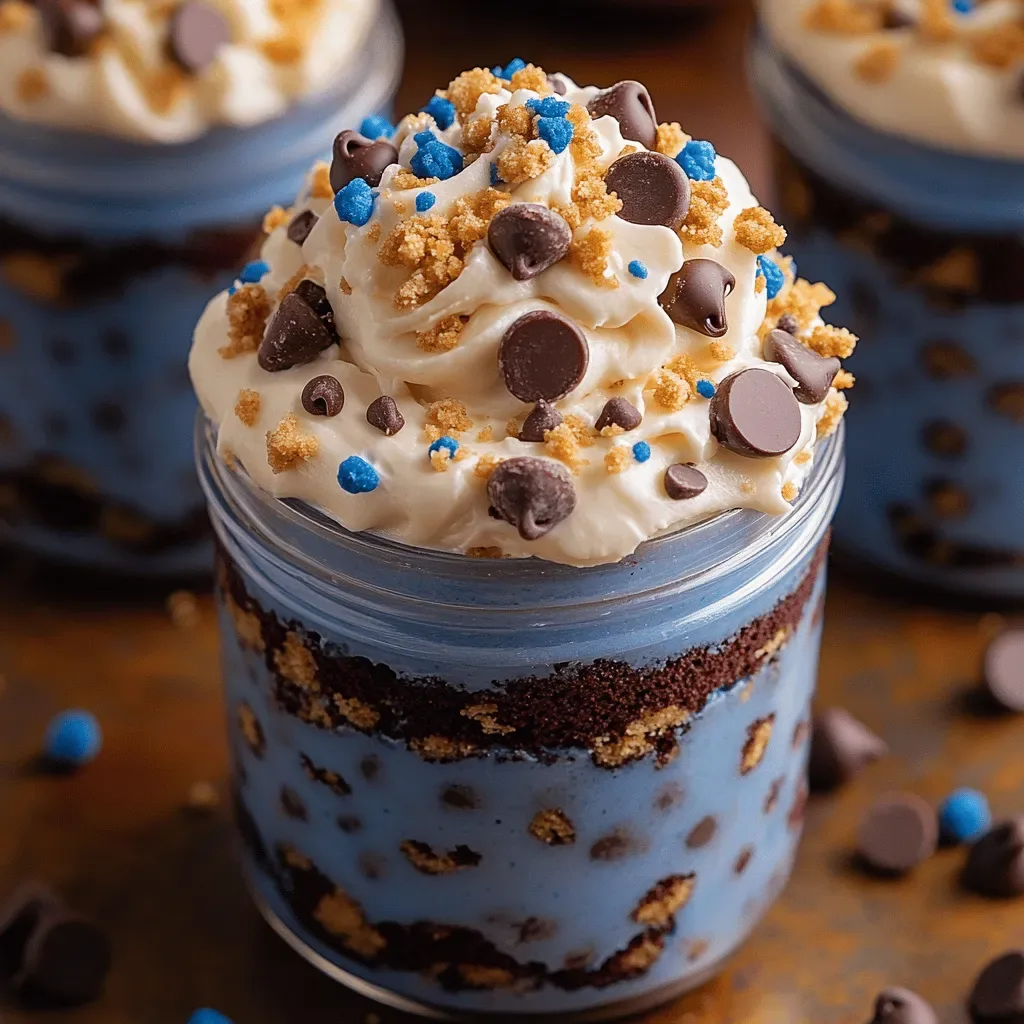
Imagine a breakfast that feels like a playful treat from Sesame Street—soft, crumbly cookies, fluffy cream cheese frosting, and a cheeky Cookie Monster grin all nestled inside a portable mason jar. This whimsical dessert experience is perfect for brunch, weekend mornings, or a fun party snack that will make both kids and adults smile.
What makes this recipe truly special is the layered texture: a crunchy chocolate‑cookie base, a silky vanilla‑cream cheese middle, and a glossy chocolate‑chip topping that creates the iconic Cookie Monster face. Each bite delivers a balance of sweet, creamy, and slightly salty flavors that keep you reaching for the next spoonful.
The jar format means it’s ideal for on‑the‑go breakfasts, make‑ahead brunches, or a delightful addition to a dessert table. Whether you’re feeding a family of fans or surprising guests at a brunch buffet, these Cake Jars are guaranteed to be a conversation starter.
Preparing them is straightforward: bake a quick cookie crust, whisk a light cream cheese frosting, assemble the layers in jars, and finish with a playful chocolate‑chip decoration. In under half an hour you’ll have a portable, picture‑perfect treat ready to enjoy.
Why You'll Love This Recipe
Playful Presentation: The Cookie Monster face made with chocolate chips turns an ordinary brunch into a memorable, Instagram‑ready moment that kids adore and adults appreciate.
Portable & Handy: Serving in mason jars means each portion is self‑contained, making it easy to transport, stack, and serve without extra plates or utensils.
Layered Texture: The contrast between crunchy cookie crumbs, creamy frosting, and smooth chocolate topping creates a satisfying mouthfeel that keeps you coming back for more.
Quick Assembly: With just a few simple steps and minimal baking, you can have a whimsical dessert ready in under 30 minutes—perfect for busy mornings.
Tips & Tricks
Perfecting the Recipe
Fine Crumbs Matter: Pulse the cookies just enough to avoid large pieces; a uniform crumb ensures a stable crust that won’t crumble when lifted.
Butter Temperature: Use melted, not hot, butter. Too much heat can soften the crust too quickly, making it difficult to press firmly.
Frosting Consistency: If the frosting feels too thick, add a splash more milk—one tablespoon at a time—until it spreads smoothly.
Chill Before Decorating: A brief chill after adding the frosting gives a firmer surface for the chocolate‑chip face, preventing smudging.
Flavor Enhancements
Add a pinch of sea salt to the cookie crust for a subtle contrast to the sweet frosting. For extra depth, stir a teaspoon of espresso powder into the frosting; the coffee notes amplify the chocolate flavor without tasting overtly coffee.
Common Mistakes to Avoid
Don’t over‑mix the crust—excessive moisture can make it soggy. Also, avoid using overly sweet frosting; too much sugar masks the chocolate’s richness and can make the dessert cloying.
Pro Tips
Use a Piping Bag: For a polished look, pipe the frosting with a large star tip; this creates a smooth, bakery‑style finish inside each jar.
Layer in Reverse: If you prefer a softer crust, add a thin layer of frosting first, then top with the crumb mixture; this creates a “cheesecake‑like” texture.
Chill the Chocolate Chips: Cool the chips before placing them on the frosting to prevent them from melting into the surface.
Serve with Fresh Berries: A handful of raspberries or strawberries adds a bright, acidic counterpoint that lifts the overall sweetness.
Variations
Ingredient Swaps
Swap the chocolate wafer cookies for Oreo crumbs for an extra‑creamy texture, or use peanut‑butter cookies for a nutty twist. Replace the dark chocolate drizzle with white chocolate for a softer, sweeter smile. For a fruity version, fold finely diced strawberries into the frosting.
Dietary Adjustments
Use gluten‑free chocolate cookies and ensure the powdered sugar is certified gluten‑free for a safe option. Substitute regular cream cheese with a vegan, plant‑based cream cheese and use coconut milk in place of dairy milk for a dairy‑free version. Sweeten with a sugar‑free blend if you’re watching carbs.
Serving Suggestions
Pair the jars with a fresh fruit salad or a citrus‑y yogurt parfait for a balanced brunch plate. For a festive twist, drizzle a little caramel sauce over the top just before serving, or sprinkle toasted coconut flakes for added texture.
Storage Info
Leftover Storage
Allow any remaining jars to cool completely, then seal them with their original lids. Store in the refrigerator for up to 3 days. For longer keeping, transfer the frosting and crust portions into separate airtight containers and freeze for up to 2 months; thaw in the fridge before re‑assembling.
Reheating Instructions
These jars are best enjoyed chilled, but if you prefer a warm treat, remove the lid and microwave a single jar on medium power for 30‑45 seconds, watching closely to prevent the chocolate chips from melting too quickly. Alternatively, place jars in a pre‑heated 300°F oven for 8‑10 minutes, uncovered, to gently warm the frosting.
Frequently Asked Questions
Can I make these jars ahead of time?
What if I don’t have a food processor for crushing cookies?
Can I swap the cream cheese frosting for another type of frosting?
Delightful Cookie Monster Cake Jars bring together crunchy chocolate crumbs, silky cream cheese frosting, and a playful chocolate‑chip face for a brunch‑ready treat that’s as fun as it is flavorful. With clear steps, handy tips, and versatile variations, you can tailor each jar to suit any palate or dietary need. Let your imagination run wild—add berries, swap flavors, or dress them up for a special occasion. Serve, snap a photo, and enjoy every whimsical bite!
Delightful Cookie Monster Cake Jars: A Whimsical Dessert Experience
Delicious Delightful Cookie Monster Cake Jars: A Whimsical Dessert Experience
Ingredients
Cookie Base
- 1 ½ cups chocolate wafer cookies, crushed
- 3 Tbsp unsalted butter, melted
- ¼ cup granulated sugar
Cream Cheese Frosting
- 8 oz cream cheese, softened
- ¼ cup powdered sugar
- 1 tsp vanilla extract
- 2 Tbsp milk (any kind)
Toppings & Decoration
- ½ cup mini chocolate chips (for eyes & nose)
- 2 Tbsp dark chocolate, melted (for smile)
- Optional: whipped cream for extra fluff
Instructions
Assembling the Base in Jars
- Press the Crust. Spoon about 2 Tbsp of the cookie mixture into each 8‑oz mason jar. Using the back of a spoon, press firmly to create an even layer that covers the bottom. The crust should be compact enough to hold the frosting without crumbling.
- Chill the Crust. Place the jars upright in the refrigerator for 5‑7 minutes. Cooling solidifies the butter, ensuring the base stays flat when the frosting is added.
- Make the Frosting. In a medium bowl, beat the softened cream cheese until smooth. Gradually add powdered sugar, vanilla, and milk, whipping until light and fluffy. The mixture should be spreadable but not runny.
- Layer the Frosting. Pipe or spoon a generous dollop of cream cheese frosting over each chilled crust, filling the jar about three‑quarters full. Smooth the top with a spatula for an even surface.
- Create the Cookie Monster Face. Arrange four mini chocolate chips for eyes, two for the nose, and a curved line of chips for the smile. Drizzle the melted dark chocolate over the smile to give it a glossy finish. If desired, top with a small swirl of whipped cream for extra height.
Similar Recipes
 Desserts
Tropical Bliss Mango Lime Sorbet
Delicious Tropical Bliss Mango Lime Sorbet
 Desserts
Peachy Quick Delight: A Perfect Summer Cobbler Recipe
Delicious Peachy Quick Delight: A Perfect Summer Cobbler Recipe
 Desserts
Reese’s Delight Cookies: The Perfect Blend of Chocolate and Peanut Butter
Delicious Reese’s Delight Cookies: The Perfect Blend of Chocolate and Peanut Butter
 Desserts
Creamy Peanut Butter Bliss Frozen Yogurt Bars
Delicious Creamy Peanut Butter Bliss Frozen Yogurt Bars
 Desserts
Sweet & Salty Caramel Chocolate Chip Bars
Delicious Sweet & Salty Caramel Chocolate Chip Bars
 Desserts
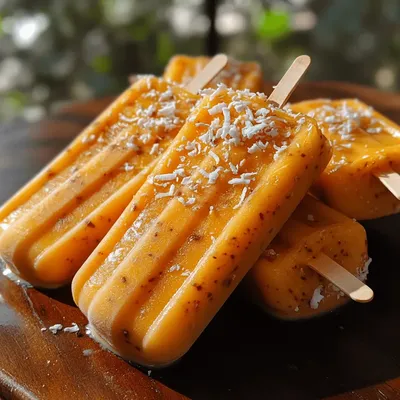
Luscious Mango Coconut Popsicles: A Refreshing Treat for Every Occasion
Delicious Luscious Mango Coconut Popsicles: A Refreshing Treat for Every Occasion
 Desserts
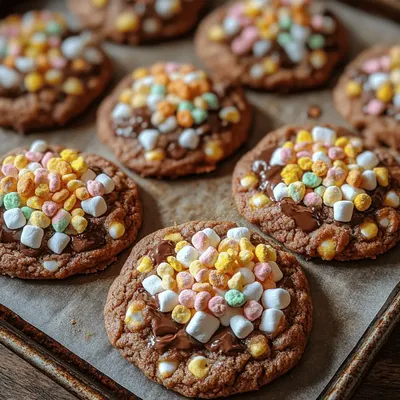
Magical Marshmallow Chocolate Cookies: A Delightful Treat for All Ages
Delicious Magical Marshmallow Chocolate Cookies: A Delightful Treat for All Ages
 Desserts
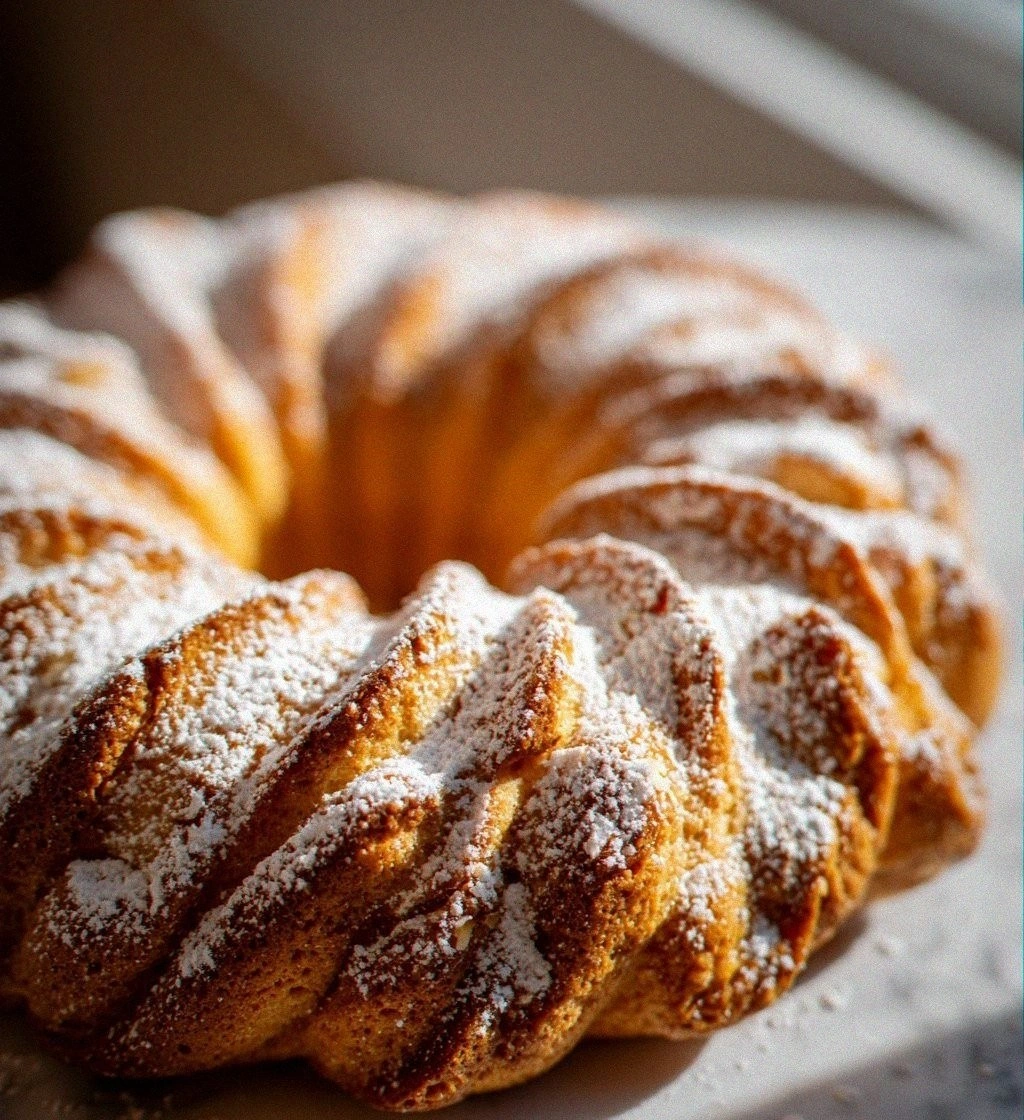
Almond Wreath Cake
Learn how to make delicious Almond Wreath Cake. Easy recipe with step-by-step instructions.

Susan
I cook these recipes at home before they ever land here — simple ingredients, clear steps.