Ham and Cheese Sliders: The Ultimate Appetizer for Every Occasion
 Save
Save
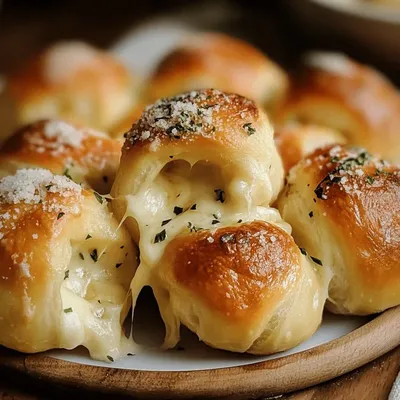
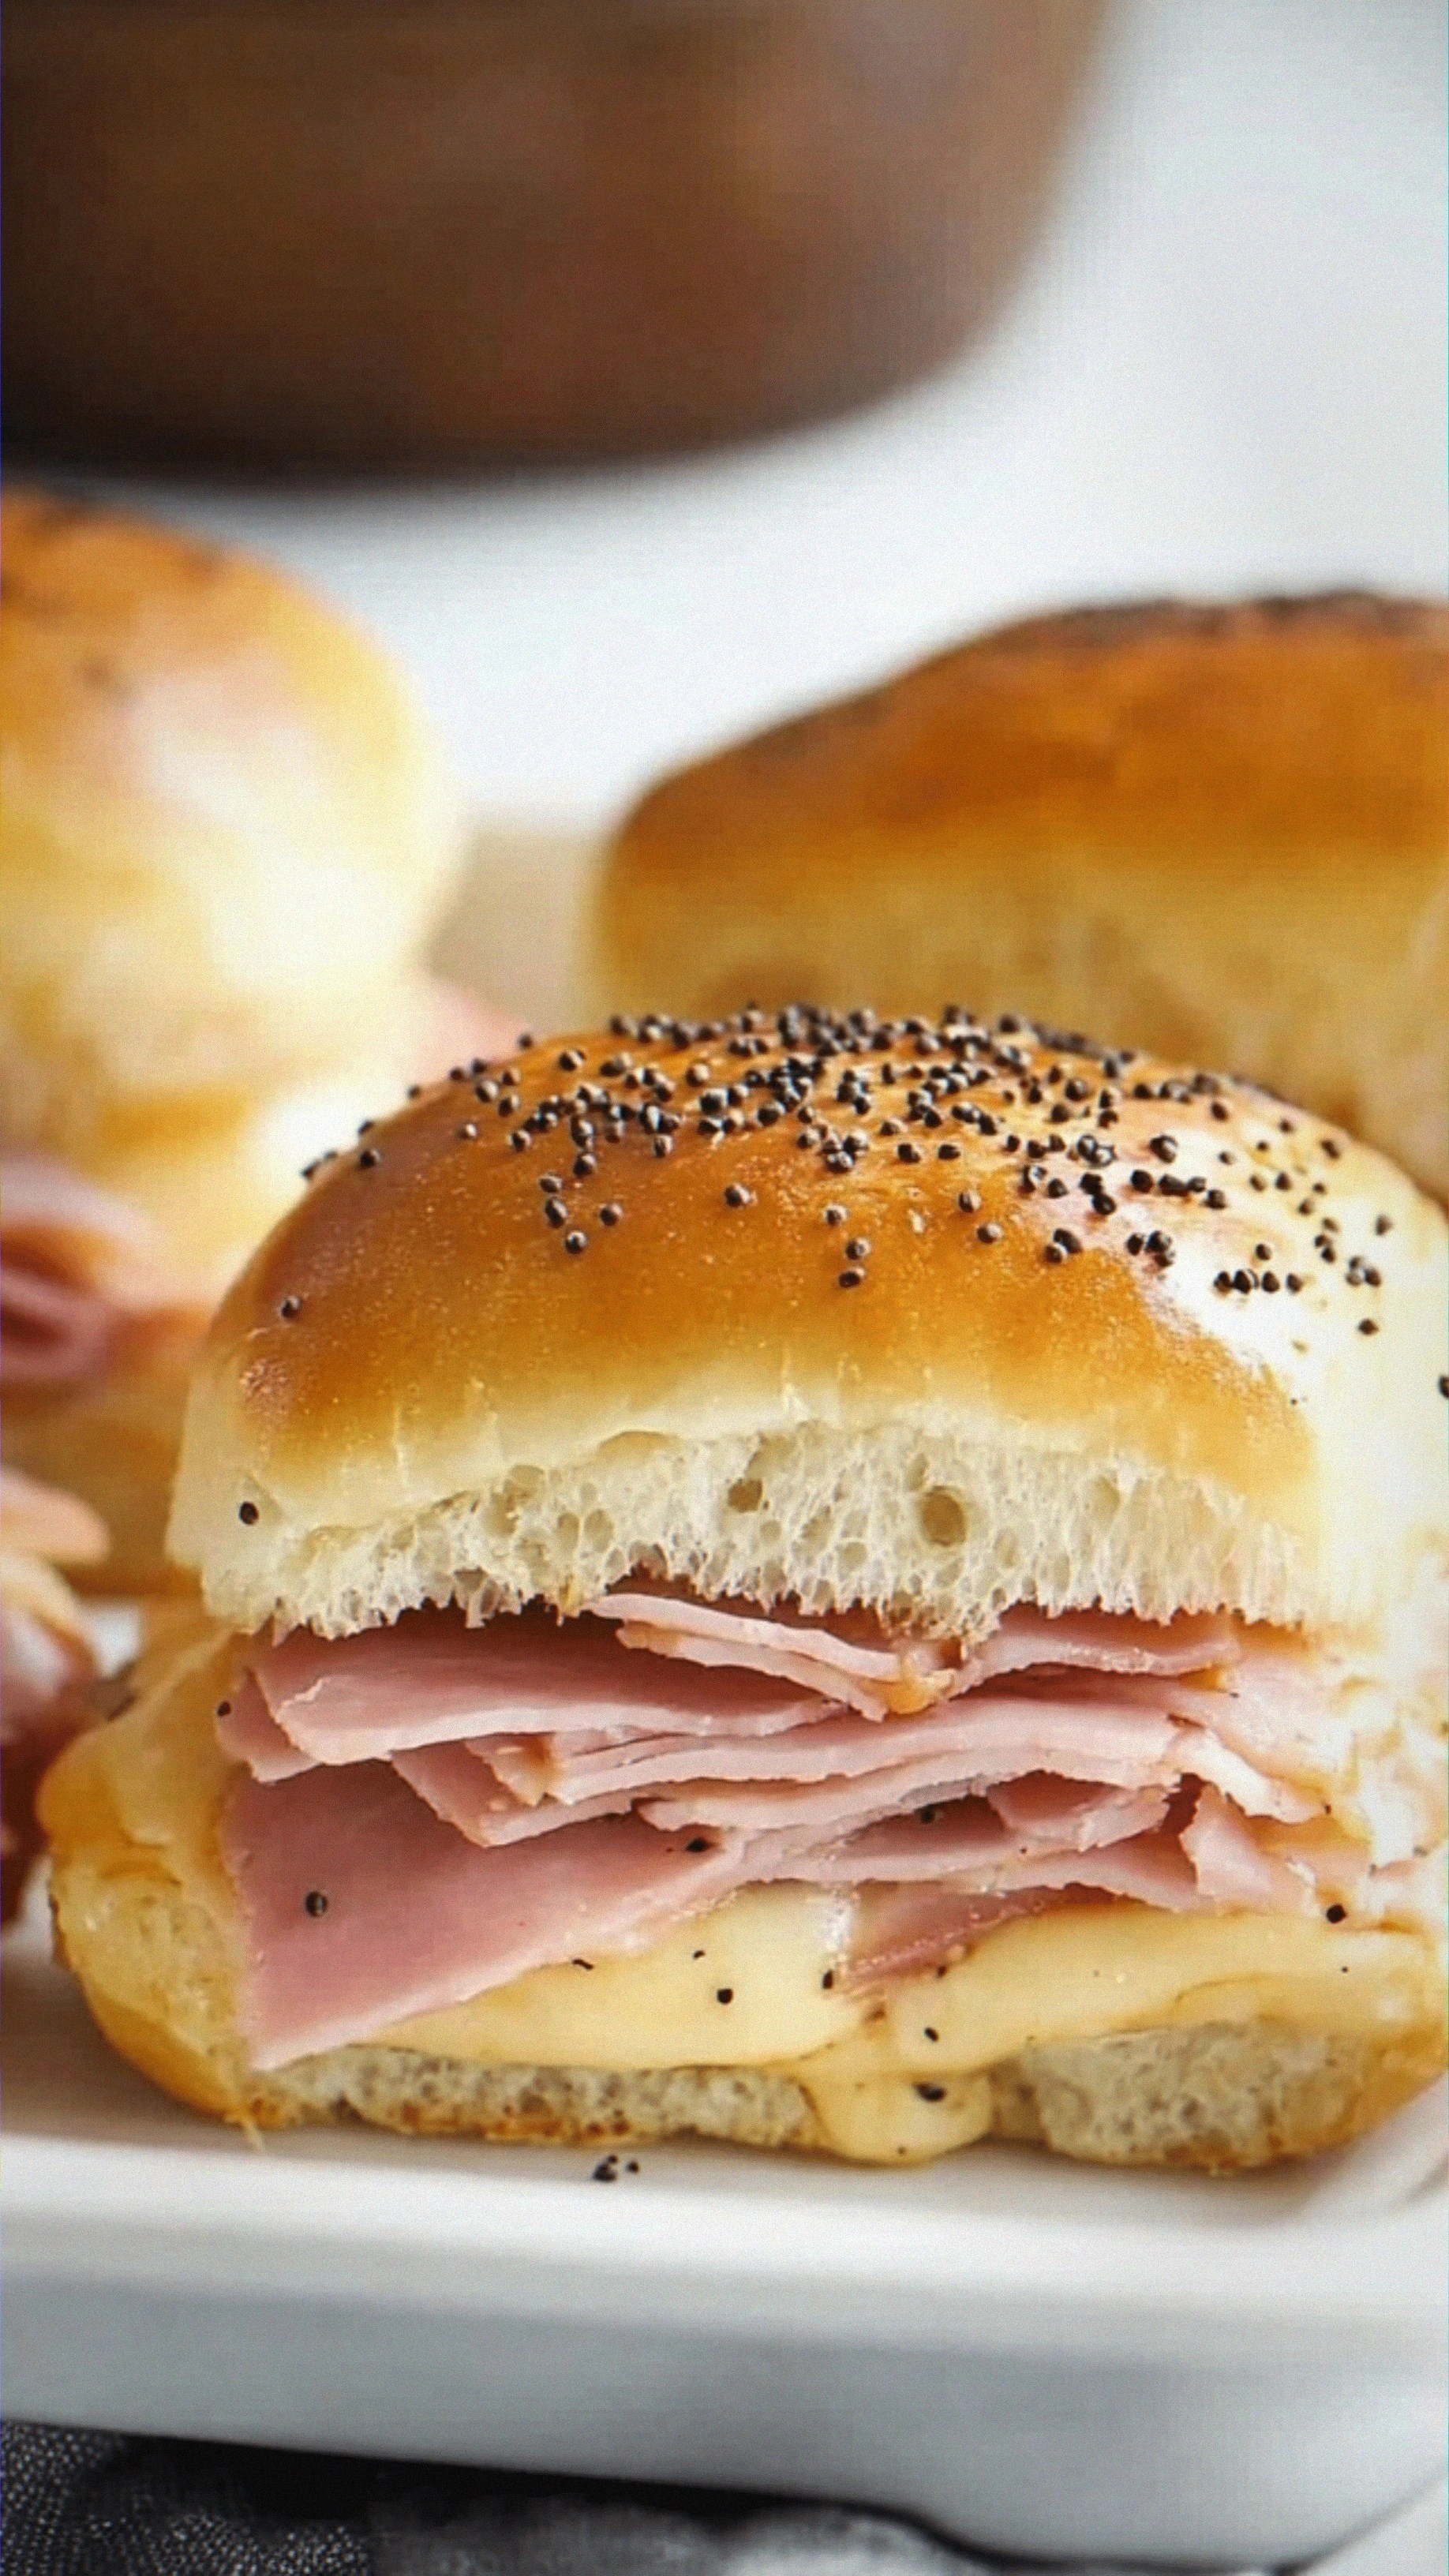
The first time I made ham and cheese sliders, the kitchen smelled like a cozy deli on a lazy Sunday afternoon. I remember pulling the tray out of the oven, the golden tops glistening, and a thin veil of steam curling up to meet my nose – the kind of aroma that makes you pause mid‑step just to inhale deeply. My teenage son, who usually declares “I’m not hungry,” sprinted to the counter, eyes wide, and shouted, “Are those… sliders?!” That moment sparked a tradition: every holiday gathering, birthday party, or impromptu game night, those little sandwiches have taken center stage. The secret? A perfect marriage of salty ham, melty cheese, and a buttery, herb‑infused crust that cracks just enough to reveal a soft, pillowy interior.
What makes these sliders truly unforgettable is the balance of texture and flavor. The outer bun becomes a crisp, buttery shell while the inside stays tender, almost like a cloud that melts in your mouth. The ham adds a smoky, savory depth, and the cheese stretches in glorious ribbons, pulling you into the next bite. And let’s not forget the subtle zing of Dijon mustard and garlic that awakens the palate without overpowering the classic comfort of a ham‑and‑cheese combo. Have you ever wondered why restaurant versions taste so different? The answer lies in the little details – the right butter-to‑herb ratio, the precise baking temperature, and a secret step that most home cooks skip. But wait until you see the secret trick in step 4…
Imagine serving a platter of these sliders at your next gathering and watching guests reach for seconds without even thinking about it. The sight of the golden tops, the steam still rising, and the sound of a satisfied sigh as someone bites into that perfect bite – it’s a moment that turns any ordinary gathering into a memory worth repeating. And because they’re so adaptable, you can dress them up for a summer barbecue with a drizzle of honey mustard, or give them a cozy winter twist with a sprinkle of rosemary and a side of creamy tomato soup. The best part? You don’t need a professional kitchen; a standard oven, a few pantry staples, and a little love are all it takes. Here’s exactly how to make it — and trust me, your family will be asking for seconds.
🌟 Why This Recipe Works
- Flavor Depth: The combination of smoked ham, sharp cheese, and a buttery herb glaze creates layers of taste that build with each bite, keeping the palate engaged from start to finish.
- Texture Harmony: A crisp, golden crust gives way to a soft, pillowy interior, delivering that satisfying crunch‑soft contrast that makes sliders so addictive.
- Ease of Execution: With just a handful of ingredients and a single baking sheet, this recipe is straightforward enough for beginners yet rewarding for seasoned cooks.
- Time Efficiency: In under an hour you can go from raw ingredients to a steaming tray of appetizers, perfect for last‑minute gatherings.
- Versatility: The base recipe is a canvas – swap the cheese, add a dash of hot sauce, or incorporate different herbs to match any theme or season.
- Crowd‑Pleasing Factor: Small, handheld, and universally loved, these sliders appeal to kids, teens, and adults alike, making them a safe bet for any crowd.
- Ingredient Quality: Using high‑quality deli ham and fresh butter elevates the dish from everyday to restaurant‑worthy without breaking the bank.
- Nutrition Balance: While indulgent, the sliders offer a decent protein punch from the ham and cheese, and you can easily tweak the butter or swap buns for whole‑grain versions for a healthier twist.
🥗 Ingredients Breakdown
The Foundation: Buns & Butter
The choice of bun can make or break your sliders. I always reach for soft, buttery dinner rolls that are just the right size – about 2‑3 inches in diameter. Their slight sweetness balances the savory ham, and their tender crumb absorbs the butter glaze without becoming soggy. If you can, pick rolls that are slightly stale; they’ll toast up crispier. When it comes to butter, use unsalted, high‑fat butter for a richer mouthfeel. Melt it gently and mix in the herbs so the flavors meld before you brush it on.
Aromatics & Spices: The Secret Sauce
A simple blend of Dijon mustard, garlic powder, onion powder, dried parsley, salt, and pepper creates a glaze that sings. The mustard adds a tangy backbone, while garlic and onion powders bring depth without the moisture of fresh garlic that could make the buns soggy. Parsley contributes a fresh, herbaceous note that cuts through the richness. If you love a little heat, a pinch of cayenne can be your secret weapon – but that’s a story for later.
The Protein & Melt: Ham & Cheese
I prefer thinly sliced deli ham because it layers evenly and melts into the bun’s crevices. Look for a ham that has a subtle smoke flavor; it adds complexity without overwhelming the other components. As for cheese, Swiss is classic, offering a nutty, buttery melt, but sharp cheddar or provolone work just as well. The key is a cheese that melts smoothly and stretches, creating that gooey pull that makes people smile. Want a richer taste? Add a thin slice of provolone on top of the Swiss for a dual‑cheese experience.
Finishing Touches: Optional Extras
A dollop of mayo mixed with a splash of lemon juice can be brushed on the buns before baking for extra moisture and a bright zing. Some cooks sprinkle a little grated Parmesan on the tops for a cheesy crust. If you’re feeling adventurous, a drizzle of honey or a smear of whole‑grain mustard after baking adds a sweet‑savory contrast that’s irresistible. The beauty of this recipe is that you can customize it without compromising the core flavor profile.
With your ingredients prepped and ready, let's get cooking. Here's where the fun really begins...
🍳 Step-by-Step Instructions
🔐 Expert Tips for Perfect Results
The Taste Test Trick
Before you slide the tray into the oven, give each assembled slider a quick press with your fingertip. If the cheese feels firm and the ham sits snugly, you’re good to go. If the cheese slides around, add a tiny dab of butter on top – it will help bind everything together. I once served a batch where the cheese slipped, and the guests laughed, but I learned that a light press prevents that mishap.
Why Resting Time Matters More Than You Think
Allowing the butter glaze to sit on the buns for a few minutes before baking is a game‑changer. The butter penetrates the crumb, creating a buttery core that stays moist even after the exterior crisps. This step also lets the herbs release their essential oils, intensifying the aroma. Trust me, the difference between a dry top and a melt‑in‑your‑mouth finish is that five‑minute pause.
The Seasoning Secret Pros Won’t Tell You
Professional kitchens often finish baked goods with a light spray of sea‑salt flakes. It adds a subtle crunch and brightens the flavors. I sprinkle a pinch of flaky sea salt just after the sliders come out of the oven, and the result is a delightful contrast between the buttery crust and the salty sparkle. The best part? It’s a tiny effort for a big flavor payoff.
Cheese Selection Mastery
While Swiss is the classic choice, mixing cheeses creates a depth you didn’t know you were missing. Combine a mild cheese like mozzarella for stretch with a sharp cheese like aged cheddar for bite. The blend melts beautifully and adds layers of flavor that keep the palate intrigued. I once paired Gruyère with provolone, and the result was a nutty‑rich melt that had everyone asking for the recipe.
Bun Alternatives for Seasonal Flair
If you’re cooking in the summer, try using mini ciabatta rolls for a crustier bite. In winter, a soft brioche bun adds a buttery sweetness that feels comforting. The key is to keep the size consistent so the baking time remains the same. Experimenting with different breads can turn this staple into a seasonal star.
🌈 Delicious Variations to Try
One of my favorite things about this recipe is how versatile it is. Here are some twists I've tried and loved:
Maple‑Bacon Bliss
Swap the ham for crisp bacon strips and drizzle a thin layer of maple syrup on the butter glaze before baking. The sweet‑savory combo adds a breakfast‑for‑dinner vibe that’s perfect for brunch gatherings.
Spicy Jalapeño Jack
Add thinly sliced jalapeños between the ham and cheese, and use pepper jack cheese instead of Swiss. The heat pairs beautifully with the buttery bun, creating a kick that awakens the senses.
Mediterranean Delight
Replace the ham with thinly sliced roasted turkey, spread a layer of pesto on the bun, and use mozzarella cheese. Top with sun‑dried tomato strips for a burst of umami and a splash of color.
Herb‑Infused Veggie Slider
For a vegetarian spin, use grilled zucchini and roasted red pepper in place of ham, and swap cheese for a slice of smoked gouda. The herb butter still works its magic, and the result is a hearty, veggie‑packed bite.
Sweet & Savory Apple‑Cheddar
Add thin apple slices and sharp cheddar cheese, then sprinkle a pinch of cinnamon into the butter glaze. The subtle sweetness of the apple complements the sharp cheese, making these sliders a standout at fall gatherings.
BBQ Pulled Pork Slider
Replace the ham with a scoop of pulled pork tossed in your favorite BBQ sauce, and use provolone cheese. The smoky pork and tangy sauce turn the humble slider into a backyard barbecue hero.
📦 Storage & Reheating Tips
Refrigerator Storage
Allow the sliders to cool completely, then place them in an airtight container lined with parchment paper. They’ll stay fresh for up to 3 days in the fridge. When you’re ready to serve, reheat them in a preheated 350°F oven for 8‑10 minutes, covering loosely with foil to prevent the tops from over‑browning.
Freezing Instructions
If you want to make a big batch ahead of time, freeze the assembled, unbaked sliders on a parchment sheet. Once solid, transfer them to a freezer‑safe bag. They’ll keep for up to 2 months. When you’re ready to bake, add an extra 5‑7 minutes to the baking time – the butter glaze will still caramelize beautifully.
Reheating Methods
For a quick microwave fix, place a slider on a microwave‑safe plate, cover with a damp paper towel, and heat for 45‑60 seconds. The steam from the towel keeps the bun from drying out. However, the oven or toaster‑oven method yields the best texture, giving you that crisp top and melty interior again.
❓ Frequently Asked Questions
Can I use a different type of cheese?
What if I don’t have dinner rolls?
Can I make these ahead of time for a party?
How do I keep the buns from getting soggy?
Can I add a sauce inside the slider?
What’s the best way to reheat leftovers?
Can I make these gluten‑free?
How long can I keep the baked sliders at room temperature?
When the sliders are done, remove them from the oven and let them rest for 3‑4 minutes. This short pause lets the cheese set just enough so it doesn’t ooze out when you pick them up. Meanwhile, the steam inside the rolls continues to soften the interior, creating that melt‑in‑your‑mouth texture. Now, here's where the magic happens: drizzle a little extra butter mixture on top for a glossy finish that makes them look as good as they taste.
Serve the sliders warm, arranging them on a platter with a side of tangy mustard or a small bowl of marinara for dipping. The visual of the golden tops, the melted cheese stretching as you pull one apart, and the steam rising – it’s a sensory experience that turns a simple bite into a celebration. Go ahead, take a taste — you’ll know exactly when it’s right.