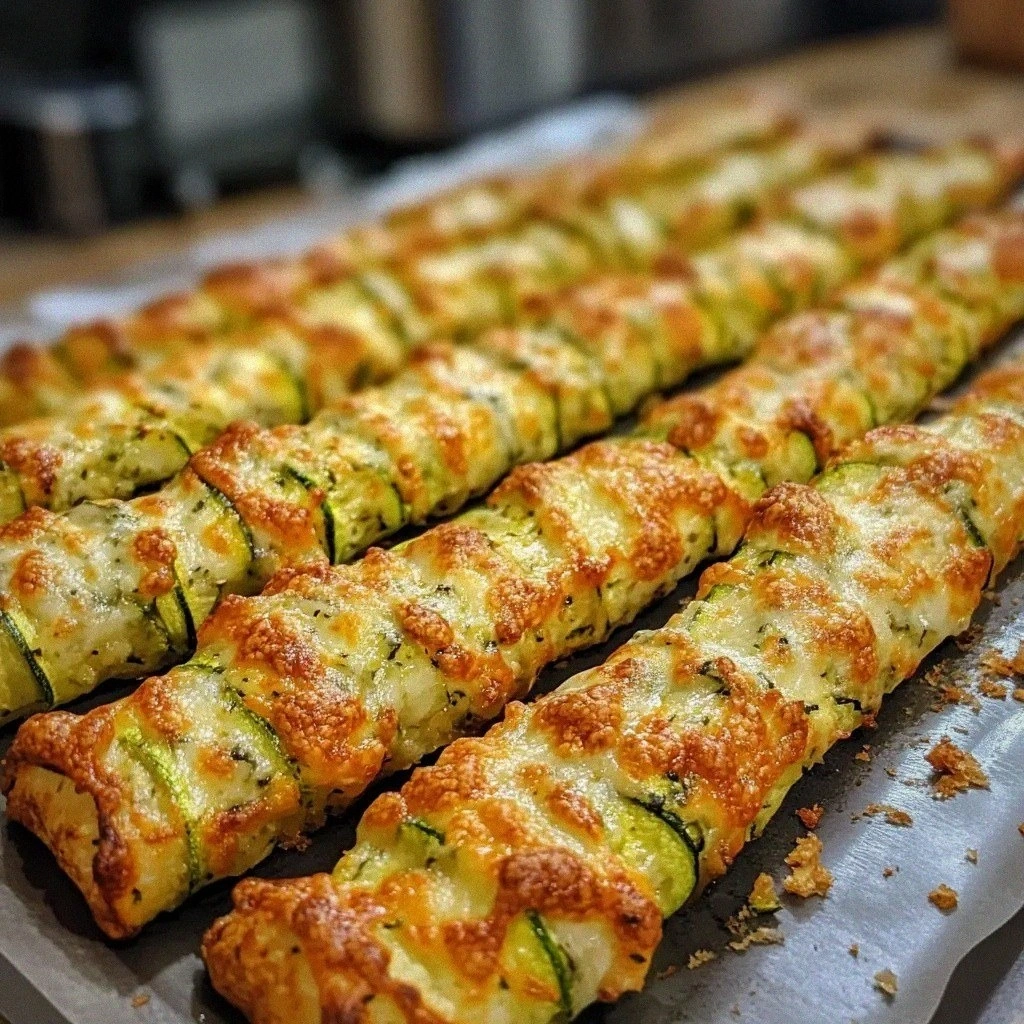
Low-Carb Zucchini Breadsticks Recipe: A Tasty Delight!
 Save
Save
It was a crisp Saturday morning in early spring, the kind of day when the sunlight pours through the kitchen window and paints the countertops gold. I was rummaging through my fridge, trying to decide what to serve my teenage son who had just declared his love for “something crunchy but not too heavy.” As I reached for the last two zucchinis, a memory of my grandmother’s summer garden floated up—her zucchini blossoms, the earthy scent of fresh soil, and the way she would turn those humble vegetables into a golden, cheesy delight that seemed to melt on the tongue. The moment I thought about that, my stomach gave a little rumble, and I knew exactly what I wanted to create: low‑carb zucchini breadsticks that would satisfy cravings without the carb overload.
The first thing that struck me about this recipe is how it transforms a simple vegetable into a handheld treat that feels indulgent yet stays friendly to a low‑carb lifestyle. Imagine the aroma of melted mozzarella mingling with the faint peppery whisper of garlic powder, all wrapped in a tender, slightly crisp crust that snaps when you bite into it. The zucchini releases a gentle moisture that keeps the breadsticks soft inside, while the almond flour provides that perfect, slightly nutty crunch on the outside. As the oven works its magic, a faint golden hue spreads across the tops, and the kitchen fills with a scent that says, “You’re about to eat something special.”
But wait—there’s a secret trick that takes these breadsticks from good to unforgettable, and I’ll reveal it in step four of the instructions. Have you ever wondered why store‑bought low‑carb snacks sometimes taste bland or dry? The answer lies in the balance of moisture, fat, and flavor, and this recipe nails that balance with a few simple techniques that I’ve refined over years of trial and error. Trust me, once you master this, you’ll never look at a zucchini the same way again.
Here’s exactly how to make it — and trust me, your family will be asking for seconds, your friends will beg for the recipe, and you’ll feel a quiet pride every time you pull a tray of golden breadsticks from the oven. Ready to dive in? Let’s get started and turn those zucchinis into a low‑carb masterpiece.
🌟 Why This Recipe Works
- Flavor Depth: The combination of mozzarella and Parmesan creates a layered cheesy profile that’s both sharp and mellow, delivering a taste that feels richer than the sum of its parts.
- Texture Harmony: Shredded zucchini adds moisture while almond flour gives a slight crunch, resulting in a breadstick that’s tender inside and perfectly crisp on the outside.
- Ease of Preparation: With just a handful of pantry staples and a single mixing bowl, you can have the dough ready in minutes, making it ideal for busy weeknights.
- Time Efficiency: The entire process, from prep to bake, takes under an hour, so you can serve a warm, low‑carb snack without spending the whole day in the kitchen.
- Versatility: These breadsticks can be served as an appetizer, a side for soups and salads, or even as a low‑carb snack on their own.
- Nutrition Boost: Using almond flour and zucchini adds healthy fats, fiber, and a modest amount of protein, keeping you satisfied longer without spiking blood sugar.
- Ingredient Quality: Fresh zucchini provides natural moisture and subtle sweetness, while high‑quality cheeses bring depth without the need for extra seasonings.
- Crowd‑Pleasing Factor: The golden appearance and cheesy aroma are universally appealing, making these breadsticks a hit at family gatherings, potlucks, or even a quick solo snack.
🥗 Ingredients Breakdown
The Foundation
The base of this recipe rests on two medium zucchinis, which, when shredded, yield about two cups of bright green ribbons. Zucchini is a low‑carb vegetable that brings a subtle, almost buttery flavor and a generous amount of moisture, which is essential for keeping the breadsticks tender. If you can’t find fresh zucchini, frozen grated zucchini (thawed and well‑drained) works as a substitute, though the texture will be slightly softer. When selecting zucchinis, look for firm, glossy ones with no soft spots; the fresher they are, the brighter their flavor.
Cheesy Goodness
Shredded mozzarella cheese (one cup) provides that melty, stretchy quality that makes every bite gooey, while the half‑cup of grated Parmesan adds a salty, nutty edge that balances the mild zucchini. Both cheeses melt beautifully at the temperatures we’ll use, creating a golden crust that’s impossible to resist. If you’re dairy‑sensitive, a blend of dairy‑free mozzarella and nutritional yeast can mimic the flavor, though the texture will be a touch different. Freshly grated Parmesan, as opposed to pre‑grated, releases more aromatic oils, intensifying the overall taste.
The Secret Weapons
Almond flour is the star of the low‑carb show, replacing traditional wheat flour with a nutty, slightly sweet profile that also adds healthy fats. One half‑cup of almond flour is enough to bind the moisture from the zucchini while keeping the carbs low. The large egg acts as a binder, giving the dough structure and a light, airy lift. Garlic powder and Italian seasoning bring aromatic depth; the garlic adds a warm, pungent note, while the Italian blend (often a mix of oregano, basil, and thyme) infuses a Mediterranean vibe that pairs perfectly with cheese.
Finishing Touches
A pinch of salt and freshly cracked black pepper is the final seasoning that awakens all the flavors. Salt enhances the cheese, while pepper adds a subtle heat that cuts through the richness. For those who love a little heat, a dash of red pepper flakes can be mixed into the dough or sprinkled on top before baking. The result is a harmonious blend where each component shines without overpowering the others.
With your ingredients prepped and ready, let's get cooking. Here’s where the fun really begins…
🍳 Step-by-Step Instructions
🔐 Expert Tips for Perfect Results
The Taste Test Trick
Before baking the full batch, I always pull a single stick out of the dough and bake it for a shorter time—about 12 minutes. This mini‑test lets you gauge the level of crunch you prefer and adjust seasoning if needed. If the test piece is too soft, a few extra minutes in the oven will give you that perfect snap. The best part? You get a sneak peek of the aroma that will soon fill your kitchen.
Why Resting Time Matters More Than You Think
Allowing the dough to rest for 10 minutes after mixing (covered with a clean towel) lets the almond flour fully hydrate, resulting in a more cohesive texture. I once rushed this step and ended up with crumbly sticks that fell apart. The extra minutes are a small price to pay for a sturdier, more tender bite. Trust me, the dough feels noticeably smoother after that short pause.
The Seasoning Secret Pros Won’t Tell You
A dash of smoked paprika added to the dough gives a subtle smoky undertone that complements the cheese beautifully. It’s a secret I picked up from a professional chef who swears by layering flavors in unexpected ways. The smoky note doesn’t overpower; it simply adds depth that makes the breadsticks feel more sophisticated. Try it once and you’ll wonder how you ever lived without it.
The Moisture Management Method
If you’re using especially watery zucchinis, after squeezing them, spread the shredded pieces on a paper towel and let them air‑dry for a few minutes. This extra step prevents excess steam during baking, which can lead to a soggy bottom. I once served a batch that was a bit too soft, and a quick tip from a fellow home cook saved the day: a brief air‑dry before mixing. The result was a crispier, more satisfying texture.
The Final Flour Dust
A light dusting of almond flour on the parchment before placing the dough helps prevent sticking and adds a tiny crunch to the underside of the sticks. It’s a subtle technique that many overlook, but it makes the difference between a smooth release and a frustrating tug‑of‑war. I’ve found that even a thin layer can create a golden, slightly nutty base that pairs perfectly with the cheese topping.
🌈 Delicious Variations to Try
One of my favorite things about this recipe is how versatile it is. Here are some twists I’ve tried and loved:
Herb‑Infused Green
Add a tablespoon of finely chopped fresh basil and a teaspoon of dried rosemary to the dough. The herbaceous notes brighten the flavor profile, making the breadsticks perfect for a summer picnic. The fresh basil releases a sweet aroma that pairs wonderfully with the cheesy base.
Spicy Jalapeño Kick
Finely dice one jalapeño (seeds removed for less heat) and fold it into the mixture. The subtle heat complements the cheese without overwhelming the palate. This variation is a hit for those who love a little zing with their snack.
Sun‑Dried Tomato Surprise
Stir in a quarter cup of chopped sun‑dried tomatoes for a burst of tangy sweetness. The tomatoes add a chewy texture that contrasts nicely with the crisp crust. It’s an Italian‑inspired spin that makes the breadsticks feel more like a gourmet appetizer.
Cheddar & Bacon Bliss
Swap half of the mozzarella for sharp cheddar and sprinkle crumbled cooked bacon on top before baking. The smoky bacon and sharp cheddar create a hearty, indulgent flavor that’s perfect for a weekend brunch. The bacon’s fat also helps the crust turn extra crispy.
Everything Bagel Crunch
After shaping the sticks, brush them with a little olive oil and sprinkle an “everything bagel” seasoning blend on top. The sesame seeds, poppy seeds, and dried onion flakes add a crunchy, savory crust that’s addictive. It’s a fun way to turn a simple snack into a bold, flavor‑packed bite.
📦 Storage & Reheating Tips
Refrigerator Storage
Allow the breadsticks to cool completely, then place them in an airtight container lined with a paper towel to absorb any excess moisture. They will stay fresh for up to three days, retaining most of their softness and flavor. For a quick snack, simply grab a stick and enjoy it cold or at room temperature.
Freezing Instructions
Arrange the cooled breadsticks on a baking sheet in a single layer and freeze until solid, about two hours. Transfer the frozen sticks to a zip‑top freezer bag, removing as much air as possible. They can be stored for up to two months, making it easy to have a low‑carb snack on hand anytime.
Reheating Methods
To reheat, preheat a skillet over medium heat, add a splash of water, and cover with a lid for one minute to steam the interior. Then uncover and let the sticks crisp for another two minutes. Alternatively, pop them in a 350°F (175°C) oven for five minutes, or use a toaster oven for a quick, crisp finish. The trick to reheating without drying them out? A splash of water or a light brush of melted butter restores moisture and flavor.
❓ Frequently Asked Questions
Can I use coconut flour instead of almond flour?
Are these breadsticks gluten‑free?
How do I keep the breadsticks from getting soggy?
Can I add protein powder to boost the protein content?
What dipping sauces pair best with these breadsticks?
Can I make these ahead of time and freeze before baking?
Is it okay to use pre‑shredded cheese?
How many carbs are in each serving?
Slide the sheet into the preheated oven and bake for 18‑22 minutes, or until the breadsticks are golden brown and you can hear a faint sizzle as the cheese melts. Around the 15‑minute mark, you’ll notice the edges beginning to crisp and the aroma filling the kitchen—a signal that they’re almost ready. Keep a close eye during the last two minutes; almond flour can brown quickly.
Remove the tray from the oven and let the breadsticks rest for five minutes before serving. This short cooling period allows the interior to set, preventing them from falling apart when you pick them up. Serve them warm with a side of marinara, ranch, or a simple olive‑oil dip, and watch as your family reaches for seconds without hesitation.
Similar Recipes
 Appetizers
Mini Jalapeño Popper Flatbreads
Delicious Mini Jalapeño Popper Flatbreads
 Appetizers
Classic Italian Pesto Flatbread
Delicious Classic Italian Pesto Flatbread
 Appetizers
Easy Banana Oatmeal Cookies Recipe
Learn how to make delicious Easy Banana Oatmeal Cookies Recipe. Easy recipe with step-by-step instructions.
 Appetizers
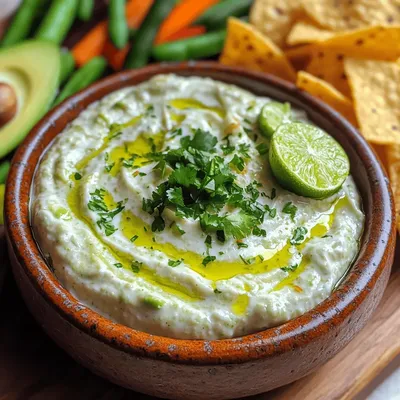
Creamy Avocado Lime Ranch Dip
Delicious Creamy Avocado Lime Ranch Dip
 Appetizers
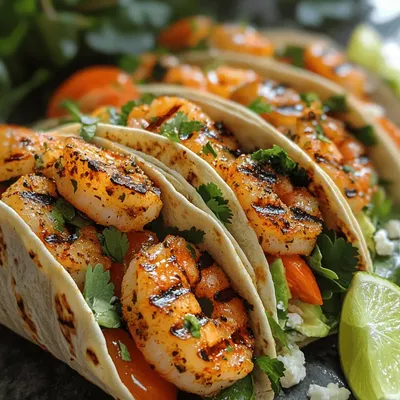
Zesty Summer Grilled Shrimp Wraps: A Refreshing Recipe for the Season
Delicious Zesty Summer Grilled Shrimp Wraps: A Refreshing Recipe for the Season
 Appetizers
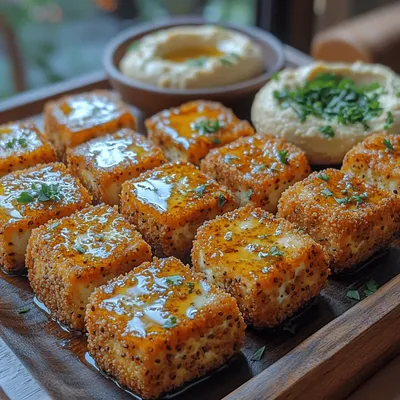
Crunchy Pita Crusted Tofu Bites: A Delicious Plant-Based Delight
Delicious Crunchy Pita Crusted Tofu Bites: A Delicious Plant-Based Delight
 Appetizers
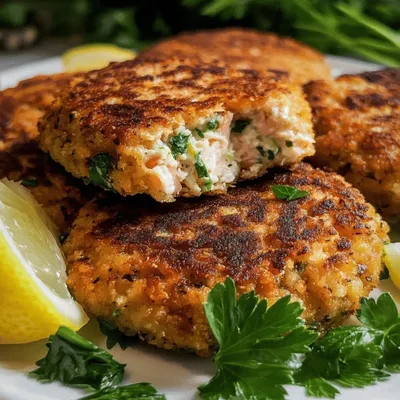
Golden Crispy Salmon Cakes with Zesty Lemon-Dill Delight
Learn how to make delicious Golden Crispy Salmon Cakes with Zesty Lemon-Dill Delight. Easy recipe with…
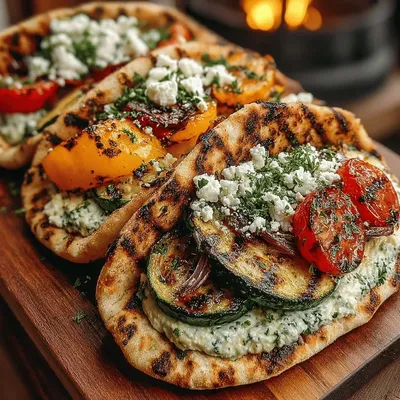 Appetizers
Grilled Veggie & Hummus Pitas: Perfecting Your Culinary Experience
Delicious Grilled Veggie & Hummus Pitas: Perfecting Your Culinary Experience

Susan
I cook these recipes at home before they ever land here — simple ingredients, clear steps.
Other Reader Favorites
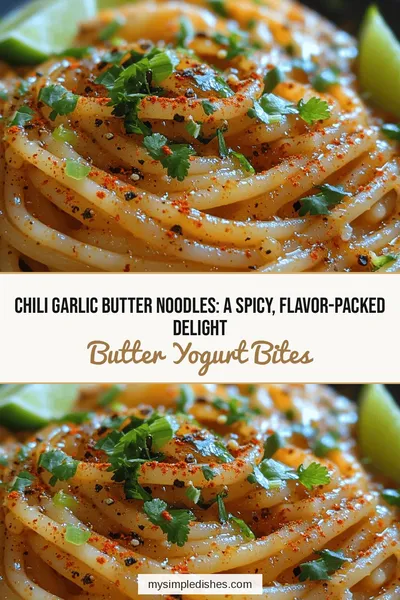 Dinner
Chili Garlic Butter Noodles: A Spicy, Flavor-Packed Delight
Delicious Chili Garlic Butter Noodles: A Spicy, Flavor-Packed Delight
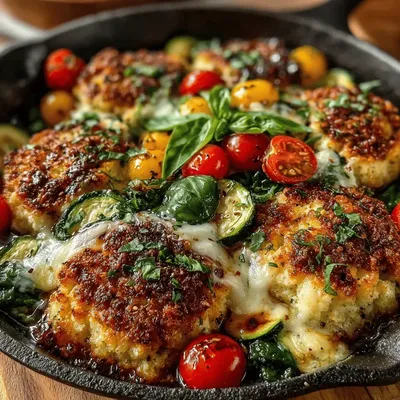 Breakfast
Mini Veggie Skillet Biscuit Pizzas Recipe
Delicious Mini Veggie Skillet Biscuit Pizzas Recipe
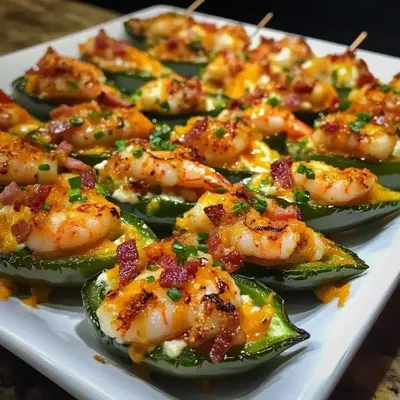 Appetizers
Honey Garlic Shrimp Bacon Jalapeño Poppers: Ultimate Guide
Learn how to make delicious Honey Garlic Shrimp Bacon Jalapeño Poppers: Ultimate Guide. Easy recipe with…
 Dinner
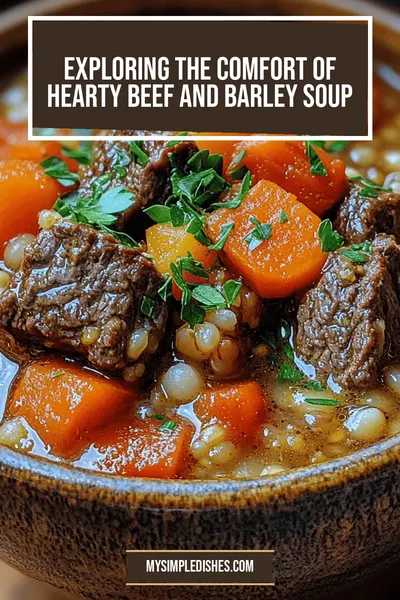
Exploring the Comfort of Hearty Beef and Barley Soup
Delicious Exploring the Comfort of Hearty Beef and Barley Soup