Nutter Butter Peanut Butter Cheesecake: A Decadent Dessert Delight
 Save
Save
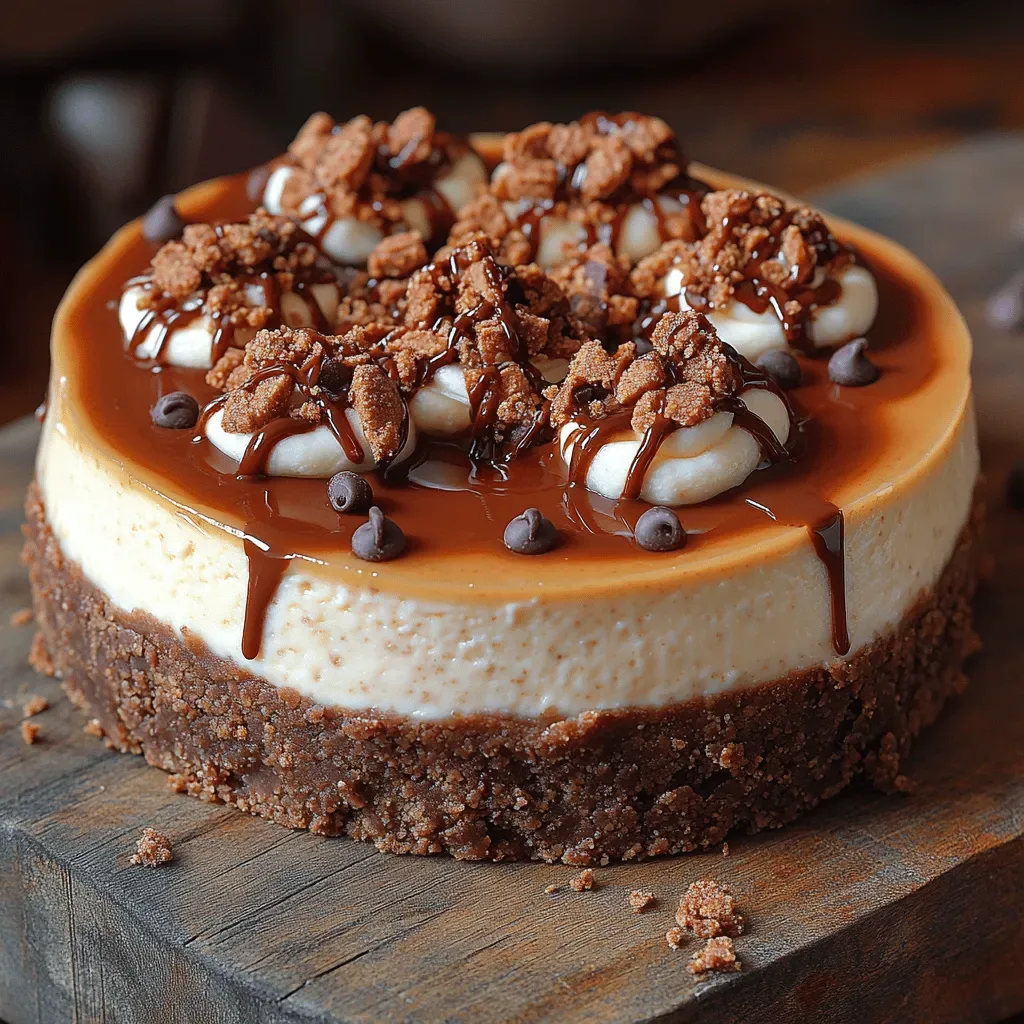
Imagine the creamy richness of classic cheesecake paired with the nostalgic, buttery crunch of Nutter Butter cookies—this dessert delivers both in one unforgettable bite. The moment the silky filling meets the crunchy, chocolate‑kissed crust, you’ll understand why it’s a show‑stopper.
What makes this recipe truly special is the seamless blend of two beloved treats: a smooth peanut‑butter cheesecake filling that’s light enough to melt in your mouth, and a crust built from crushed Nutter Butter cookies that adds texture and a hint of salty sweetness.
This cheesecake is perfect for anyone who loves peanut butter, from kids with a sweet tooth to adults craving an elegant yet comforting dessert. Serve it at birthday parties, holiday gatherings, or a simple weekend treat to impress your guests.
The process is straightforward: crush the cookies for the base, whisk together a velvety filling, bake gently, then chill until firm. A quick drizzle of melted chocolate finishes the look, turning a classic dessert into a decadent delight.
Why You'll Love This Recipe
Irresistible Flavor Fusion: The salty‑sweet cookie crust pairs perfectly with the rich, nutty cheesecake, creating a balanced taste that keeps you reaching for another slice.
Simple Prep, Big Impact: With just a few pantry staples and a single‑bowl mixing method, you can produce a dessert that looks as impressive as it tastes.
Make‑Ahead Friendly: The cheesecake sets in the refrigerator, allowing you to prepare it a day ahead, freeing up time for entertaining.
Customizable Toppings: From chocolate drizzle to caramel swirls or toasted peanuts, you can personalize the finish to match any occasion.
Tips & Tricks
Perfecting the Recipe
Room‑Temperature Dairy. Allow cream cheese, sour cream, and heavy cream to sit out for 30 minutes before mixing. This ensures a lump‑free, velvety filling.
Don’t Over‑Bake. The cheesecake should still jiggle slightly in the center when you turn it off. Over‑baking creates cracks and a dry texture.
Use a Water Bath (Optional). Placing the springform pan in a larger pan of hot water helps regulate temperature, yielding an ultra‑smooth surface.
Chill Before Slicing. Let the cheesecake rest in the fridge for at least 4 hours; this firming step makes clean slices without crumbling.
Flavor Enhancements
Add a tablespoon of toasted, finely chopped peanuts to the filling for extra crunch. A drizzle of caramel sauce over the chocolate glaze adds a buttery depth. For a hint of spice, sprinkle a pinch of cinnamon into the crust mixture before pressing it down.
Common Mistakes to Avoid
Skipping the cooling period inside the oven often leads to surface cracks. Also, using cold butter for the crust can result in a crumbly base that doesn’t hold together. Finally, over‑mixing the filling incorporates too much air, causing the cake to rise then collapse.
Pro Tips
Blind‑Bake the Crust (Optional). Bake the crust alone for 8 minutes before adding filling to ensure it stays crisp.
Use a Silicone Spatula. It scrapes the bowl cleanly, guaranteeing every last bit of creamy mixture makes it into the pan.
Seal the Springform. Wrap the outside of the pan in foil before baking to prevent water from seeping in if you use a bain‑marie.
Serve at Room Temperature. Let slices sit for 10 minutes before serving; this softens the texture and releases the full aroma.
Variations
Ingredient Swaps
Replace Nutter Butter cookies with chocolate graham crackers for a milder crust. Use almond butter instead of peanut butter for a nut‑free version. Swap the semi‑sweet chocolate glaze for white chocolate or dark chocolate to change the visual contrast and flavor intensity.
Dietary Adjustments
For a gluten‑free cheesecake, ensure the cookie crumbs are from certified gluten‑free Nutter Butter or substitute with gluten‑free chocolate cookies. To make it dairy‑free, use a plant‑based cream cheese, coconut cream, and almond butter; the texture remains rich while accommodating vegan diets.
Serving Suggestions
Pair each slice with a dollop of whipped coconut cream and a sprinkle of toasted peanuts for added crunch. Fresh berries (strawberries, raspberries) provide a bright, acidic contrast. For an elegant finish, dust the top with cocoa powder or a light drizzle of salted caramel.
Storage Info
Leftover Storage
Once the cheesecake has set, cover the springform pan tightly with plastic wrap or transfer slices to an airtight container. Store in the refrigerator for up to 4 days. For longer keeping, wrap each slice in foil and freeze; the cake retains its texture for up to 3 months.
Reheating Instructions
Thaw frozen slices in the refrigerator overnight. To warm, place a slice on a microwave‑safe plate, cover loosely with a damp paper towel, and heat on medium power for 30‑45 seconds. For a softer texture, let the slice sit at room temperature for 15 minutes before serving. Add a quick drizzle of extra chocolate glaze if desired.
Frequently Asked Questions
Can I make this cheesecake ahead of time?
What if I don’t have Nutter Butter cookies?
How do I avoid cracks on the surface?
Can I freeze the chocolate glaze separately?
This Nutter Butter Peanut Butter Cheesecake blends nostalgic cookie crunch with a luxuriously smooth, nutty filling—perfect for celebrations or a sweet everyday treat. The detailed steps, storage tips, and creative variations ensure you’ll master it every time while still having room to experiment. Slice, share, and savor the delightful contrast of textures and flavors. Enjoy every creamy, chocolate‑kissed bite!
Nutter Butter Peanut Butter Cheesecake: A Decadent Dessert Delight
Delicious Nutter Butter Peanut Butter Cheesecake: A Decadent Dessert Delight
Ingredients
Crust
- 2 cups Nutter Butter cookies, finely crushed
- 3 tablespoons unsalted butter, melted
- 1 tablespoon granulated sugar
Filling
- 24 oz (3 packages) cream cheese, softened
- 1 cup creamy peanut butter
- 1 cup sweetened condensed milk
- ½ cup sour cream
- ¼ cup heavy whipping cream
- 2 teaspoons vanilla extract
- ¼ teaspoon kosher salt
Chocolate Glaze
- ½ cup semi‑sweet chocolate chips
- 2 tablespoons heavy cream
- 1 teaspoon butter
Instructions
Mixing the Filling
- Blend Cream Cheese. Using a handheld mixer on medium speed, beat 24 oz softened cream cheese until smooth and free of lumps, about 2 minutes. A silky base prevents grainy texture later.
- Incorporate Peanut Butter. Add 1 cup creamy peanut butter to the cream cheese, mixing until fully combined. The mixture should be glossy and thick, indicating the fats have emulsified.
- Sweeten and Lighten. Pour in 1 cup sweetened condensed milk, ½ cup sour cream, and ¼ cup heavy cream. Beat on low until the batter is homogenous; this adds sweetness and a light, airy quality.
- Flavor Finish. Stir in 2 teaspoons vanilla extract and ¼ teaspoon kosher salt. The vanilla amplifies the peanut butter aroma, while the salt balances the sweetness.
Similar Recipes
 Desserts
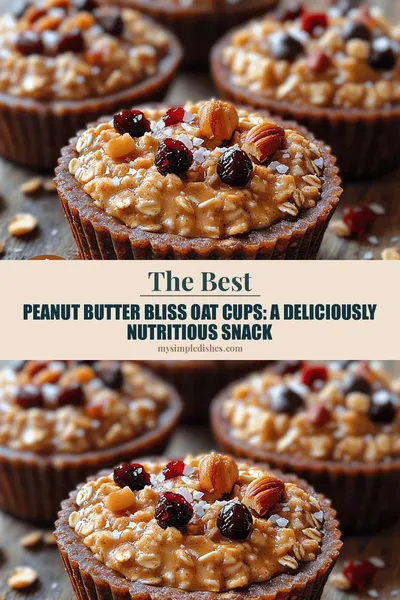
Peanut Butter Bliss Oat Cups: A Deliciously Nutritious Snack
Delicious Peanut Butter Bliss Oat Cups: A Deliciously Nutritious Snack
 Desserts
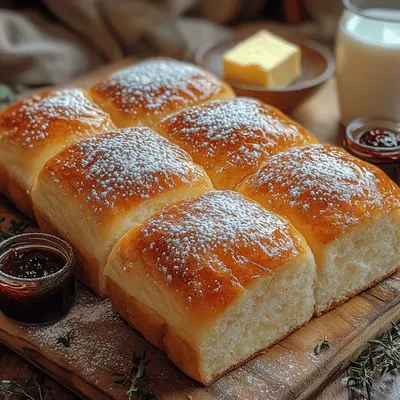
Sweet Condensed Milk Bread Recipe
Delicious Sweet Condensed Milk Bread Recipe
 Desserts
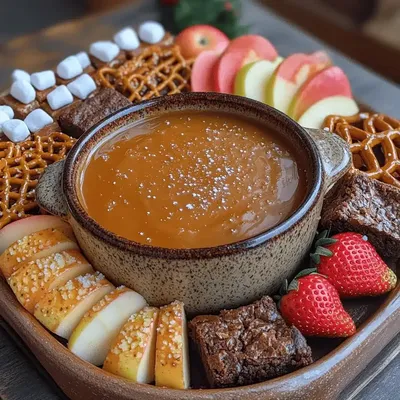
Heavenly Salted Caramel Fondue: A Decadent Indulgence for Every Occasion
Delicious Heavenly Salted Caramel Fondue: A Decadent Indulgence for Every Occasion
 Desserts
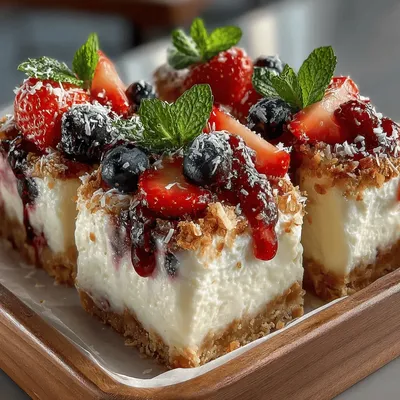
Frozen Yogurt Coconut Berry Swirl Slices: A Refreshing Delight
Delicious Frozen Yogurt Coconut Berry Swirl Slices: A Refreshing Delight
 Desserts
Cinnamon Crescent Twists: A Delightful Treat for Any Occasion
Delicious Cinnamon Crescent Twists: A Delightful Treat for Any Occasion
 Desserts
Zesty Frozen Lemon Raspberry Yogurt Coins
Delicious Zesty Frozen Lemon Raspberry Yogurt Coins
 Desserts
Lemon Bliss Poppy Seed Muffins
Delicious Lemon Bliss Poppy Seed Muffins
 Desserts
Banana Pudding Lasagna Recipe: A Delightful Twist on a Classic Dessert
Delicious Banana Pudding Lasagna Recipe: A Delightful Twist on a Classic Dessert

Susan
I cook these recipes at home before they ever land here — simple ingredients, clear steps.