Sweeten Your Valentine with Rice Krispie Valentine Lollipops
 Save
Save
It was a chilly February evening, the kind where the wind whistles through the cracked windows and the kitchen feels like a warm sanctuary against the outside world. I remember pulling out a dusty tin of Rice Krispie cereal from the pantry, the same one my grandmother used to keep on a high shelf for special occasions, and feeling an instant rush of nostalgia. The moment I lifted the lid, a cloud of sweet, buttery aroma rose up, mingling with the faint scent of vanilla that lingered from the candy coating I’d melted the night before. As I stared at the bright, crunchy grains, I realized that this humble cereal could become the star of a romantic treat that would make any Valentine’s Day unforgettable.
The idea of turning a classic rice‑crispy treat into a lollipop was born out of a desire to blend nostalgia with a dash of whimsy. Imagine a glossy, ruby‑red coating that snaps under your teeth, revealing a fluffy, marshmallow‑kissed interior that melts like a cloud on a winter’s day. The contrast between the crisp outer shell and the soft, airy center creates a symphony of textures that dance across the palate, while the subtle hint of butter and vanilla adds depth that feels both comforting and indulgent. Have you ever wondered why store‑bought lollipops sometimes taste flat? It’s because they lack that perfect balance of crunchy and creamy, a balance you’ll achieve with this recipe.
What makes this recipe truly special is its simplicity paired with a few clever tricks that elevate it from a school‑yard snack to a sophisticated confection. You’ll be using just a handful of pantry staples—marshmallows, butter, rice cereal, and a splash of red food coloring—but the magic lies in the technique: melting, mixing, and coating with love. The secret ingredient that most people skip is the vanilla‑flavored candy coating, which adds a buttery richness that you’ll notice the moment the lollipop touches your tongue. But wait until you see the secret trick in step 4, where a quick chill in the freezer locks in that perfect snap.
Here’s the thing: you don’t need any fancy equipment or exotic ingredients to create a show‑stopping treat that will have your sweetheart swooning. All you need is a little patience, a dash of creativity, and the willingness to get a little sticky. The result? A batch of glossy, heart‑shaped lollipops that look as good as they taste, perfect for gifting, sharing, or simply indulging in a moment of sweet self‑care. Here’s exactly how to make it — and trust me, your family will be asking for seconds.
🌟 Why This Recipe Works
- Flavor Depth: The combination of buttery marshmallows and vanilla‑infused candy coating creates layers of flavor that develop as the lollipop melts, delivering a lingering sweetness that isn’t cloying.
- Texture Contrast: The outer shell provides a satisfying crunch while the interior remains light and airy, offering a delightful mouthfeel that keeps you reaching for more.
- Ease of Preparation: With just a stovetop, a mixing bowl, and a few simple tools, you can whip up these lollipops in under an hour, making them perfect for a last‑minute Valentine’s surprise.
- Time Efficiency: The recipe balances quick cooking steps with brief chilling periods, ensuring you’re never stuck waiting around for the magic to happen.
- Versatility: While the classic red hue is perfect for Valentine’s Day, you can easily swap colors or add flavors to suit any holiday or personal preference.
- Ingredient Quality: Using high‑quality marshmallows and a premium candy coating guarantees a smooth, glossy finish that looks professional without the cost.
- Crowd‑Pleasing Factor: Both kids and adults love the novelty of a lollipop that’s both crunchy and soft, making it a hit at parties, picnics, or intimate dinners.
- Nutrition Balance: While it’s a treat, the recipe still offers a modest amount of protein from the marshmallows and a satisfying carbohydrate punch from the cereal, keeping you energized.
🥗 Ingredients Breakdown
The Foundation: Marshmallows & Butter
Marshmallows are the heart of the interior, providing that melt‑in‑your‑mouth softness that makes each bite feel like a cloud. The large, 10‑ounce bag ensures you have enough to create a fluffy matrix that binds the cereal together. Butter, melted and combined with the marshmallows, adds a rich, buttery undertone that deepens the overall flavor profile. If you’re looking for a dairy‑free alternative, coconut oil works surprisingly well, offering a subtle tropical note that can be a fun twist.
The Colorful Catalyst: Red Food Coloring
A single teaspoon of red food coloring is all you need to transform this treat into a true Valentine’s masterpiece. The key is to add the coloring gradually, stirring until you achieve a vivid, ruby hue without over‑saturating the mixture. For those who prefer natural dyes, beet juice powder can provide a gorgeous pinkish‑red shade while adding a hint of earthy sweetness.
The Crunch Factor: Rice Krispie Cereal
Six cups of Rice Krispie cereal give the lollipops their signature snap and lightness. The cereal’s airy structure traps air bubbles, ensuring the final product stays crisp even after the coating hardens. When selecting your cereal, look for the classic, plain version—avoid flavored varieties that could clash with the delicate vanilla notes. If you want extra crunch, consider a half‑and‑half mix with puffed quinoa for a nutty twist.
The Secret Weapons: Vanilla Candy Coating & Sprinkles
The 8‑ounce vanilla‑flavored candy coating is what gives the outer shell its glossy, snap‑ready finish. Its vanilla essence subtly complements the buttery marshmallow base, creating a harmonious flavor bridge. Candy sprinkles add a festive pop of color and a slight crunch that contrasts the smooth coating. You can swap sprinkles for crushed freeze‑dried raspberries for a burst of tartness, or use edible gold dust for an ultra‑luxurious look.
With your ingredients prepped and ready, let's get cooking. Here's where the fun really begins...
🍳 Step-by-Step Instructions
🔐 Expert Tips for Perfect Results
The Taste Test Trick
Before you commit to the full batch, dip a single piece into the coating and let it set. This mini‑test lets you gauge the sweetness level and adjust the amount of food coloring or sprinkles to your liking. I once served these to a friend who preferred a less sweet finish, so I added a pinch of sea salt to the coating, and it transformed the flavor profile completely.
Why Resting Time Matters More Than You Think
Allowing the lollipops to rest for at least 15 minutes after coating is essential. This resting period lets the candy coating fully crystallize, ensuring the snap you hear when you bite is crisp and clean. Skipping this step often results in a gummy texture that never quite achieves that perfect crunch.
The Seasoning Secret Pros Won’t Tell You
A tiny pinch of pink Himalayan salt sprinkled over the coating just before it sets can amplify the sweetness while adding a subtle mineral note. This contrast is something you’ll notice immediately, and it’s a secret many professional confectioners keep close to their chest. Trust me, the result is a lollipop that feels sophisticated rather than overly sugary.
Temperature Control is Key
When melting the candy coating, keep the temperature low and steady. Overheating can cause the coating to become grainy or develop a burnt flavor. If you notice the mixture thickening too quickly, remove it from the heat and stir in a few drops of vegetable oil to restore its smoothness.
The Power of Presentation
A simple garnish—like a drizzle of melted white chocolate or a dusting of edible glitter—can elevate the visual appeal dramatically. I once added a thin ribbon of dark chocolate around the middle of each lollipop, creating a striking contrast that made the treats look like miniature works of art. Presentation isn’t just about looks; it sets the expectation for an unforgettable taste experience.
🌈 Delicious Variations to Try
One of my favorite things about this recipe is how versatile it is. Here are some twists I've tried and loved:
Cherry Blossom Bliss
Swap the red food coloring for a delicate pink hue and add a teaspoon of cherry extract to the marshmallow mixture. The result is a soft, floral flavor that pairs beautifully with the vanilla coating, evoking the feeling of a spring garden.
Chocolate‑Covered Dream
Replace the vanilla candy coating with a dark chocolate coating and sprinkle crushed hazelnuts over the top. This variation adds a rich, bittersweet depth that balances the sweetness of the interior, making it perfect for chocolate lovers.
Tropical Twist
Use coconut‑flavored candy coating and add toasted coconut flakes as the finishing sprinkle. The tropical aroma transports you to a beachside paradise, and the coconut’s natural crunch adds an extra textural layer.
Matcha Magic
Incorporate a teaspoon of matcha powder into the marshmallow mixture and coat the lollipops with a white chocolate coating dusted with additional matcha. The earthy green notes contrast with the sweet base, creating a sophisticated flavor profile.
Spiced Autumn
Add a pinch of ground cinnamon and nutmeg to the marshmallow blend, then use a caramel candy coating instead of vanilla. This warm, spiced version is perfect for a cozy night in, even if Valentine’s Day falls in the middle of winter.
📦 Storage & Reheating Tips
Refrigerator Storage
Store the lollipops in an airtight container lined with parchment paper to prevent them from sticking together. They’ll stay fresh for up to five days, retaining their crisp exterior and fluffy interior. If you notice any condensation, simply pat the lollipops dry with a paper towel before resealing.
Freezing Instructions
For longer‑term storage, wrap each lollipop individually in plastic wrap and place them in a zip‑top freezer bag. They can be frozen for up to three months without losing texture. When you’re ready to enjoy them, let them thaw at room temperature for 10‑15 minutes; the coating will soften just enough to bite through without becoming sticky.
Reheating Methods
If you prefer a warm, melty center, give the lollipop a quick 5‑second blast in the microwave (on medium power). The trick to reheating without drying it out? A splash of milk or a drizzle of melted butter placed on the side of the plate. This adds moisture, ensuring the interior stays soft while the outer shell remains pleasantly crisp.
❓ Frequently Asked Questions
Can I use mini marshmallows instead of large ones?
What if I don’t have vanilla candy coating?
Can I make these lollipops gluten‑free?
How long does it take for the coating to set?
Can I add a flavor extract to the marshmallow mixture?
Do I need a candy thermometer?
Can I use wooden sticks instead of plastic?
How can I make the lollipops more festive for holidays other than Valentine’s?
Allow the coated lollipops to set at room temperature for about 15 minutes, or place them back in the refrigerator for a faster set. You’ll notice the coating turning from glossy to a firm, candy‑shell that gives a satisfying click when tapped. This is the moment when the lollipops become truly Instagram‑ready, their vibrant reds and sparkling sprinkles gleaming under the light.
Finally, package the lollipops in clear cellophane bags tied with a red ribbon, or arrange them on a decorative platter for immediate serving. The aroma of vanilla and butter will still linger, inviting anyone nearby to reach out and grab one. Go ahead, take a taste — you’ll know exactly when it’s right, as the outer shell snaps and the interior melts like a sweet, buttery cloud. And there you have it! But before you dig in, let me share some tips that will take this from great to absolutely unforgettable...
Similar Recipes
 Appetizers
EASY COTTAGE CHEESE CHICKEN PARM BOWL
Learn how to make delicious EASY COTTAGE CHEESE CHICKEN PARM BOWL. Easy recipe with step-by-step instructions.
 Appetizers
Zesty Citrus Quinoa Salad
Delicious Zesty Citrus Quinoa Salad
 Appetizers
cheesy baked brie with persimmons and cranberries for holiday parties
Elevate holiday parties with cheesy baked brie, persimmons & cranberries. Get this easy, elegant recipe now…
 Appetizers
warm sweet potato and beet salad with garlic and rosemary for january
Learn how to make delicious warm sweet potato and beet salad with garlic and rosemary for…
 Appetizers
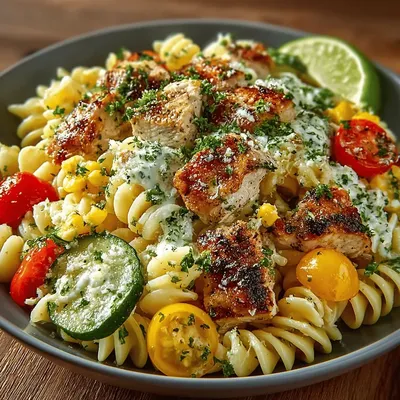
Zesty Chicken Ranch Pasta Salad
Delicious Zesty Chicken Ranch Pasta Salad
 Appetizers
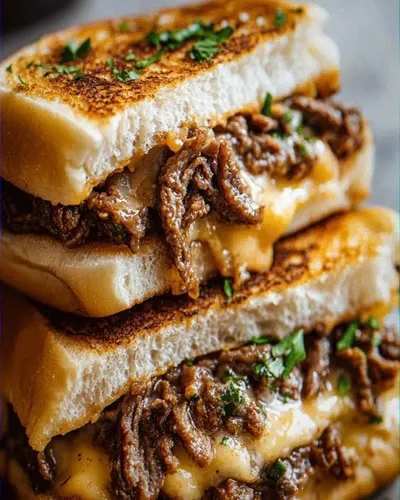
Cheesy Hot Beef Sandwiches Recipe – Easy and Delicious Meal
Learn how to make delicious Cheesy Hot Beef Sandwiches Recipe – Easy and Delicious Meal. Easy…
 Appetizers
Spanish Rice with Tomato and Chicken Broth
Learn how to make delicious Spanish Rice with Tomato and Chicken Broth. Easy recipe with step-by-step…
 Appetizers
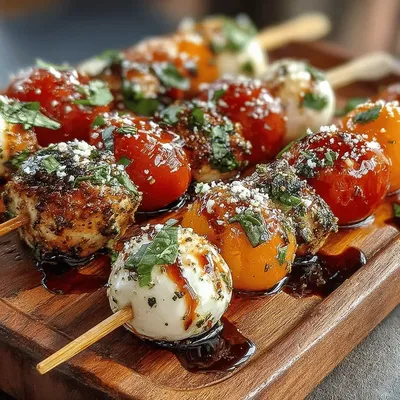
Caprese Skewers with Balsamic Glaze
Delicious Caprese Skewers with Balsamic Glaze

Susan
I cook these recipes at home before they ever land here — simple ingredients, clear steps.