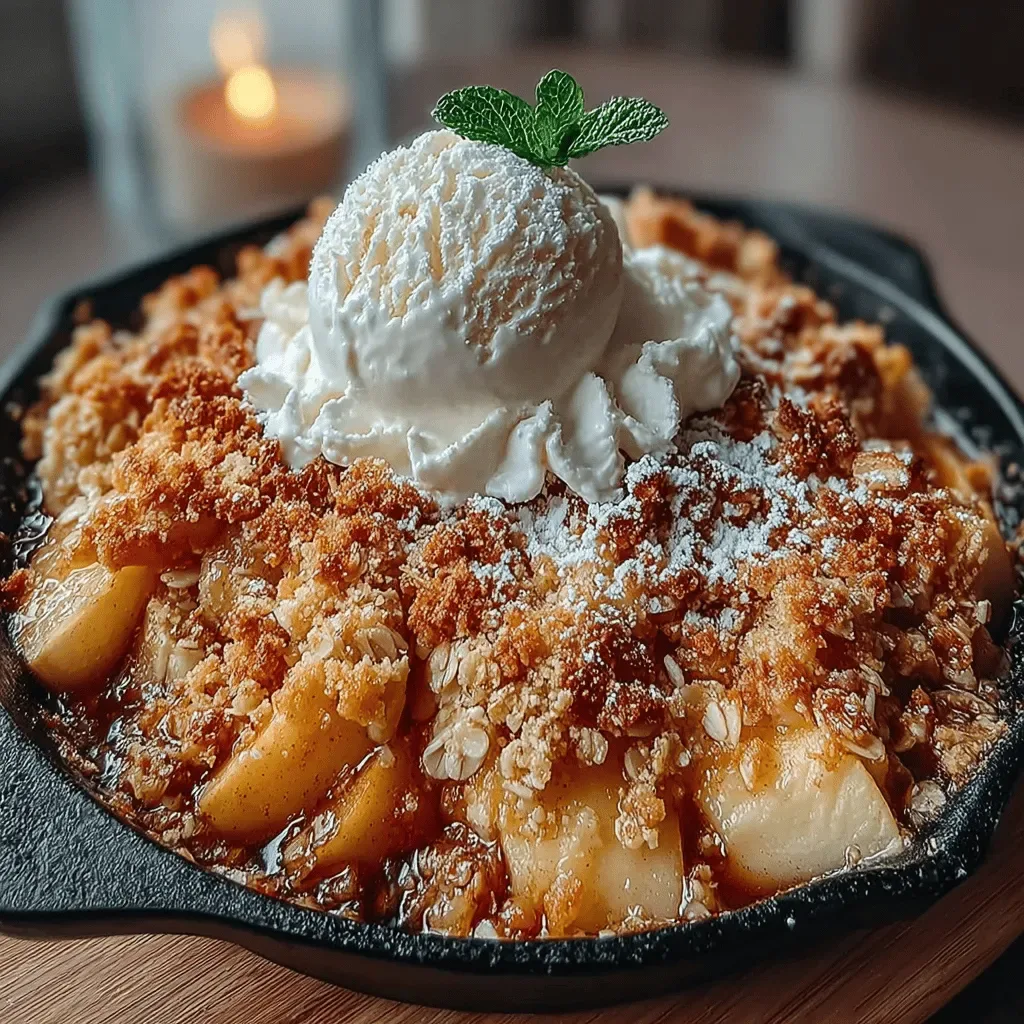
Warm Cinnamon Apple Crumble Skillet
 Save
Save
Imagine waking up to the scent of caramelized apples, warm cinnamon, and a buttery crumble bubbling gently in a skillet. This Warm Cinnamon Apple Crumble Skillet turns an ordinary weekend morning into a cozy, restaurant‑quality experience without the fuss.
What makes it special is the perfect marriage of sweet‑spiced apples and a crunchy oat‑brown‑sugar topping, all cooked in one pan so the flavors meld beautifully while the crust stays delightfully crisp.
Busy families, brunch‑loving friends, and anyone craving a comforting start to the day will adore this dish. It shines as a hearty breakfast, a lazy‑Saturday brunch, or even a sweet‑savory side for holiday gatherings.
The process is straightforward: sauté sliced apples with butter and spices, sprinkle a quick crumble, then finish under the broiler for a golden finish. In just half an hour you’ll have a warm, shareable skillet that looks as impressive as it tastes.
Why You'll Love This Recipe
Comfort in a Skillet: The aroma of cinnamon and baked apples fills the kitchen, creating an instant feeling of home and comfort that’s perfect for lazy mornings.
One‑Pan Simplicity: No multiple dishes, no juggling; the apples and crumble cook together, making cleanup a breeze while preserving maximum flavor.
Customizable Sweetness: Adjust the sugar level or swap maple syrup for honey to match your taste, and add nuts or raisins for extra texture.
Versatile Pairings: Serve it alone, with a dollop of yogurt, a splash of vanilla ice cream, or alongside eggs and bacon for a full brunch plate.
Tips & Tricks
Perfecting the Recipe
Use Firm Apples. Choose varieties like Honeycrisp, Granny Smith, or Braeburn. Their firm texture holds up during cooking, preventing a mushy base.
Cold Butter for Crumble. Keep the butter for the topping chilled until you rub it in. Cold butter creates distinct, flaky pockets that stay crisp after broiling.
Don’t Over‑Broil. The crumble can go from golden to burnt in seconds. Set a timer and keep the skillet in view during the final 2‑minute burst.
Flavor Enhancements
Add a splash of bourbon or dark rum to the apple mixture for an adult‑friendly depth. A pinch of cardamom or ginger pairs beautifully with the cinnamon. Finish with a light drizzle of honey right before serving for an extra glossy sheen.
Common Mistakes to Avoid
Avoid stirring the crumble while it’s in the oven; this will melt the butter and produce a soggy topping. Also, don’t use too much liquid in the apple base—excess juice will prevent the crumble from crisping.
Pro Tips
Pre‑heat the Skillet. A hot pan jump‑starts caramelization, giving the apples a richer flavor and a better texture.
Season the Apples Early. Adding salt with the sugar draws out moisture, concentrating the apple flavor and balancing the sweetness.
Serve Immediately. The crumble loses its crunch as it sits; plate while the skillet is still hot for maximum texture contrast.
Variations
Ingredient Swaps
Swap the apples for sliced pears for a softer flavor, or use a mix of both for complexity. Replace rolled oats with toasted quinoa flakes for a gluten‑free crunch. For a richer topping, substitute half the butter with coconut oil and add shredded coconut.
Dietary Adjustments
Choose gluten‑free flour and certified gluten‑free oats to keep the dish safe for gluten‑intolerant guests. Use a plant‑based butter alternative and maple syrup for a vegan version. For a lower‑sugar option, halve the brown sugar and replace maple syrup with a sugar‑free maple‑flavored syrup.
Serving Suggestions
Pair the skillet with a side of fluffy scrambled eggs or a savory breakfast sausage for a complete brunch. For a lighter approach, serve a dollop of Greek yogurt and a sprinkle of granola. A glass of chilled hard cider or a spiced latte complements the warm spices beautifully.
Storage Info
Leftover Storage
Allow the skillet to cool to room temperature, then transfer the apples and crumble to an airtight container. Refrigerate for up to 3 days. For longer storage, portion into freezer‑safe bags, squeeze out excess air, and freeze for up to 2 months. Thaw overnight in the fridge before reheating.
Reheating Instructions
Reheat in a 350°F oven for 10‑12 minutes, covered with foil to keep moisture in, then uncover for the final 2 minutes to restore crispness. In a microwave, heat on medium power for 1‑2 minutes, stirring halfway, and add a splash of milk or extra maple syrup to revive the sauce.
Frequently Asked Questions
Can I make this recipe ahead of time?
Can I use frozen apples or pre‑sliced apple packs?
What are the best side dishes for this skillet?
How can I make this recipe gluten‑free?
This Warm Cinnamon Apple Crumble Skillet brings the comfort of a classic dessert to the breakfast table with minimal effort and maximum flavor. By following the detailed steps, using fresh apples, and mastering the buttery crumble, you’ll create a dish that’s both visually stunning and irresistibly tasty. Feel free to experiment with nuts, spices, or alternative sweeteners to make it truly your own. Serve it hot, enjoy the aroma, and start your day with a spoonful of cozy goodness!
Warm Cinnamon Apple Crumble Skillet
Delicious Warm Cinnamon Apple Crumble Skillet
Ingredients
Fruit Base
- 4 medium apples, peeled, cored, and sliced ¼‑inch thick
- 2 tablespoons unsalted butter, cut into pieces
- 3 tablespoons brown sugar, packed
Crumble Topping
- ½ cup all‑purpose flour
- ½ cup rolled oats
- ¼ cup chopped walnuts (optional)
- 2 tablespoons cold butter, diced
- 2 tablespoons maple syrup
Seasonings & Extras
- 1 teaspoon ground cinnamon
- ¼ teaspoon ground nutmeg
- ¼ teaspoon salt
- ½ teaspoon pure vanilla extract
Instructions
Assembling and Baking
- Even the Apple Layer. Spread the cooked apples into an even layer, making sure any buttery sauce is distributed across the bottom of the skillet. This prevents dry spots and ensures every bite gets that sweet glaze.
- Top with Crumble. Sprinkle the crumble mixture uniformly over the apples. The crumble should cover the fruit completely but not be packed tightly; you want pockets of butter to melt through during baking.
- Broil for Golden Perfection. Preheat your oven’s broiler on high. Place the skillet on the middle rack and broil for 3‑5 minutes, watching closely. The crumble should turn a deep golden brown and the edges of the apples should bubble gently. If the top browns too quickly, lower the rack or switch to a lower oven temperature (375°F) and bake for an additional 5‑7 minutes.
- Rest Before Serving. Remove the skillet from the oven and let it sit for 2‑3 minutes. This short rest allows the sauce to thicken slightly, making it easier to serve without all the liquid spilling.
Similar Recipes
 Desserts
Amazing Christmas Kitchen Sink Cookies
Learn how to make delicious Amazing Christmas Kitchen Sink Cookies. Easy recipe with step-by-step instructions.
 Desserts
Tropical Bliss Mango Lime Sorbet
Delicious Tropical Bliss Mango Lime Sorbet
 Desserts
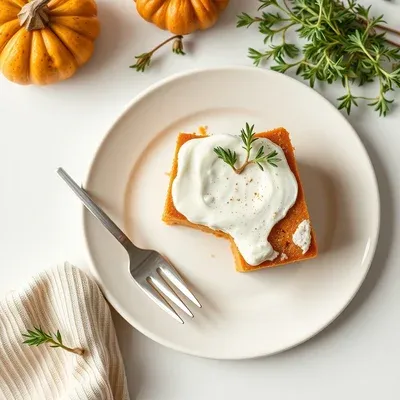
Pumpkin Crème Bar Cake
Discover how to bake a luscious Pumpkin Crème Bar Cake with a cream cheese frosting. Step‑by‑step…
 Desserts
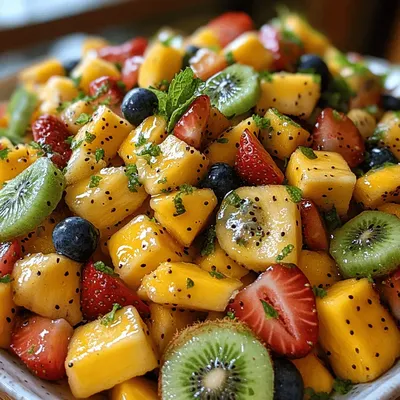
Tropical Fruit Melange with Honey Lime Bliss: A Refreshing Delight
Delicious Tropical Fruit Melange with Honey Lime Bliss: A Refreshing Delight
 Desserts
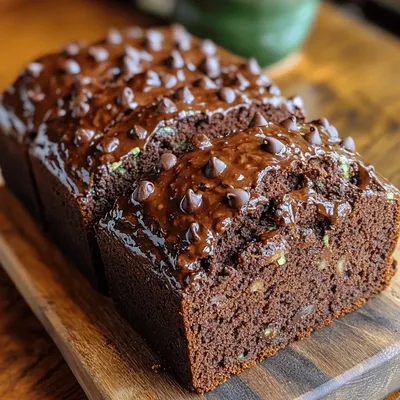
Indulgent Double Chocolate Zucchini Bread Recipe
Delicious Indulgent Double Chocolate Zucchini Bread Recipe
 Desserts
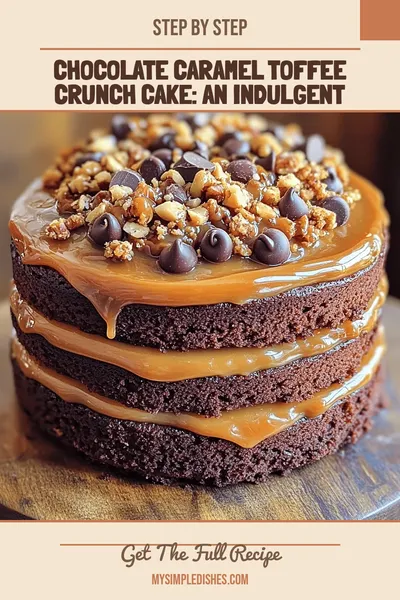
Chocolate Caramel Toffee Crunch Cake: An Indulgent Delight
Delicious Chocolate Caramel Toffee Crunch Cake: An Indulgent Delight
 Desserts
Decadent Caramel Chocolate Crunch Bars
Delicious Decadent Caramel Chocolate Crunch Bars
 Desserts
25x verslavende lemon blueberry cheesecake bars in 40 minuten
Learn how to make delicious 25x verslavende lemon blueberry cheesecake bars in 40 minuten. Easy recipe…

Susan
I cook these recipes at home before they ever land here — simple ingredients, clear steps.