Chocolate Peanut Butter Dessert Cups
 Save
Save
It was a crisp autumn evening, the kind where the wind whistles through the trees and the kitchen smells like comfort waiting to happen. I remember standing on a tiny stool, watching the steam rise from a pot of melted chocolate, and feeling an almost child‑like thrill as the rich aroma wrapped around me like a warm blanket. That night, I was trying to recreate a dessert I’d tasted at a tiny café on a road trip—those glossy, bite‑size cups that seemed to melt the moment they hit your tongue, revealing a silky peanut butter core that was both salty and sweet. The memory of that perfect balance stayed with me, and after a few experimental batches, I finally nailed the version that feels like a hug in a cup.
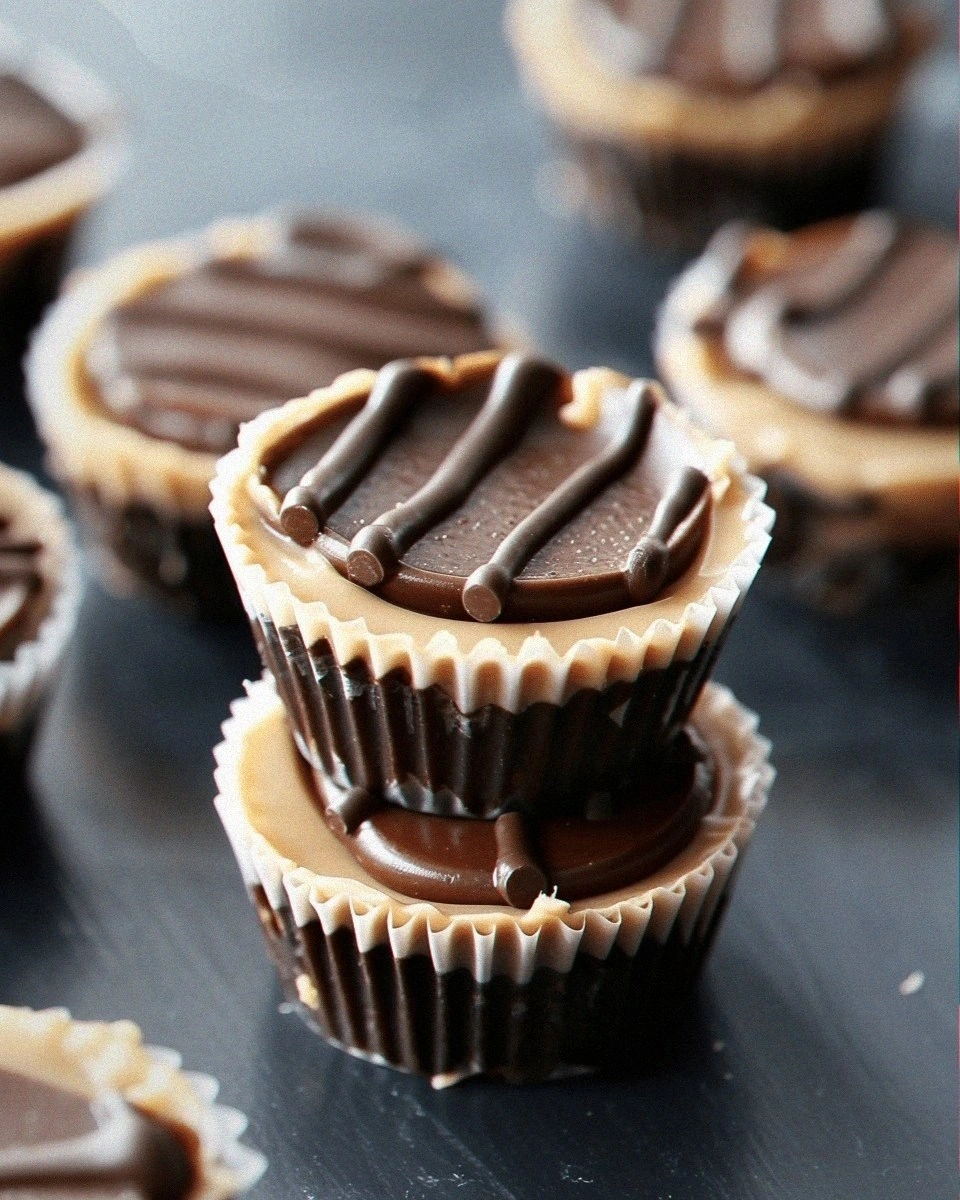
What makes these Chocolate Peanut Butter Dessert Cups truly special is the harmony between two beloved flavors: deep, slightly bitter dark chocolate and the creamy, nutty richness of peanut butter. When the chocolate shell cracks, it releases a burst of aroma that makes your mouth water before you even take a bite. Inside, the peanut butter filling is sweetened just enough to let the natural earthiness shine, and a pinch of sea salt lifts everything to a new level of satisfaction. Imagine a bite that starts with a glossy, chocolatey snap, then slides into a velvety, buttery center that lingers just long enough to make you close your eyes in pure bliss.
But here's the thing: achieving that perfect texture isn’t just about following a recipe—it’s about understanding why each step matters. Have you ever wondered why some chocolate desserts turn out grainy while others stay smooth? The secret lies in temperature control, the ratio of fats to solids, and a few tricks that most home cooks overlook. I’m about to share those tricks, plus a hidden ingredient that will make your cups stand out at any gathering. Trust me, once you master this, you’ll never settle for store‑bought versions again.
Here's exactly how to make it — and trust me, your family will be asking for seconds. The process is simple enough for a weekend project, yet sophisticated enough to impress even the most discerning sweet tooth. As we walk through each stage, I’ll sprinkle in personal anecdotes, pro tips, and a few cautionary notes so you avoid the common pitfalls that can turn a dream dessert into a disappointment. Ready? Let’s dive in and create something unforgettable.
🌟 Why This Recipe Works
- Flavor Depth: The combination of dark chocolate and peanut butter creates a layered taste experience, where the bitterness of cocoa balances the sweet, nutty richness, delivering a sophisticated palate that feels both indulgent and balanced.
- Texture Contrast: A crisp, glossy chocolate shell gives way to a silky, melt‑in‑your‑mouth peanut butter center, providing that satisfying snap‑then‑creamy sensation that keeps you reaching for more.
- Ease of Preparation: With only a handful of pantry staples and minimal equipment, this recipe is approachable for cooks of any skill level, making it perfect for a quick after‑dinner treat or a weekend baking project.
- Time Efficiency: The total hands‑on time is under 20 minutes, while the cooking and setting phases run mostly unattended, giving you freedom to prep other dishes or simply relax.
- Versatility: These cups can be served as a dessert, a party bite, or even a sweet snack; they pair beautifully with coffee, tea, or a glass of milk, and can be dressed up with toppings like sea salt, crushed nuts, or a drizzle of caramel.
- Nutrition Boost: Peanut butter adds protein and healthy fats, while dark chocolate provides antioxidants, making these treats a more wholesome indulgence compared to many sugary desserts.
- Ingredient Quality: Using high‑quality chocolate and natural peanut butter elevates the flavor profile dramatically, turning simple ingredients into a gourmet experience.
- Crowd‑Pleasing Factor: The familiar flavors of chocolate and peanut butter are universally loved, ensuring that both kids and adults will eagerly devour these cups without hesitation.
🥗 Ingredients Breakdown
The Foundation – Chocolate Shell
Dark chocolate chips (about 1 cup) form the structural backbone of the dessert. Choose a chocolate that’s at least 60% cacao for a deep, slightly bitter flavor that pairs beautifully with the sweet peanut butter. The higher cocoa content also ensures a firmer shell once set, preventing the cups from becoming too soft. If you prefer a sweeter profile, a 55% cacao bar works fine, but remember that the balance will shift toward sugar. When selecting chocolate, look for beans that are ethically sourced; the subtle flavor nuances of single‑origin chocolate can make a surprising difference.
The Creamy Core – Peanut Butter Filling
Creamy peanut butter (½ cup) provides the rich, nutty heart of each cup. Natural, unsweetened peanut butter is ideal because it lets the chocolate’s flavor shine while adding a buttery mouthfeel. If you’re a fan of a little extra sweetness, you can blend in a tablespoon of honey or maple syrup, but be careful not to over‑sweeten. For a crunchy twist, fold in a tablespoon of chopped peanuts after the filling is smooth; this adds texture and a burst of roasted flavor. Remember, the quality of the peanut butter matters—look for brands that list peanuts as the first ingredient and avoid those with added hydrogenated oils.
Aromatics & Enhancers
A pinch of sea salt (≈¼ teaspoon) amplifies the chocolate’s depth and balances the sweetness of the peanut butter, creating that magical “wow” factor in every bite. Vanilla extract (1 teaspoon) adds a fragrant backdrop that ties the two main components together, while powdered sugar (2 tablespoons) lightly sweetens the filling without making it cloying. Butter (2 tablespoons) enriches the peanut butter mixture, giving it a glossy sheen and a smoother texture that spreads easily into the chocolate shells. These small additions might seem insignificant, but they’re the secret weapons that elevate a good dessert to an unforgettable one.
Finishing Touches
A sprinkle of flaky sea salt on top of each cup just before the chocolate sets adds a delightful crunch and a burst of flavor that contrasts the smooth interior. Mini chocolate chips or a drizzle of caramel can also be used for visual flair and extra decadence. If you’re feeling adventurous, a dusting of cocoa powder or a few shards of toasted almond add both color and a nuanced nutty note. These finishing touches are optional but highly recommended—they turn a simple dessert into a show‑stopping centerpiece.
With your ingredients prepped and ready, let's get cooking. Here's where the fun really begins...
🍳 Step-by-Step Instructions
🔐 Expert Tips for Perfect Results
The Taste Test Trick
Before you seal the final chocolate layer, pause and taste a tiny spoonful of the peanut butter mixture. This quick check lets you adjust the sweetness or saltiness on the spot, ensuring that every cup delivers the perfect balance. I once added an extra pinch of sea salt after tasting, and the result was a revelation—each bite sang with a bright, savory edge that cut through the chocolate’s richness. Trust your palate; a small adjustment now saves you from a bland finish later.
Why Resting Time Matters More Than You Think
Allowing the cups to rest in the refrigerator isn’t just about hardening the chocolate; it also gives the flavors time to meld. The fats in the peanut butter slowly integrate with the chocolate, creating a smoother mouthfeel and a more cohesive taste. In my early attempts, I rushed the cooling process and ended up with a slightly grainy texture. Patience, as they say, is a virtue—especially when it comes to desserts that rely on precise tempering.
The Seasoning Secret Pros Won’t Tell You
A dash of smoked paprika or a whisper of cayenne can add an unexpected depth that makes the cups unforgettable. The subtle heat amplifies the chocolate’s bitterness while complementing the peanut butter’s earthiness. I experimented with a pinch of smoked paprika for a smoky, savory twist that became an instant hit at a dinner party. Don’t be afraid to experiment—just a tiny amount goes a long way.
The Cool‑Down Method for Easy Unmolding
After the cups have set, a quick dip of the tray’s bottom in warm water for 5–10 seconds loosens the chocolate’s grip on the silicone without melting the interior. This technique saves you from tugging too hard and risking cracks. I discovered this trick accidentally when a cup refused to release; a brief warm water bath saved the day and the dessert.
Storage Savvy: Keep Them Fresh
Store the cups in an airtight container lined with parchment paper to prevent them from sticking together. If you plan to keep them for more than a day, place a thin sheet of wax paper between layers. This simple step maintains the glossy finish and prevents the chocolate from absorbing odors from the fridge. Remember, a little foresight now saves you from a soggy mess later.
Presentation Power
When serving, arrange the cups on a dark slate or a wooden board to make the glossy chocolate pop visually. Add a few fresh berries or a sprig of mint for color contrast, and drizzle a thin ribbon of caramel or white chocolate for extra drama. The visual appeal can turn a simple dessert into a conversation starter, especially at gatherings where you want to impress without spending hours on plating.
🌈 Delicious Variations to Try
One of my favorite things about this recipe is how versatile it is. Here are some twists I've tried and loved:
Salted Caramel Swirl
Replace the plain chocolate top with a thin layer of salted caramel. Drizzle the caramel in a swirl pattern before the final chocolate seal, then let it set. The buttery caramel adds a luxurious sweetness that balances the salty peanut butter, creating a flavor profile reminiscent of a candy bar.
Espresso Infusion
Add a teaspoon of finely ground espresso to the melted chocolate. The coffee notes deepen the chocolate’s complexity and pair wonderfully with the nutty filling. This variation is perfect for brunches where you want a dessert that also gives a subtle caffeine kick.
White Chocolate Coconut
Swap dark chocolate for white chocolate and fold toasted shredded coconut into the peanut butter mixture. The creamy white chocolate adds a sweet, milky flavor, while the coconut introduces a tropical crunch that transports you to a beachside snack.
Spicy Chili Chocolate
Incorporate a pinch of cayenne pepper or a dash of chili powder into the chocolate melt. The gentle heat creates a tingling sensation that heightens the chocolate’s richness and makes the dessert unexpectedly adventurous. Serve these at a game night for a fun, surprising twist.
Nutty Crunch
Stir in finely chopped hazelnuts or almonds into the peanut butter filling. The added nuts provide extra texture and a roasted flavor that complements both chocolate and peanut butter. This variation is especially satisfying for those who love a bit of crunch in every bite.
Berry Burst
Layer a thin spread of raspberry jam or strawberry puree over the peanut butter before sealing with the final chocolate layer. The fruit’s acidity cuts through the richness, offering a bright, tangy contrast that makes the dessert feel lighter. It’s a perfect summer adaptation that adds a pop of color to the plate.
📦 Storage & Reheating Tips
Refrigerator Storage
Place the dessert cups in an airtight container lined with parchment paper. They’ll stay fresh for up to five days, retaining their texture and flavor. If you notice any condensation, pat the tops gently with a paper towel before resealing to avoid sogginess.
Freezing Instructions
For longer-term storage, arrange the cups on a baking sheet and freeze them individually for about an hour. Once solid, transfer them to a zip‑top freezer bag, separating layers with parchment. They’ll keep for up to three months. When you’re ready to enjoy, let them thaw in the refrigerator for 30 minutes, then bring to room temperature for optimal taste.
Reheating Methods
To revive the cups without losing their snap, place them on a plate and warm them in a 300°F (150°C) oven for 5–7 minutes. The gentle heat softens the chocolate just enough to release its aroma while keeping the interior creamy. The trick to reheating without drying it out? A splash of milk or a light brush of melted chocolate over the top before warming adds moisture and shine.
❓ Frequently Asked Questions
Can I use milk chocolate instead of dark chocolate?
What if I’m allergic to peanuts?
Do I need to temper the chocolate?
Can I make these cups vegan?
How can I prevent the chocolate from blooming?
Can I add a garnish without affecting the texture?
What’s the best way to serve these at a party?
Can I make these cups ahead of time?
To unmold, gently press the bottom of each silicone cup or lift the liner; the chocolate should release with a soft pop. If you encounter resistance, a quick dip of the tray’s bottom in warm water for a few seconds will loosen the edges without melting the cups. Arrange the finished dessert cups on a serving platter, drizzle with a thin stream of melted chocolate if desired, and dust lightly with extra sea salt for that final flavor pop.
Serve immediately at room temperature, or keep them refrigerated until ready to enjoy. The texture is best when the chocolate is slightly softened by ambient warmth, allowing the shell to give just enough when you bite into it. Pair them with a glass of cold milk, a cup of black coffee, or a sparkling water with a slice of lemon for a refreshing contrast. And there you have it! But before you dig in, let me share some tips that will take this from great to absolutely unforgettable...
Similar Recipes
 Desserts
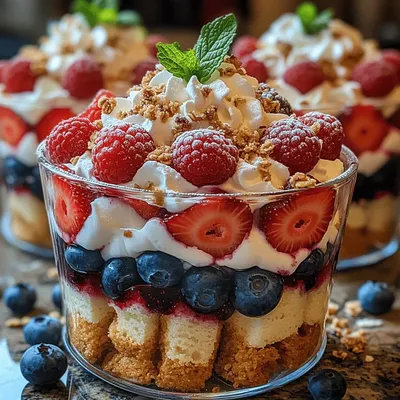
Berry Bliss Trifle Cups Recipe
Delicious Berry Bliss Trifle Cups Recipe
 Desserts
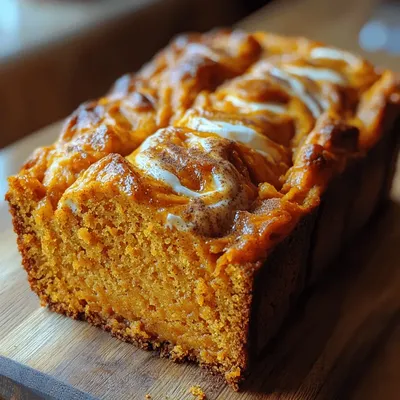
Pumpkin Cream Cheese Swirl Loaf: A Seasonal Delight
Delicious Pumpkin Cream Cheese Swirl Loaf: A Seasonal Delight
 Desserts
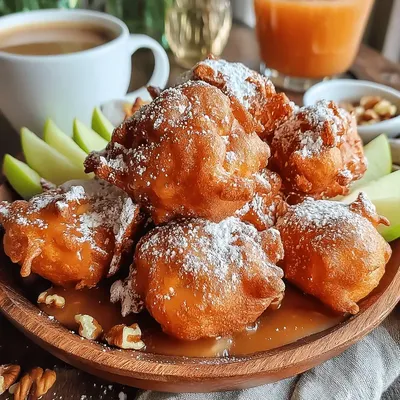
Quick & Crispy Air Fryer Apple Fritters
Delicious Quick & Crispy Air Fryer Apple Fritters
 Desserts
Indulge in Creamy Cheesecake Crescent Rolls Casserole: A Decadent Dessert Delight
Delicious Indulge in Creamy Cheesecake Crescent Rolls Casserole: A Decadent Dessert Delight
 Desserts
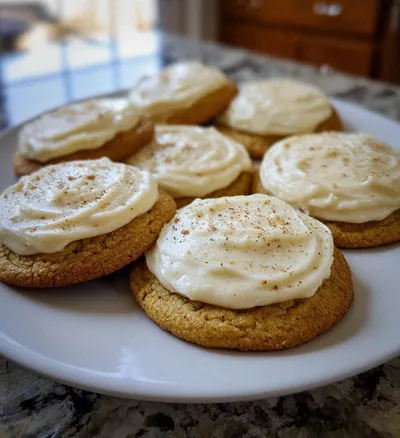
Eggnog Cookies with Eggnog Frosting
Learn how to make delicious Eggnog Cookies with Eggnog Frosting. Easy recipe with step-by-step instructions.
 Desserts
Lemon Posset: An Amazing Ultimate Recipe for 5-Star Delight
Learn how to make delicious Lemon Posset: An Amazing Ultimate Recipe for 5-Star Delight. Easy recipe…
 Desserts
Sweet Cinnamon Apple Bites
Delicious Sweet Cinnamon Apple Bites
 Desserts
Crispy Fruit Pizza Tacos: A Sweet Delight for Everyone
Delicious Crispy Fruit Pizza Tacos: A Sweet Delight for Everyone

Susan
I cook these recipes at home before they ever land here — simple ingredients, clear steps.