Introduction
In the ever-evolving landscape of culinary options, wraps have emerged as a beloved choice for meals that are both convenient and satisfying. Their versatility allows for an endless variety of fillings, making them suitable for any occasion, from casual lunches to festive gatherings. Among the myriad of wrap recipes available, Cheesy Chicken Fiesta Wraps stand out as a delightful fusion of flavors and textures that are sure to please any palate.
This recipe showcases tender chicken, a blend of cheesy goodness, and vibrant vegetables, all enveloped in a soft tortilla. The appeal of Cheesy Chicken Fiesta Wraps lies not just in their deliciousness but also in their easy preparation, which makes them an ideal dish for busy weeknights or a fun weekend meal prep. Plus, the ability to customize each wrap according to personal preferences or dietary restrictions only adds to their charm. Whether you’re a seasoned home cook or a novice in the kitchen, these wraps are designed to be accessible and enjoyable to create.
Understanding the Ingredients
To create the perfect Cheesy Chicken Fiesta Wrap, it’s essential to understand the role of each ingredient in the recipe. Here’s a breakdown of the main components that make these wraps not only flavorful but also nutritious.
Chicken
The star of our wrap is boneless, skinless chicken breasts. Choosing this cut is important for several reasons. First, boneless chicken breasts are lean, providing a great source of protein without excessive fat. This makes the wraps a healthier choice compared to many other options. Additionally, cooking the chicken properly ensures it remains juicy and tender, which is crucial for the overall texture of the wrap.
For this recipe, you can grill, bake, or sauté the chicken, depending on your preference. Each cooking method imparts a unique flavor, but all will yield delicious results.
Cheeses
Cheese plays a pivotal role in elevating the flavors and textures of the Cheesy Chicken Fiesta Wraps. A combination of cheddar and mozzarella is commonly used for its complementary qualities.
– Cheddar: Known for its sharp flavor, cheddar adds a rich and tangy element to the wraps. It melts beautifully, creating a creamy filling that binds the other ingredients together.
– Mozzarella: On the other hand, mozzarella contributes a smooth, stretchy quality that enhances the overall mouthfeel of the wraps. Its mild flavor allows the other ingredients to shine while still providing that essential cheesiness.
Combining these two cheeses results in a delightful melty experience that will keep you coming back for more.
Vegetables
A mix of colorful bell peppers and red onions not only adds visual appeal but also infuses the wraps with essential vitamins and minerals.
– Bell Peppers: These come in a variety of colors, including red, yellow, and green, each offering a slightly different flavor profile. Their sweetness balances the savory elements of the dish and provides a satisfying crunch.
– Red Onion: The addition of red onion brings a subtle sharpness that cuts through the richness of the cheese and chicken. When sautéed, the onions mellow out, providing a sweet and savory blend that enhances the overall flavor.
Incorporating these vegetables not only boosts the nutritional value of the wraps but also makes them more vibrant and appetizing.
Spices
The seasoning choices in this recipe are critical for building flavor depth. Common spices for Cheesy Chicken Fiesta Wraps include:
– Cumin: Adds a warm, earthy flavor that is commonly found in Mexican cuisine.
– Chili Powder: Provides a mild heat and smoky undertone, enhancing the overall fiesta experience.
– Garlic Powder: This brings in a savory element that complements the chicken beautifully.
Feel free to adjust the seasoning to suit your taste preferences or dietary needs. You can also experiment with other herbs and spices such as paprika, oregano, or even a dash of cayenne for some extra heat.
Versatility of the Recipe
One of the most appealing aspects of Cheesy Chicken Fiesta Wraps is their versatility. While the outlined ingredients provide a delicious base, you can easily swap out components to suit your dietary preferences or to use up ingredients you have on hand.
For instance, if you’re looking for a vegetarian option, you can replace the chicken with black beans or grilled vegetables. If you’re lactose intolerant or prefer dairy-free alternatives, consider using plant-based cheeses or omitting cheese altogether while adding a delicious avocado spread. The possibilities are endless, making these wraps a perfect choice for a variety of diets and occasions.
Preparation Process
Now that we have a solid understanding of the ingredients, let’s delve into the step-by-step preparation process for creating Cheesy Chicken Fiesta Wraps. This section is designed to guide you through each stage, ensuring that you achieve the best results.
Step 1: Preparing the Chicken
The first step in creating your Cheesy Chicken Fiesta Wraps is to prepare the chicken. Here’s how to do it perfectly:
1. Choose Your Cooking Method:
– If grilling, preheat your grill to medium-high heat.
– If baking, preheat your oven to 375°F (190°C).
– For sautéing, heat a tablespoon of olive oil in a skillet over medium heat.
2. Season the Chicken:
– Take your boneless, skinless chicken breasts and season both sides generously with salt, pepper, cumin, chili powder, and garlic powder.
– This step is crucial as it will enhance the flavor of the chicken.
3. Cook the Chicken:
– Grilling: Place the chicken on the grill and cook for about 6-7 minutes on each side, or until the internal temperature reaches 165°F (75°C).
– Baking: Place the seasoned chicken breasts in a baking dish and bake for about 25-30 minutes, or until fully cooked.
– Sautéing: Cook the chicken in the skillet for about 5-7 minutes on each side, ensuring it’s cooked through.
4. Rest and Slice: Once the chicken is cooked, let it rest for a few minutes before slicing it into thin strips. Resting allows the juices to redistribute, keeping the chicken moist.
Step 2: Adding Vegetables
With the chicken prepared, it’s time to sauté the vegetables. This step is essential for achieving the right texture and flavor.
1. Chop the Vegetables:
– Dice the bell peppers and slice the red onion thinly.
– Aim for even sizes to ensure they cook uniformly.
2. Sautéing:
– In the same skillet used for the chicken (add a little more oil if necessary), add the onions first.
– Cook for about 2-3 minutes until they begin to soften, then add the bell peppers.
3. Cooking Time:
– Sauté the mixture for another 3-5 minutes until the peppers are tender but still have a slight crunch.
– Season with a pinch of salt and pepper to enhance their flavor.
Step 3: Melting the Cheese
Now, let’s talk cheese! This step is all about ensuring that your wrap has that deliciously gooey texture.
1. Combine Ingredients:
– In an appropriate-sized bowl, combine the sliced chicken, sautéed vegetables, and a generous amount of shredded cheddar and mozzarella cheese.
2. Melt the Cheese:
– You can either microwave the mixture for about 30 seconds to 1 minute until the cheese melts, or you can return it to the skillet over low heat, stirring gently until the cheese is melted and everything is well combined.
Visual Representation of Each Step
Consider taking photos at each stage of the preparation process. Visuals not only enhance engagement but also serve as helpful guides for readers to follow along. Imagery can include shots of the seasoned chicken, sautéing vegetables, and the melty cheese mixture ready for wrapping.
Assembling the Perfect Wrap
As we move toward the final phase of our recipe, assembling the Cheesy Chicken Fiesta Wraps is where the magic happens. This step transforms all your hard work into a delicious meal that is ready to be devoured.
1. Choose Your Tortilla:
– Start with a large tortilla—flour or whole wheat works well. If you prefer a gluten-free option, there are many gluten-free tortillas available in stores.
2. Layering the Ingredients:
– Place a generous scoop of the chicken and vegetable mixture in the center of the tortilla.
– Be careful not to overfill, as this can make wrapping difficult.
3. Wrapping Technique:
– Fold the sides of the tortilla inward over the filling, then roll from the bottom up, tucking in the sides as you go to ensure a tight wrap.
4. Toasting (Optional):
– For an extra touch, consider toasting the assembled wraps in a skillet or on a panini press for a few minutes until golden brown. This adds a delightful crunch to the exterior.
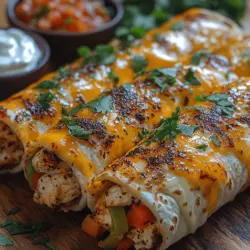
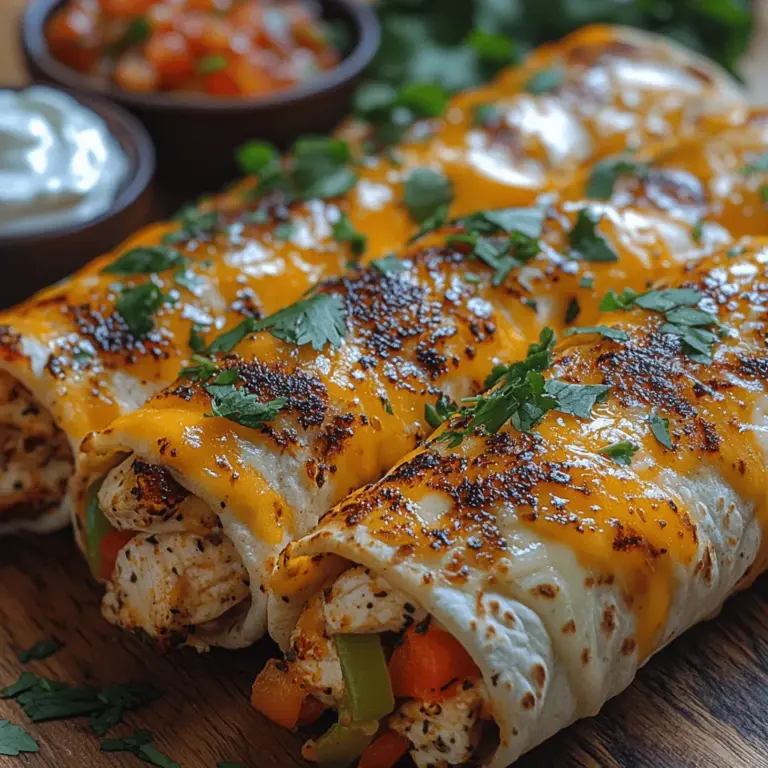
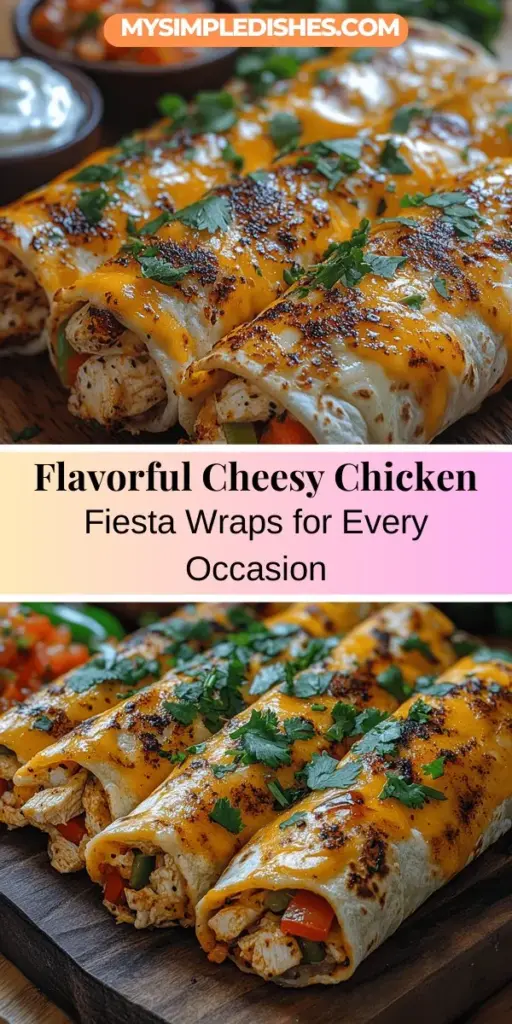
By following these steps, you’ll create Cheesy Chicken Fiesta Wraps that are not only visually appealing but also packed with flavor. The combination of tender chicken, melty cheese, and fresh vegetables all wrapped up in a warm tortilla makes for an irresistible meal option that can be enjoyed any time of day.
{{image_1}}
Importance of Tortilla Choice for Structural Integrity
When crafting your Cheesy Chicken Fiesta Wraps, the choice of tortilla is paramount to ensuring structural integrity. A good tortilla should be pliable enough to hold the filling without tearing, yet sturdy enough to support the weight of cheese, chicken, and any additional toppings. Flour tortillas are typically the go-to option due to their soft texture and flexibility. They provide a neutral flavor that complements the filling beautifully.
For a healthier alternative, consider using whole wheat or spinach tortillas. Whole wheat tortillas not only add a nutty flavor but also boost the fiber content of your wrap, making it a more nutritious option. Spinach tortillas can introduce a unique taste and vibrant color, appealing to both kids and adults alike. Just be sure to select tortillas that are large enough to comfortably encase the filling and prevent leaks.
Techniques for Rolling and Securing the Filling
Rolling your wrap correctly is essential for keeping all the delicious components contained. Start by laying your tortilla flat on a clean surface. Spoon the filling mixture towards the center of the tortilla, leaving about two inches at the bottom and one inch on each side. This space will allow for proper folding without spilling.
To roll, begin by folding the bottom of the tortilla over the filling, tucking it in tightly. Next, fold in the sides, ensuring they touch the filling to create a sealed pocket. Finally, continue rolling from the bottom to the top, applying gentle pressure to keep the wrap compact.
For additional security, you can use toothpicks to hold the wraps together while cooking. If you prefer a burrito-style wrap, simply fold in the sides first before rolling from the bottom up. This technique is especially useful when the filling is generous, as it provides a more secure enclosure.
Toasting for Extra Flavor
Toasting your Cheesy Chicken Fiesta Wraps is an optional step that can significantly enhance the overall flavor and texture. When you toast the wraps, the tortilla develops a delightful crispiness while the cheese inside melts to perfection. This combination creates an irresistible contrast that elevates the dish.
To achieve the perfect crispy exterior without overcooking the wraps, preheat a non-stick skillet or griddle over medium heat. Lightly grease the surface with a splash of olive oil or cooking spray to prevent sticking. Place the wrapped tortillas seam-side down in the skillet and cook for about 2-3 minutes per side, until golden brown and crispy. Keep an eye on the wraps to ensure they don’t burn; adjusting the heat as necessary will help maintain the ideal cooking temperature.
Alternatively, you can toast the wraps in a panini press for even heat distribution. This method is particularly effective in achieving a uniformly crispy exterior.
Serving Suggestions
Once your Cheesy Chicken Fiesta Wraps are toasted to perfection, it’s time to serve them up! Consider garnishing with a sprinkle of fresh cilantro for an added burst of flavor. This herb not only enhances the visual appeal but also adds a refreshing note that balances the richness of the cheese and chicken.
Pair your wraps with sides such as sour cream and salsa for dipping. Sour cream adds a creamy aspect that contrasts nicely with the savory filling, while salsa brings a zesty kick that can elevate each bite. For a complete meal, consider serving the wraps alongside a simple garden salad or corn salsa to incorporate more vegetables into your plate.
When it comes to beverage pairings, a cold glass of iced tea or a light beer complements the flavors beautifully. For a non-alcoholic option, consider a refreshing limeade or sparkling water with a splash of fruit juice, which can enhance the fiesta theme.
Nutritional Information
Understanding the nutritional value of your Cheesy Chicken Fiesta Wraps can help you make informed choices, especially if you’re watching your dietary intake. Each serving of the wrap (one filled tortilla) typically contains approximately:
– Calories: 350-450 (depending on tortilla and filling choices)
– Protein: 25-30 grams
– Fats: 15-20 grams
– Carbohydrates: 30-40 grams
For those looking to make the dish healthier, consider using whole wheat tortillas, which increase fiber content and lower the glycemic index. You can also reduce the amount of cheese or substitute it with lower-fat options to decrease calorie and fat counts. Incorporating more vegetables into the filling, such as bell peppers or spinach, can also boost the nutritional profile without sacrificing flavor.
Conclusion
Cheesy Chicken Fiesta Wraps are a delicious and versatile dish that can easily fit into any meal plan. Their adaptability allows you to experiment with different fillings, spices, and toppings to suit your taste preferences. Whether you’re feeding a family, packing a lunch for work, or hosting a casual gathering, these wraps are sure to impress.
As you try this recipe, don’t hesitate to add your personal touch—whether that means adding extra spice, substituting ingredients, or adjusting the sides served alongside. The possibilities are endless, making this dish a fantastic staple for busy lifestyles. Enjoy the process of making these delectable wraps, and relish in the joy they bring to your table!


