Frozen Yogurt Honey Apple Muffin Disks Recipe
 Save
Save
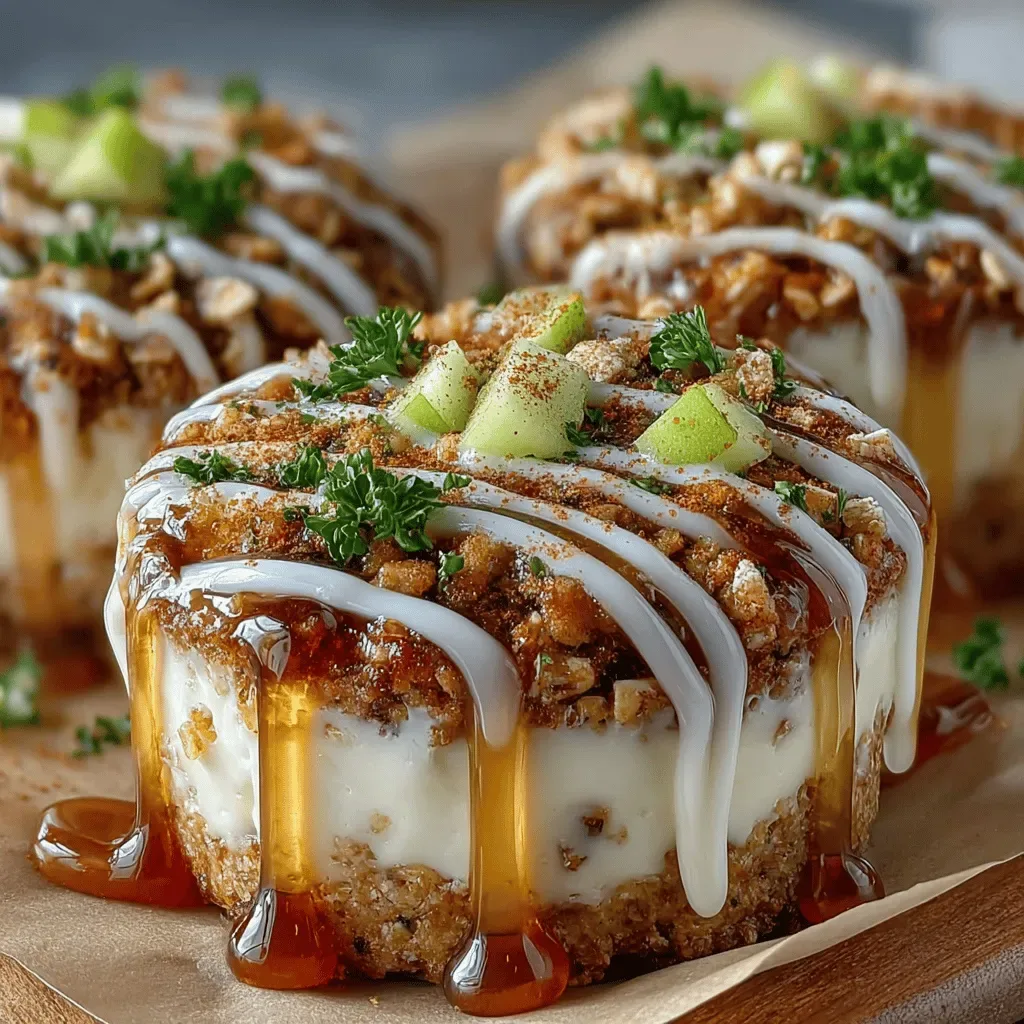
Imagine a bite‑size breakfast that feels like a dessert—soft, tangy frozen yogurt swirled with honey‑sweetened apple compote, all baked into golden muffin‑shaped disks. These Frozen Yogurt Honey Apple Muffin Disks are the perfect marriage of comfort and elegance, delivering a creamy texture with a gentle crunch on the outside.
What makes this recipe truly special is the way the natural tartness of Greek frozen yogurt balances the honey‑kissed apples, while a hint of cinnamon adds warmth. The result is a harmonious flavor profile that’s both refreshing and indulgent.
Busy parents, brunch enthusiasts, and anyone who loves a wholesome start to the day will adore these disks. Serve them at weekend brunches, family breakfasts, or as a portable snack for on‑the‑go mornings.
The process is straightforward: blend frozen yogurt with honey, fold in sautéed apples, spoon the mixture into a muffin tin, and bake until lightly browned. In just under an hour you’ll have a batch of elegant, bite‑sized treats ready to wow.
Why You'll Love This Recipe
Bright & Tangy Flavor: The frozen yogurt provides a light, creamy tang that pairs perfectly with the sweet honey‑apple swirl, creating a balanced taste that awakens the palate.
Quick & Simple Prep: With just a few steps and minimal equipment, you can have these breakfast disks ready in under an hour, ideal for busy mornings or relaxed weekends.
Portion‑Friendly Design: Baked in a muffin tin, each disk is a perfect single serving, making it easy to portion, pack, and serve without any mess.
Health‑Conscious Ingredients: Greek frozen yogurt adds protein and probiotics, while apples contribute fiber and antioxidants, giving you a nutritious start without sacrificing flavor.
Tips & Tricks
Perfecting the Recipe
Use Fully Thawed Yogurt. Allow the frozen yogurt to sit at room temperature for 5‑10 minutes before mixing. This prevents clumps and ensures a smooth batter.
Don’t Over‑Mix. Stir the batter just until combined. Over‑mixing can incorporate excess air, leading to a crumbly texture after baking.
Even Apple Size. Dice the apples uniformly so they cook at the same rate, giving each disk consistent sweetness and texture.
Flavor Enhancements
Add a teaspoon of vanilla extract to the yogurt mixture for a deeper aromatic note. For a hint of citrus, fold in a tablespoon of finely grated lemon zest just before baking. A pinch of nutmeg pairs beautifully with the cinnamon and apples, adding an extra layer of warmth.
Common Mistakes to Avoid
Avoid using overly ripe apples; they can become mushy and release too much liquid, making the batter runny. Also, don’t skip the pre‑heating step—baking in a cold oven can cause the disks to spread unevenly and lose their shape.
Pro Tips
Chill the Muffin Tin. Place the tin in the freezer for 10 minutes before adding batter. This helps the disks set quickly, preserving a soft interior.
Use a Kitchen Torch. For an extra glossy finish, lightly torch the honey‑glazed tops after baking. This adds a caramelized sheen without extra baking time.
Store in a Single Layer. When refrigerating leftovers, keep the disks in a single layer with parchment between them to prevent them from sticking together.
Serve Warm. Warm the disks for 30 seconds in a microwave before serving to revive the creamy yogurt texture and enhance the honey aroma.
Variations
Ingredient Swaps
Swap the plain frozen yogurt for vanilla‑flavored Greek frozen yogurt for a sweeter base, or use coconut‑flavored yogurt for a tropical twist. Replace apples with pears or diced stone fruit (like peaches) for seasonal variety. Maple syrup can replace honey for a deeper, earthier sweetness.
Dietary Adjustments
For a gluten‑free version, use almond or oat flour instead of whole‑grain flour. To make it dairy‑free, choose a plant‑based frozen yogurt made from almond or soy milk. For a low‑sugar option, substitute honey with a sugar‑free maple‑style syrup and add a dash of stevia.
Serving Suggestions
Pair the disks with a dollop of fresh Greek yogurt and a sprinkle of granola for added crunch. A side of mixed berries adds acidity that balances the honey sweetness. For a brunch spread, serve alongside smoked salmon, avocado toast, or a crisp cucumber‑mint salad.
Storage Info
Leftover Storage
Allow the muffin disks to cool completely, then arrange them in an airtight container lined with parchment paper. Store in the refrigerator for up to 4 days. For longer preservation, freeze in a single‑layer tray, then transfer to a zip‑top freezer bag; they’ll keep for up to 2 months without losing texture.
Reheating Instructions
Reheat refrigerated disks in a preheated 300°F (150°C) oven for 8‑10 minutes, or microwave individual portions on medium power for 30‑45 seconds, covered with a damp paper towel to retain moisture. If frozen, thaw overnight in the fridge, then follow the same reheating method.
Frequently Asked Questions
Can I make these muffin disks ahead of time?
Can I substitute frozen yogurt with regular yogurt?
What side dishes complement these disks best?
This Frozen Yogurt Honey Apple Muffin Disk recipe blends bright, tangy yogurt with caramelized apple‑honey goodness, delivering a breakfast that feels indulgent yet stays wholesome. You’ve got the full ingredient list, step‑by‑step guidance, storage tips, and creative variations to make it your own. Feel free to experiment with spices, sweeteners, or fruit swaps—cooking is an adventure. Serve warm, share with loved ones, and enjoy every comforting bite.
Frozen Yogurt Honey Apple Muffin Disks Recipe
Delicious Frozen Yogurt Honey Apple Muffin Disks Recipe
Ingredients
Main Ingredients
- 2 cups Greek frozen yogurt (plain)
- 1/3 cup honey
- 2 medium apples, peeled and diced
Binding & Flavor
- 1 large egg, lightly beaten
- 1 tablespoon whole‑grain flour (or almond flour for gluten‑free)
- 1/2 teaspoon ground cinnamon
Seasonings & Finishing Touch
- 1/4 teaspoon sea salt
- Extra honey for drizzling (optional)
Instructions
Baking the Muffin Disks
- Preheat the Oven. Set your oven to 350°F (175°C) and line a 12‑cup muffin tin with silicone liners or lightly grease with cooking spray. A hot, even oven ensures the disks rise uniformly and develop a golden crust.
- Portion the Batter. Using a 1/4‑cup measuring scoop, fill each muffin cup about three‑quarters full. This leaves room for the disks to puff slightly without spilling over.
- Brush with Honey. Lightly brush the tops of each disk with a thin layer of the remaining honey. This creates a glossy finish and adds a subtle caramelized sweetness as the disks bake.
- Bake Until Golden. Place the tin in the oven and bake for 20‑22 minutes, or until the edges turn a light amber and a toothpick inserted into the center comes out clean. The interior should be set but still tender.
- Cool Slightly. Remove the tin from the oven and let the disks rest for 5 minutes before transferring them to a wire rack. This short cooling period helps them firm up, making them easier to lift without breaking.
Similar Recipes
 Desserts
Irresistible Valentine Cupcakes: Sweet Love in Every Bite
Learn how to make delicious Irresistible Valentine Cupcakes: Sweet Love in Every Bite. Easy recipe with…
 Desserts
Tropical Paradise No-Bake Pineapple Cream Dessert: A Refreshing Delight for Any Occasion
Delicious Tropical Paradise No-Bake Pineapple Cream Dessert: A Refreshing Delight for Any Occasion
 Desserts
Cozy Cinnamon Apple Crisp Delight: A Heartwarming Dessert Recipe
Delicious Cozy Cinnamon Apple Crisp Delight: A Heartwarming Dessert Recipe
 Desserts
Frozen Yogurt Sandwiches: A Delicious and Guilt-Free Treat
Delicious Frozen Yogurt Sandwiches: A Delicious and Guilt-Free Treat
 Desserts
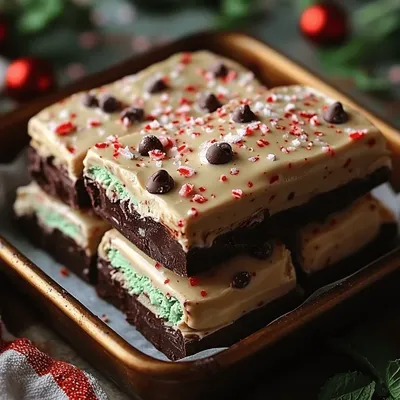
Minty Bliss Chocolate Chip Bark: A Delicious Treat to Savor
Delicious Minty Bliss Chocolate Chip Bark: A Delicious Treat to Savor
 Desserts
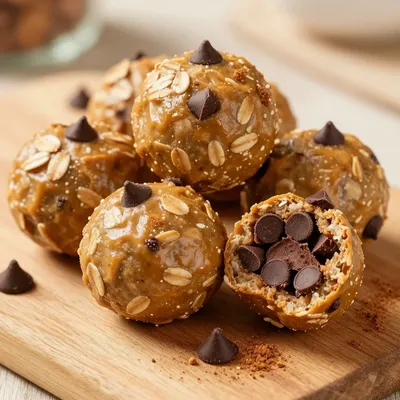
Peanut Butter Chocolate Chip Protein Balls
Learn how to make delicious Peanut Butter Chocolate Chip Protein Balls. Easy recipe with step-by-step instructions,…
 Desserts
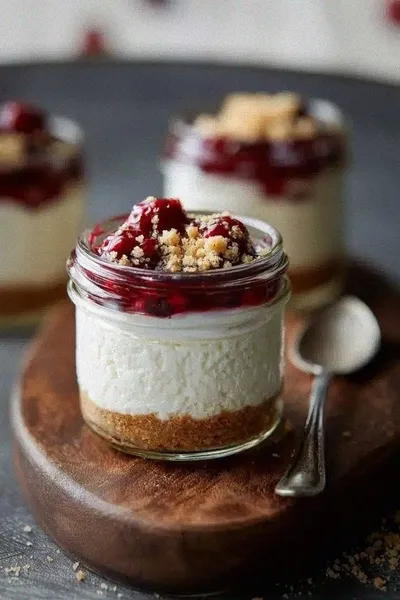
Healthier No-Bake Cheesecake in a Jar
Learn how to make delicious Healthier No-Bake Cheesecake in a Jar. Easy recipe with step-by-step instructions.
 Desserts
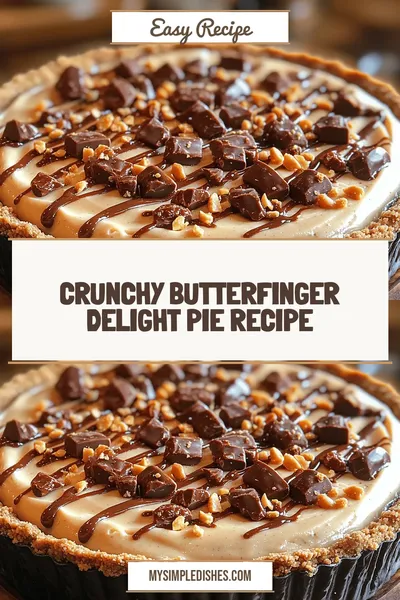
Crunchy Butterfinger Delight Pie Recipe
Delicious Crunchy Butterfinger Delight Pie Recipe

Susan
I cook these recipes at home before they ever land here — simple ingredients, clear steps.