Water Pie Revival: The Timeless Delight of Simple Ingredients
 Save
Save
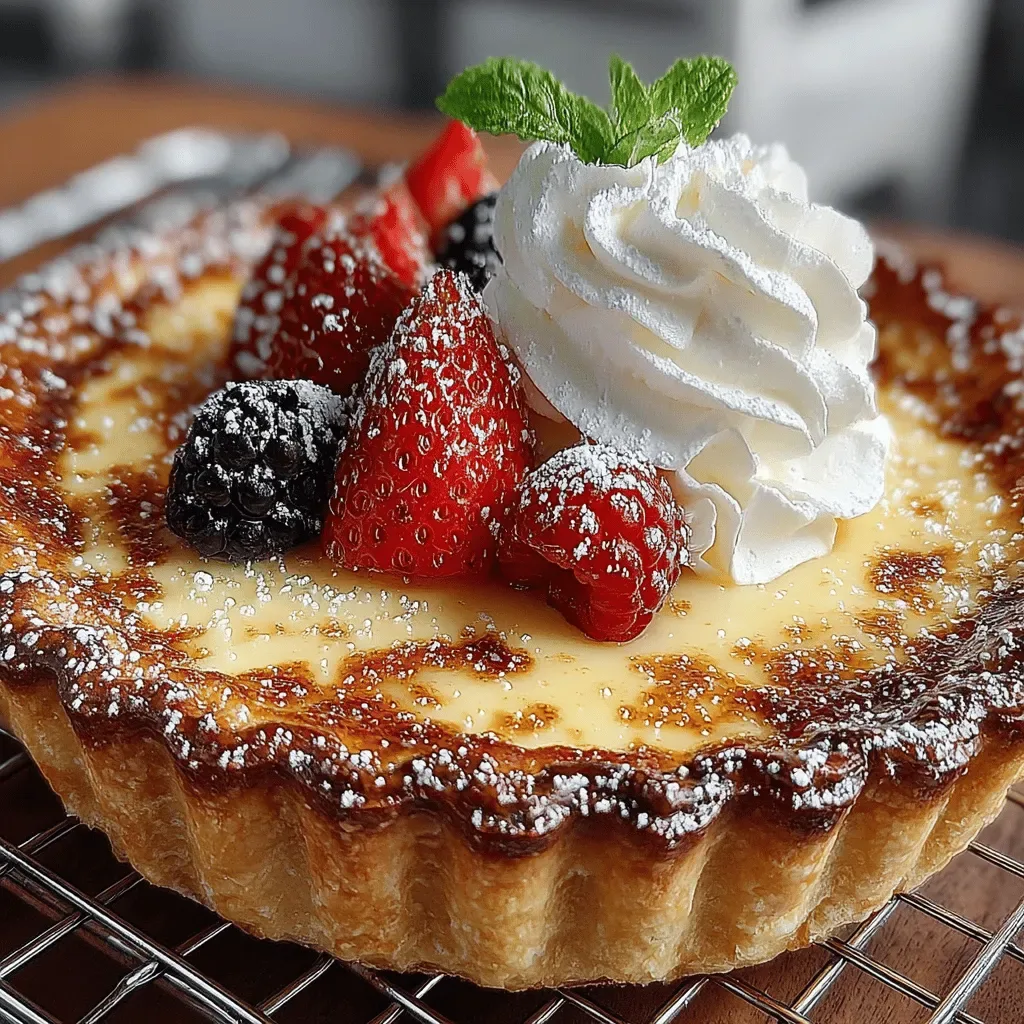
Imagine a breakfast that feels like a warm hug from a bygone era—soft, buttery crust, a silky custard that whispers sweet comfort, and the humble magic of water turning simple pantry staples into a timeless treat. That’s the promise of Water Pie Revival, a dish that proves elegance doesn’t require exotic ingredients.
What makes this pie truly special is its reliance on water as the liquid base, allowing the flavors of sugar, flour, butter, and eggs to shine without distraction. The result is a delicate, melt‑in‑your‑mouth texture that’s both nostalgic and surprisingly light.
This breakfast‑or‑brunch centerpiece will delight anyone who loves classic comfort food—grandparents recalling family gatherings, busy parents seeking a fuss‑free crowd‑pleaser, and brunch enthusiasts craving a sweet surprise.
The preparation is straightforward: whisk a few pantry items, bake the mixture in a buttery crust, and let the pie set while the kitchen fills with a gentle, caramel‑kissed aroma. In under an hour you’ll have a golden slice ready to share.
Why You'll Love This Recipe
Pure Simplicity: With just seven pantry staples you create a dessert that feels sophisticated, proving that great flavor doesn’t need a long shopping list.
Effortless Prep: The entire process involves mixing, pouring, and baking—perfect for busy mornings or relaxed weekend brunches.
Versatile Serving: Serve warm with fresh berries, chilled with a dollop of whipped cream, or simply dusted with powdered sugar for a classic touch.
Budget‑Friendly: All ingredients are inexpensive and likely already in your pantry, making this a cost‑effective indulgence for any household.
Tips & Tricks
Perfecting the Recipe
Cold Butter for the Crust: Keep butter icy until it hits the flour. This creates tiny air pockets that yield a flaky, tender base.
Gentle Heat on the Custard: Stir constantly over medium heat to avoid scorching. A smooth, lump‑free mixture is key to a velvety texture.
Don’t Over‑Bake: The custard should still have a slight wobble when you pull the pan out. Over‑baking turns it rubbery.
Rest Before Slicing: Allow the pie to cool fully; this lets the filling set and prevents crumbling.
Flavor Enhancements
Add a teaspoon of almond extract alongside vanilla for a nutty nuance, or stir in a pinch of ground cinnamon into the custard for warm spice. Fresh citrus zest (lemon or orange) brightens the sweet profile without adding extra liquid.
Common Mistakes to Avoid
Skipping the ice‑water step can result in a tough crust that cracks when sliced. Also, adding the eggs to a boiling custard will scramble them; always incorporate eggs off the heat and stir quickly to create a smooth emulsion.
Pro Tips
Use a Silicone Spatula: It helps scrape every last bit of custard from the pan, ensuring a uniform filling.
Pre‑heat the Oven Fully: An accurate temperature guarantees the crust browns evenly while the custard sets properly.
Chill the Pie Before Serving: For a firmer slice, refrigerate for 30 minutes; for a warm brunch, serve straight from the oven.
Invest in a Light‑Touch Whisk: It incorporates the flour without forming lumps, giving the custard a flawless texture.
Variations
Ingredient Swaps
Swap the all‑purpose flour for a blend of rice flour and cornstarch for a gluten‑free crust. Replace butter with coconut oil for a subtle tropical note. For a richer custard, use half‑and‑half instead of water, but keep the total liquid volume the same.
Dietary Adjustments
To make the pie vegan, use a plant‑based butter substitute and replace eggs with a mixture of 1 tablespoon ground flaxseed + 3 tablespoons water per egg, whisked until gelatinous. For a lower‑sugar version, halve the granulated sugar and add a splash of maple syrup for natural sweetness.
Serving Suggestions
Pair the slice with a dollop of Greek yogurt and a drizzle of honey for a tangy contrast. Serve alongside a crisp mimosa or freshly brewed Earl Grey for a brunch that feels both classic and elevated. A side of toasted almond slivers adds crunch and visual appeal.
Storage Info
Leftover Storage
Allow any leftovers to reach room temperature, then cover the pie tightly with plastic wrap or transfer slices to an airtight container. Refrigerate for up to 4 days. For longer keeping, freeze individual portions wrapped in parchment, then sealed in a freezer bag; they’ll retain quality for up to 2 months.
Reheating Instructions
Reheat slices in a 350°F (175°C) oven for 10‑12 minutes, covered with foil to prevent drying. For a quick microwave fix, place a slice on a plate, cover loosely, and heat on medium power for 45‑60 seconds, adding a splash of milk or water to restore moisture. Finish with a fresh dusting of powdered sugar.
Frequently Asked Questions
Can I make this pie ahead of time?
What if I don’t have a pie pan?
Can I add a different flavor to the custard?
How do I know when the custard is perfectly set?
Water Pie Revival captures the charm of a bygone breakfast tradition while fitting perfectly into modern brunch tables. With a buttery crust, silky custard, and endless topping possibilities, it’s a versatile canvas for creativity. Follow the step‑by‑step guide, experiment with the suggested swaps, and you’ll have a timeless delight that brings comfort to every bite. Enjoy the simple elegance of this classic, and make it a cherished part of your weekend routine.
Water Pie Revival: The Timeless Delight of Simple Ingredients
Delicious Water Pie Revival: The Timeless Delight of Simple Ingredients
Ingredients
Crust
- 1 ½ cups all‑purpose flour
- ⅓ cup cold unsalted butter, cubed
- 2 tablespoons granulated sugar
- ¼ teaspoon salt
- 3–4 tablespoons ice‑cold water
Filling
- 1 ½ cups water
- ½ cup granulated sugar
- ¼ cup all‑purpose flour
- ¼ cup unsalted butter, melted
- 2 large eggs, lightly beaten
- 1 teaspoon vanilla extract
- ¼ teaspoon salt
Optional Toppings
- Fresh berries (strawberries, blueberries, or raspberries)
- Powdered sugar for dusting
- Whipped cream or vanilla yogurt
Instructions
Blind‑Baking the Shell
- Roll Out the Dough. On a lightly floured surface, roll the chilled dough to a ¼‑inch thickness, fitting a 9‑inch pie pan. Press gently, trim excess, and crimp the edges. This creates an even base that won’t bubble.
- Dock and Weight. Prick the bottom with a fork, line with parchment, and fill with pie weights or dried beans. Bake at 375°F (190°C) for 12‑15 minutes until the edges turn a light golden hue. The weights keep the crust flat, ensuring a uniform surface for the filling.
- Remove Weights. Carefully lift the parchment and weights; the crust should be just set, not fully browned. Set aside while you prepare the custard.
Baking the Pie
- Fill the Crust. Pour the warm custard into the pre‑baked shell, smoothing the top with a spatula. The heat from the custard will finish cooking the crust’s interior.
- Finish Baking. Return the pie to the oven and bake at 375°F for 20‑25 minutes, or until the edges are set and the center jiggles slightly when the pan is gently shaken. This gentle wobble indicates a perfectly set custard.
- Cool and Set. Remove from the oven and let the pie cool on a wire rack for at least 30 minutes. As it cools, the custard firms, making slicing clean and easy.
Similar Recipes
 Desserts
Irresistible Greek Yogurt Bark Recipe
Delicious Irresistible Greek Yogurt Bark Recipe
 Desserts
Christmas Lasagna Dessert: 6 Layers of Festive Delight
Learn how to make delicious Christmas Lasagna Dessert: 6 Layers of Festive Delight. Easy recipe with…
 Desserts
Indulge in Decadence: The Ultimate Banana Bliss Cheesecake Recipe
Delicious Indulge in Decadence: The Ultimate Banana Bliss Cheesecake Recipe
 Desserts
Reese’s Cookie Cups – Gooey Chocolate Peanut Butter Bites
Learn how to make delicious Reese’s Cookie Cups – Gooey Chocolate Peanut Butter Bites. Easy recipe…
 Desserts
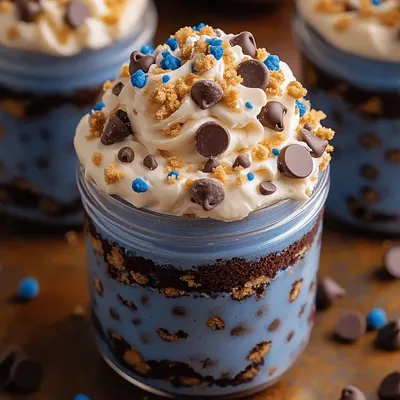
Delightful Cookie Monster Cake Jars: A Whimsical Dessert Experience
Delicious Delightful Cookie Monster Cake Jars: A Whimsical Dessert Experience
 Desserts
Frozen Yogurt Strawberry Muffin Rings
Delicious Frozen Yogurt Strawberry Muffin Rings
 Desserts
Heavenly Preacher Cake: A Deliciously Moist Delight for Any Occasion
Delicious Heavenly Preacher Cake: A Deliciously Moist Delight for Any Occasion
 Desserts
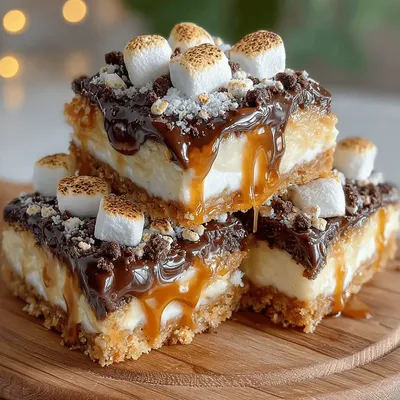
S’mores Delight Bars: The Ultimate Recipe Experience
Delicious S’mores Delight Bars: The Ultimate Recipe Experience

Susan
I cook these recipes at home before they ever land here — simple ingredients, clear steps.