Creamy No Bake Peanut Butter Dream Cheesecake
 Save
Save
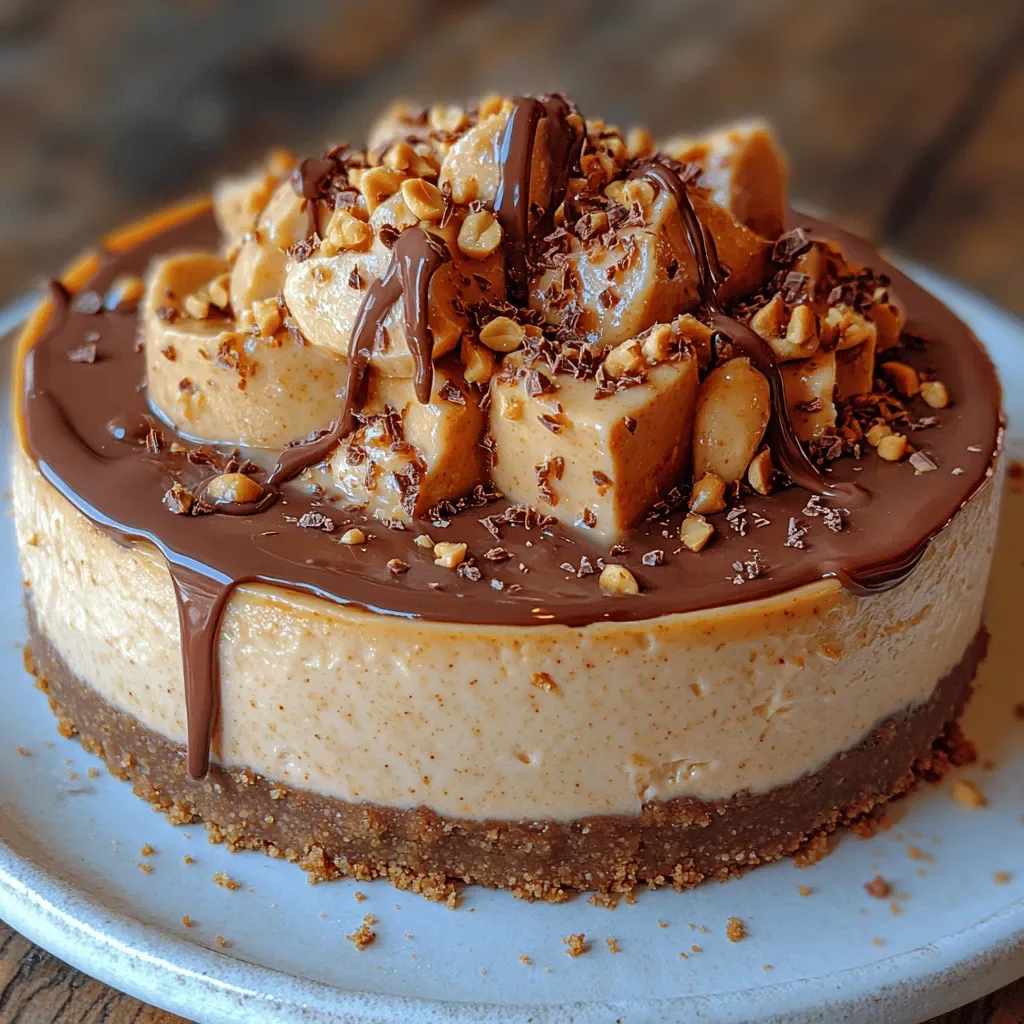
Imagine the creamy indulgence of a classic cheesecake, but with the nutty, buttery charm of peanut butter and none of the oven’s heat. This Creamy No‑Bake Peanut Butter Dream Cheesecake delivers that dreamy texture in a fraction of the time, making it the perfect star for any brunch table.
What sets this dessert apart is the silky blend of creamy cheese, smooth peanut butter, and a hint of honey that creates a balanced sweetness without overwhelming the palate. A crunchy graham‑cracker crust adds contrast, while a light drizzle of chocolate ganache finishes the masterpiece.
Busy parents, brunch‑loving friends, and anyone with a sweet tooth will adore this treat. It shines at weekend brunches, birthday celebrations, or even as a make‑ahead dessert for holiday gatherings.
The process is straightforward: prepare a quick crust, whisk together a luscious filling, pour, chill, and garnish. No oven, no fuss—just pure, creamy bliss ready to slice and serve.
Why You'll Love This Recipe
Zero‑Bake Simplicity: Skip the oven and still achieve a velvety, set cheesecake that looks as polished as a bakery masterpiece, saving energy and time.
Peanut Butter Perfection: The natural richness of peanut butter pairs beautifully with cream cheese, delivering a nostalgic flavor that feels both comforting and indulgent.
Customizable Layers: Add a chocolate swirl, toasted nuts, or fresh berries for extra texture and visual appeal without altering the core recipe.
Make‑Ahead Friendly: Once chilled, the cheesecake holds its shape for up to three days, giving you flexibility for busy mornings or last‑minute brunch invites.
Tips & Tricks
Perfecting the Recipe
Room‑Temperature Cream Cheese: Soften the cheese for at least 30 minutes before mixing. This prevents lumps and ensures a silky filling.
Press the Crust Firmly: Use the bottom of a measuring cup to compact the crust evenly. A tight base stops the filling from sinking.
Chill the Pan: Place the springform pan in the freezer for 5 minutes before adding the crust; the cold surface helps the butter set quickly.
Flavor Enhancements
Stir a pinch of espresso powder into the chocolate ganache for a subtle mocha note, or fold in ¼ cup toasted chopped peanuts for extra crunch. A drizzle of caramel sauce just before serving adds a luxurious contrast.
Common Mistakes to Avoid
Avoid over‑mixing the filling; excessive air can cause cracks once chilled. Also, don’t skip the chilling step—without a solid set, the cheesecake will crumble when sliced.
Pro Tips
Use a Water‑Bath for the Ganache: Place the chocolate bowl over simmering water for gentle melting, preserving a glossy finish.
Slice with a Warm Knife: Dip the blade in hot water, wipe dry, and cut. This yields clean slices without dragging the creamy filling.
Store in a Light‑Proof Container: Prevent the chocolate topping from blooming by keeping the cheesecake away from direct light.
Variations
Ingredient Swaps
Replace the graham crackers with crushed chocolate wafer cookies for a richer base, or swap dark chocolate chips for white chocolate to brighten the topping. For a nut‑free version, use almond butter in place of peanut butter and a caramel drizzle instead of chocolate.
Dietary Adjustments
Choose a gluten‑free cracker blend for the crust and ensure the chocolate is certified gluten‑free. For a vegan twist, substitute cream cheese with a plant‑based cream cheese alternative and use coconut oil instead of butter. Sweeten with agave or a zero‑calorie sweetener to keep carbs low.
Serving Suggestions
Serve each slice with a dollop of whipped coconut cream and a handful of fresh berries for a pop of acidity. For a brunch spread, pair with a citrus‑infused mimosa or a cold brew latte to balance the richness.
Storage Info
Leftover Storage
Allow any remaining cheesecake to cool completely, then cover the springform pan tightly with plastic wrap or transfer slices to an airtight container. Store in the refrigerator for up to 4 days. For longer keeping, wrap individual portions in foil and freeze for up to 2 months; thaw in the fridge overnight before serving.
Reheating Instructions
Because the cheesecake is no‑bake, reheating isn’t usually required. If you prefer a slightly softer texture, let a slice sit at room temperature for 15 minutes before serving. For a warm chocolate topping, gently microwave the ganache alone for 10‑15 seconds and drizzle over the chilled slice.
Frequently Asked Questions
Can I make this cheesecake ahead of time?
What if I don’t have a springform pan?
Can I substitute the honey with another sweetener?
How do I keep the chocolate topping from cracking?
This Creamy No‑Bake Peanut Butter Dream Cheesecake proves that indulgent desserts don’t need heat or hassle. By following the detailed steps, using quality ingredients, and applying a few pro tips, you’ll create a silky, nutty masterpiece that impresses any brunch crowd. Feel free to experiment with toppings, crusts, or sweeteners to make it truly yours. Slice, serve, and savor every creamy bite!
Creamy No Bake Peanut Butter Dream Cheesecake
Delicious Creamy No Bake Peanut Butter Dream Cheesecake
Ingredients
Crust
- 1 ½ cups graham cracker crumbs
- ¼ cup unsalted butter, melted
- 2 tablespoons granulated sugar
Filling
- 16 oz (450 g) cream cheese, softened
- ½ cup creamy peanut butter
- ¼ cup honey or maple syrup
- 1 teaspoon pure vanilla extract
- ¼ teaspoon sea salt
Chocolate Topping
- ½ cup dark chocolate chips
- 1 tablespoon heavy cream
Instructions
Making the Peanut Butter Filling
- Soften the Cream Cheese. Using a hand mixer on medium speed, beat the cream cheese for 2‑3 minutes until smooth and free of lumps. This creates a stable foundation for the filling.
- Incorporate Peanut Butter. Add the creamy peanut butter and continue mixing for another minute. The mixture should turn a uniform light‑brown color, indicating thorough integration.
- Sweeten and Flavor. Drizzle in the honey, sprinkle in the sea salt, and pour the vanilla extract. Beat until the blend is silky and glossy, about 1‑2 minutes.
- Check Consistency. The filling must be thick enough to hold its shape when poured. If it seems too soft, add a tablespoon of powdered sugar; if too stiff, thin with a splash of milk.
- Transfer to Crust. Gently spread the filling over the chilled crust, smoothing the top with a spatula. Tap the pan lightly on the counter to release any air bubbles.
Similar Recipes
 Desserts
Zesty Delight Mini Lemon Cheesecakes
Delicious Zesty Delight Mini Lemon Cheesecakes
 Desserts
Irresistible KitKat Cheesecake That Will Wow Your Guests
Learn how to make delicious Irresistible KitKat Cheesecake That Will Wow Your Guests. Easy recipe with…
 Desserts
Blueberry Cheesecake Crescent Rolls
Learn how to make delicious Blueberry Cheesecake Crescent Rolls. Easy recipe with step-by-step instructions.
 Desserts
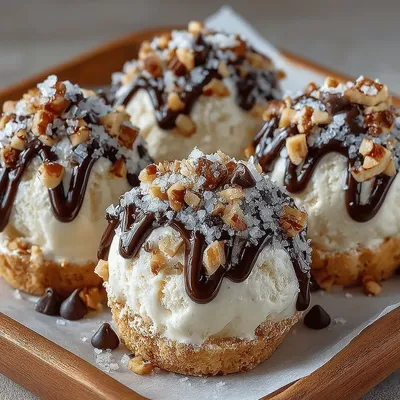
Frozen Yogurt Mocha Coffee Clusters: A Delectable Treat
Delicious Frozen Yogurt Mocha Coffee Clusters: A Delectable Treat
 Desserts
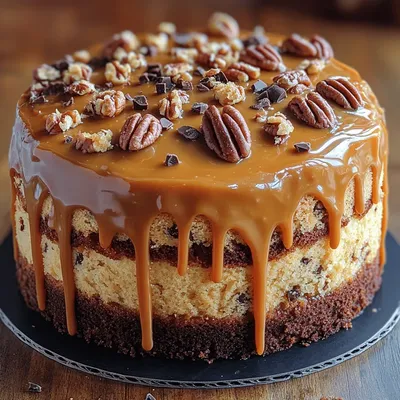
Caramel Toffee Crunch Cake Recipe
Delicious Caramel Toffee Crunch Cake Recipe
 Desserts
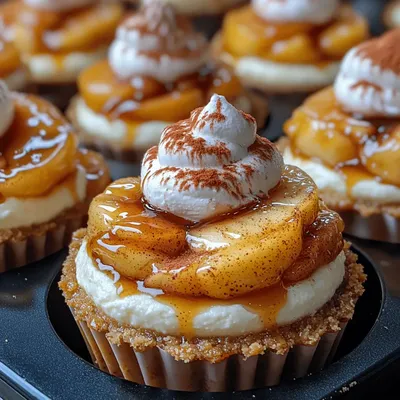
Mini Apple Pie Cheesecakes Recipe: A Delectable Fusion of Two Classics
Delicious Mini Apple Pie Cheesecakes Recipe: A Delectable Fusion of Two Classics
 Desserts
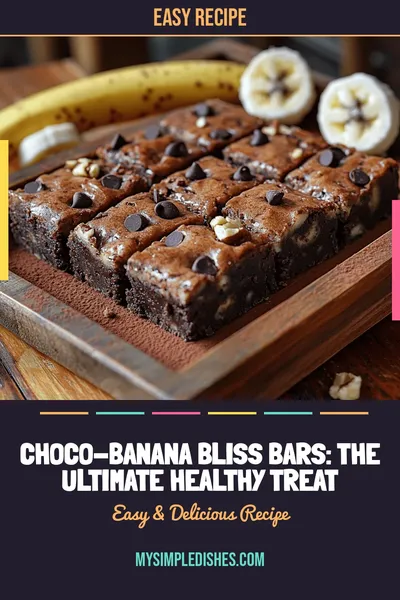
Choco-Banana Bliss Bars: The Ultimate Healthy Treat
Delicious Choco-Banana Bliss Bars: The Ultimate Healthy Treat
 Desserts
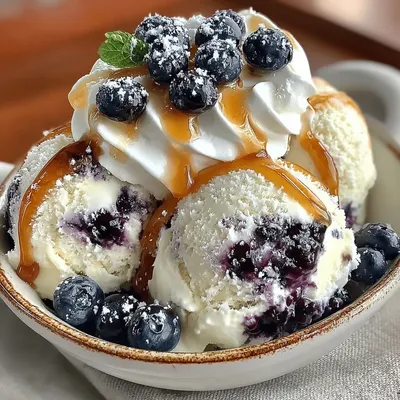
Blueberry Bliss No-Churn Ice Cream Recipe
Delicious Blueberry Bliss No-Churn Ice Cream Recipe

Susan
I cook these recipes at home before they ever land here — simple ingredients, clear steps.